eLine Technology AN2 Series User Manual
Page 6
9
10
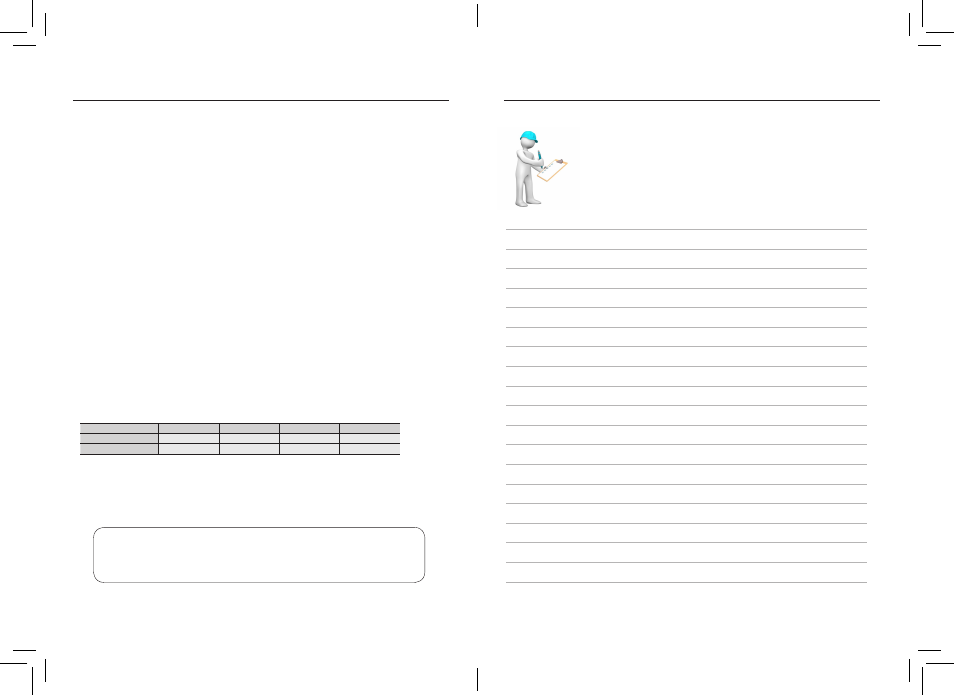
TROUBLE SHOOTING
NOTES
Follow the steps below if you are experiencing trouble with your
camera, before you contact your Technical Support.
• Nothing appears on the screen.
¤ Check that the power cable is connected properly and that the voltage is correct.
¤ Check that you have properly connected VIDEO cable to the camera VIDEO output jack and to the
monitor/DVR.
• The image on the screen is unclear.
¤ Is the lens or dome cover stained with dirt? Clean lens or dome cover with soft, clean cloth.
¤ Re-position the camera if necessary.
¤ Adjust the Zoom and Focus screws as needed.
• The image on the screen is dark.
¤ If you have an intermediate device, set the impedance to 75Ω / Hi-z.
¤ Adjust the monitor contrast & brightness controls.
• Image quality is poor.
¤ Be sure to check cable for and braid which may be touching the common Coaxial core pin.
¤ Verify that the camera is receiving sufficient power.
• There is interference in the image.
¤ The camera or the cables may be close to a source of high voltage, such as a generator. Re-position
the camera if necessary.
When the resistance value of copper wire is at [20˚C(68˚F)]
Copper wire size (AWG)
#24(0.22mm2)
#22(0.33mm2)
#20(0.52mm2)
#18(0.83mm2)
Resistance (Ω/m)
0.078
0.050
0.030
0.018
Voltage Drop (V/m)
0.028
0.018
0.011
0.006
As shown in the table above, voltage decreases as the wire gets longer. Therefore use of an excessively
long adapter output line for connection to the camera may affect the performance of the camera.
*Standard voltage for camera operation : DC12V ±10% or
*There may be some deviation in voltage drop depending on the type of wire and the manufacturer.
• Be sure to connect power only after all the installation is complete.
• Use the UL listed, CLASS 2 power transformer for 12v DC adapter.