Adjustments – CHIEF PNR User Manual
Page 8
Model PNR™
Installation Instructions
8
Figure 8
Figure 9
ADJUSTMENTS
TENSION ADJUSTMENTS
Vertical Tilt Tension Adjustment
1.
With display mounted, check for desired vertical tilt tension.
2.
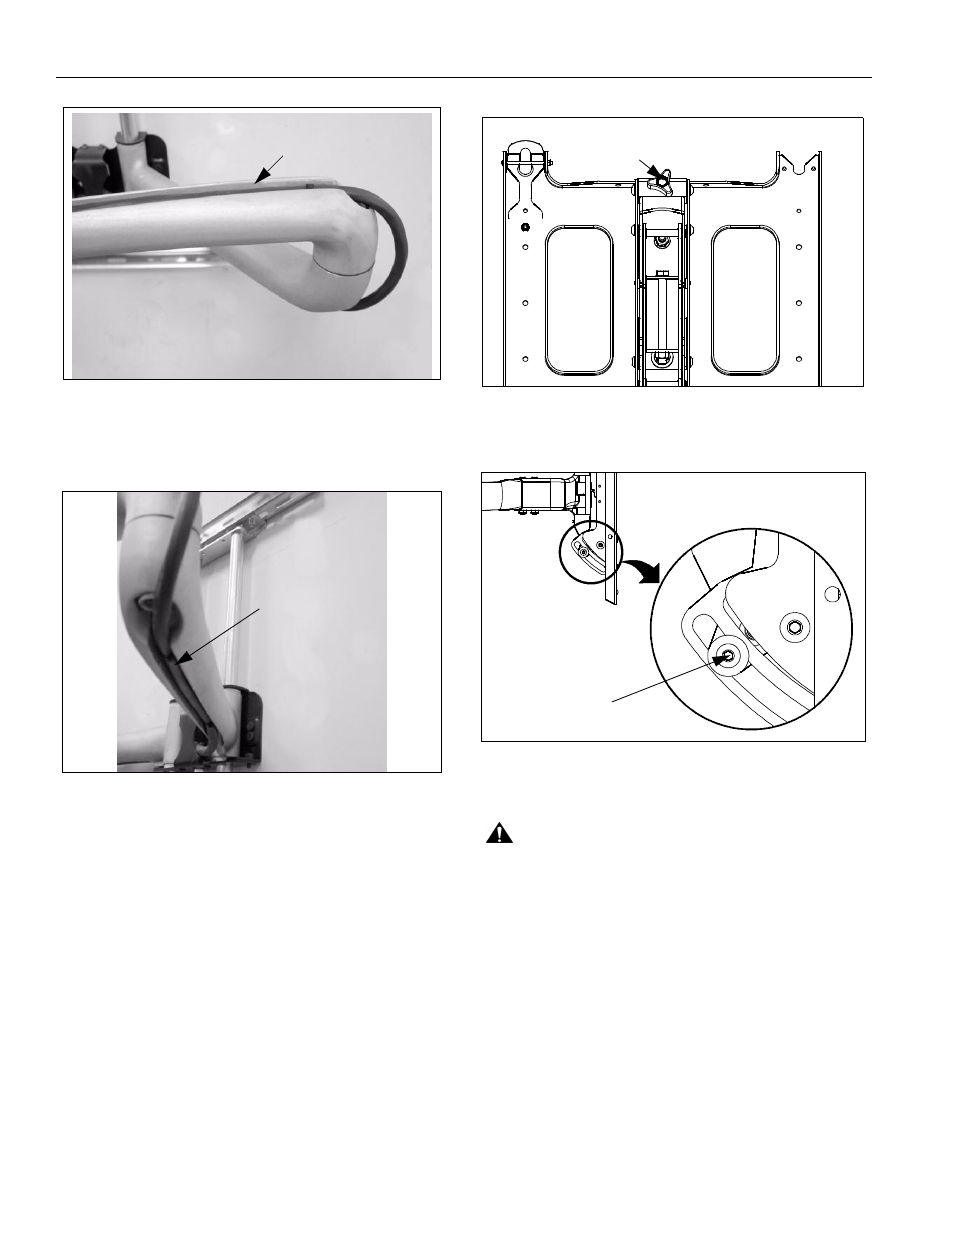
Adjust the Centris Select
TM
knob until desired vertical tilt
tension is obtained. (See figure 10)
Figure 10
3.
To lock the mount at the desired vertical tilt, tighten the
vertical tilt lock screw. (See figure 11)
Figure 11
Lateral Tilt Tension Adjustment
CAUTION:
Overtightening lateral adjustment will cause
excessive wear and may distort adjustment components.
1.
Using a 9/16” wrench (not provided), slightly tighten or
loosen lateral tilt tension adjustment nut (See figure 12).
2.
Mount the display and check for desired tilt tension.
3.
Repeat Steps 1 and 2 until desired tilt tension is obtained.
Rotational Tilt Tension Adjustment
1.
If necessary, loosen or tighten bottom rotational tilt tension
adjustment nut (See figure 12).
2.
Mount the display and check for desired rotational tilt
tension.
3.
Repeat Steps 1 and 2 until desired rotational tilt tension is
obtained.
Management Channel
Bottom Cable
Management Channel
Centris Select
TM
Adjustment Knob
Vertical Tilt
Lock Screw