Carolina 3M Petrifilm Yeast & Molds Count Plates User Manual
Page 6
10. Disinfect before disposal. To disinfect, fill a dishpan with 10–20%
bleach and put on a pair of latex or other protective gloves. Immerse
the taped Petrifilm plates in the solution, then open them. This
procedure ensures that the organisms will be exposed to bleach, but
minimizes the risk of spreading spores. Soak the plates in the bleach
solution for at least 1 hour. Then, they can be placed in the trash.
Alternatively, they can be taken to a facility such as a hospital or given
to a school nurse for disposal with other biohazardous material.
Method B. Hydrating and using as solid medium
Hydrate and spread each Petrifilm plate before going on to the next plate.
1. Follow steps 1–6 of Method A to hydrate the Petrifilm. Use distilled
water, broth, or a buffer. If additional antibiotics are to be added to the
medium, add them to the hydration liquid at the working
concentration.
2. Lift the spreader (fig. 7). Wait at least 2 hours for the gel to solidify.
3. Hydrated Petrifilm plates can be stored in a sealed bag in the
refrigerator for up to 7 days before use.
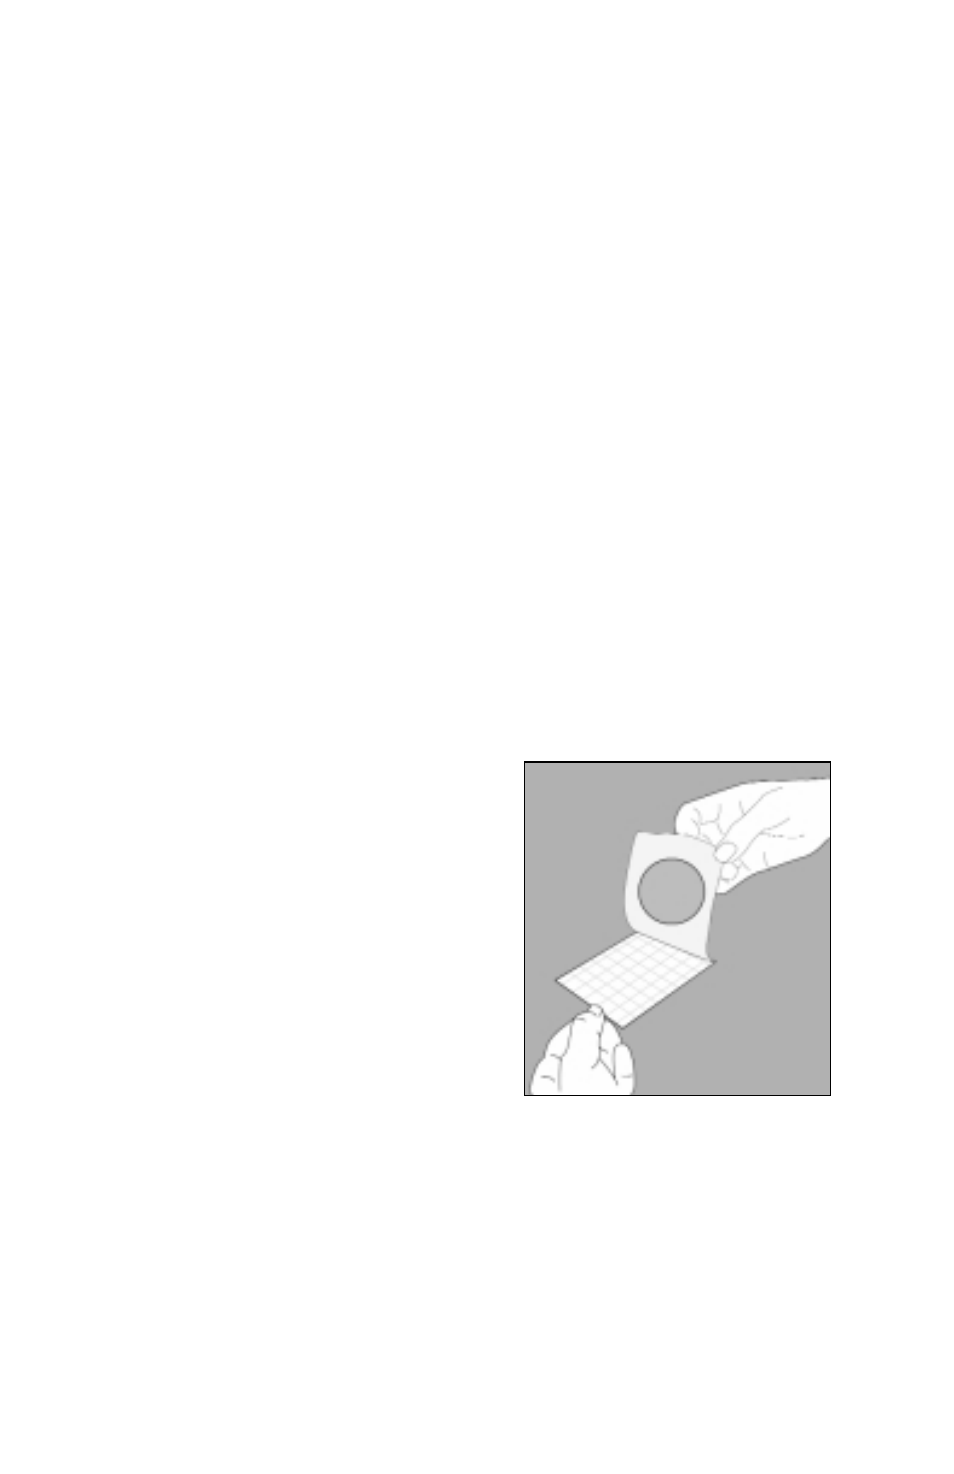
4. To inoculate the medium, lift the top film. The circular gel area will
adhere to the top film (fig. 9).
Examples of uses include:
•
Streak for isolated colonies with
a sterile loop, more gently and
with less pressure than you
would a standard plate. Tape
the Petrifilm plate to a flat
surface in the open position for
streaking.
•
Touch the circular gel area to a
surface of interest. This could be
a bench top, finger, doorknob,
or other smooth object.
•
Sample the air by peeling back
the top film with the circular gel area and taping the open Petrifilm
plate to a vertical surface so that the gel area is exposed. After
exposure time has elapsed, take down the Petrifilm plate, close it,
and incubate.
Yeast colonies will be small with defined edges and will be pink-tan to blue-
green in color. Mold colonies will be large, diffuse, and variable in color.
6
Figure 9