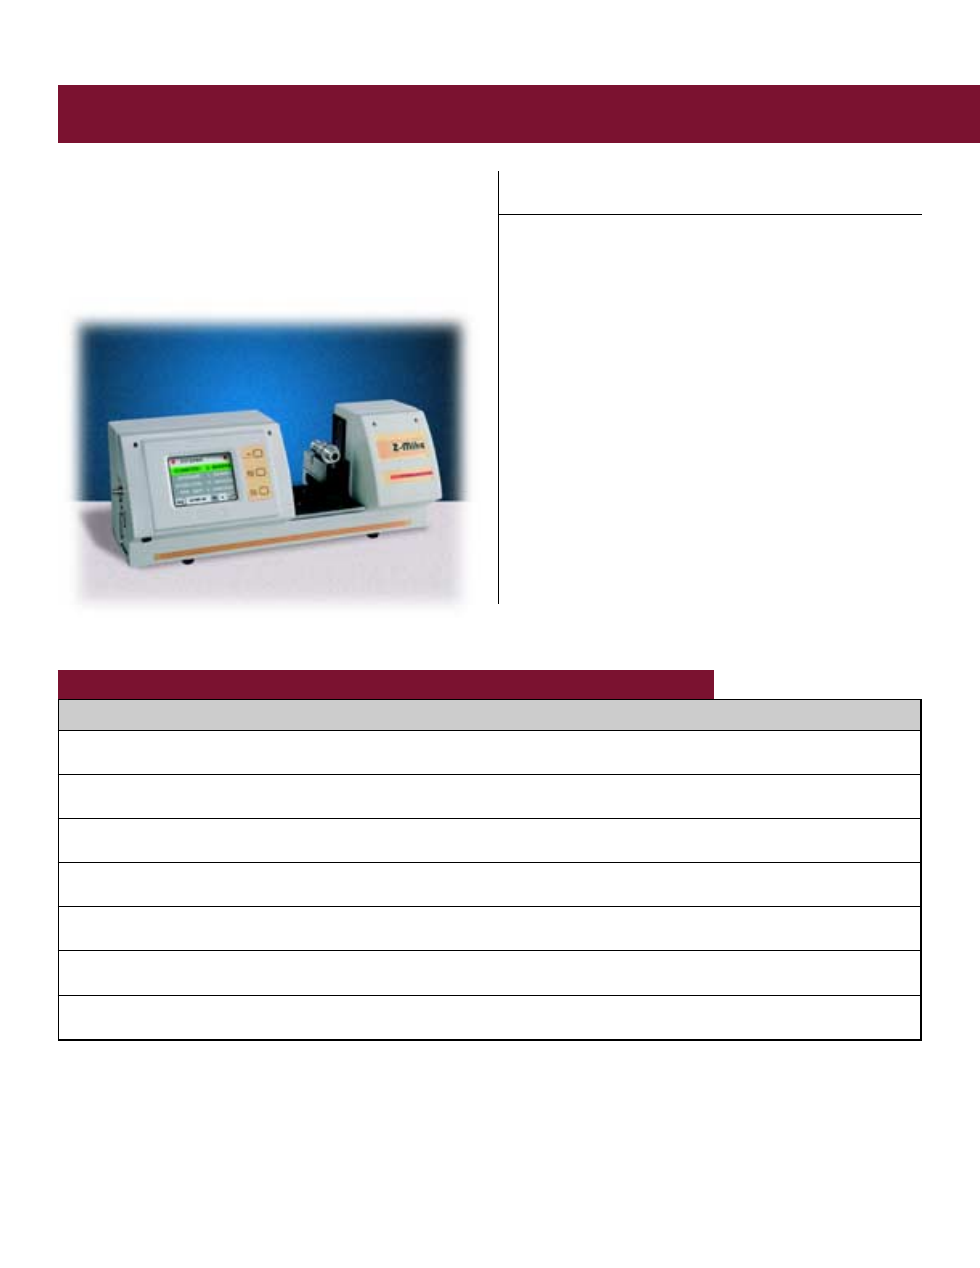
Atec Zygo-1200 Series User Manual
1200 series laser benchtop micrometers

1200 Series Laser Benchtop Micrometers
This benchtop series incorporates transmitter, receiver,
processor electronics and an easy-to-use touch screen/
keypad interface in a single, convenient package. With
built-in self-calibration and Z-Mike’s uncompromising
accuracy, the 1200 Series is your ticket to improved
product quality and reduced scrap and rework.
All 1200 Series Laser
Benchtop Micrometers Give You:
I
NIST-traceable accuracy
I
Exceptional repeatability
I
Built-in, automatic calibration
I
Incredibly easy-to-use interface
I
Instant data display on touchscreen
I
Ready-to-mount standard and high-precision
motorized fixtures and accessories
I
A wide range of dimensional measurements with
just one gauge
I
Minimal operator training—takes
only minutes to learn
1210
1210 Gold
1220
1220 Gold
Measurement Range
1
0.005 to 1.0 in.
0.005 to 1.0 in.
0.010 to 2.0 in.
0.010 to 2.0 in.
(0.1 to 25.4 mm)
(0.1 to 25.4 mm)
(0.25 to 50 mm)
(0.25 to 50 mm)
Repeatability
±0.000012 in.
±0.000005 in.
±0.000020 in.
±0.000010 in.
(±0.3 µm)
(±0.13 µm)
(±0.5 µm)
(±0.25 µm)
Linearity
±0.000036 in.
±0.000020 in.
±0.000060 in.
±0.000030 in.
(±0.9 µm)
(±0.5 µm)
(±1.5 µm)
(±0.76 µm)
Measurement Area Passline
2.21 in.
2.21 in.
3.05 in.
3.05 in.
(56.1 mm)
(56.1 mm)
(77.5 mm)
(77.5 mm)
Measurement Area Depth of Field
±0.060 x 1.0 in.
±0.060 x 1.0 in.
±0.125 x 2.0 in.
±0.125 x 2.0 in.
(±1.5 x 25 mm)
(±1.5 x 25 mm)
(±3 x 50 mm)
(±3 x 50 mm)
Laser Beam Spot Size
1
0.005 in.
0.005 in.
0.010 in.
0.010 in.
(125 µm)
(125 µm)
(250 µm)
(250 µm)
Laser Beam Velocity
2,000 in./sec
2,000 in./sec
4,000 in./sec
4,000 in./sec
(50 m/sec)
(50 m/sec)
(100 m/sec)
(100 m/sec)
1
Models 1210 and 1210 Gold available with special 0.002 in. (50 mm) laser beam spot size
designed for applications measuring small parts or characteristics.
Specifications—1200 Series Laser Benchtop Micrometers
