Aeromotive 18688 - PHANTOM 340 STEALTH FUEL SYSTEM User Manual
Page 8
27. Cut the black outlet hose to the desired length.
28. Using a metal cutting saw cut the bracket to the desired length, removing enough at the bottom to ensure that the
end of the bracket will not contact the fuel pump strainer.
29. Using the small hose clamp attach the black outlet hose to the fuel pump and tighten.
30. Using the two larger hose clamps attach the pump to the pump bracket and tighten. The clamps should be
positioned in the notches of the bracket.
31. Plug the electrical connector(s) into the pump and tuck the wire out of the way, for kit p/n 18689 the positive
connector is the .250" wide terminal and the negative terminal is .188" wide.
32. Install the provided gasket onto the threaded studs on the fuel pump retaining ring.
33. If the top of the tank is corrugated or has ribs on the desired mounting surface, the included gasket will compress
and form to the ribs up to 1/4" deep. In extreme cases where the ribs are deeper than ¼”, or oddly shaped, the use
of a fuel resistant sealant such as, Dow Corning 730 fluorosilicone RTV, or additional fabrication may be necessary.
Do not use silicone gasket sealant as it is not fuel resistant.
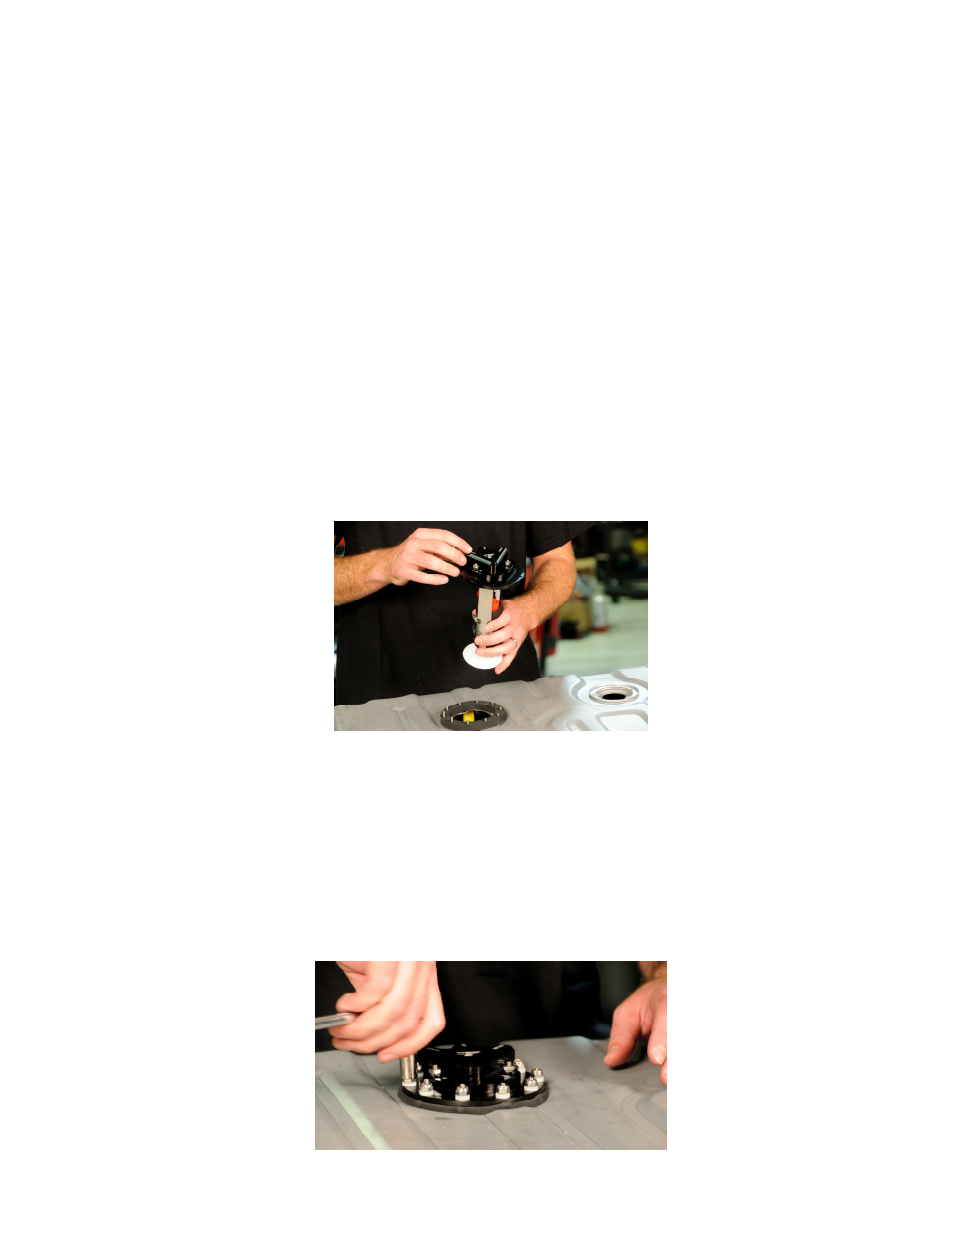
34. With the fuel pump hanger is fully assembled and the gasket in place, ease the pump hanger assembly into the
baffle assembly inside the fuel tank. Rotate the billet fuel pump hanger assembly to orient the fuel line and vent
connections in the desired orientation and drop the hanger onto the retaining ring studs.
35. Press down firmly on the top of the pump assembly to compress the gasket. Start two of the 10-24 lock nuts on a
pair of studs 180- degree apart. Tighten these two nuts until the remaining studs are approximately 1/4" exposed.
36. With the remaining 8 studs exposed approximately 1/4", place one of the #10 white nylon sealing washers on each
of the studs followed by a 10-24 locking nut.
37. Remove the first two lock nuts used to help compress the gasket. Place one of the #10 white nylon sealing washers
on each of these two studs, followed by reinstalling the 10-24 locking nut.
38. With all 10 studs now having a #10 white nylon sealing washer and a locking nut, slowly tighten using a crisscross
pattern until the gasket forms to the tank surface.