The create array screen appears, Asus hummingbird 5-7 – Asus Hummingbird User Manual
Page 83
ASUS Hummingbird
5-7
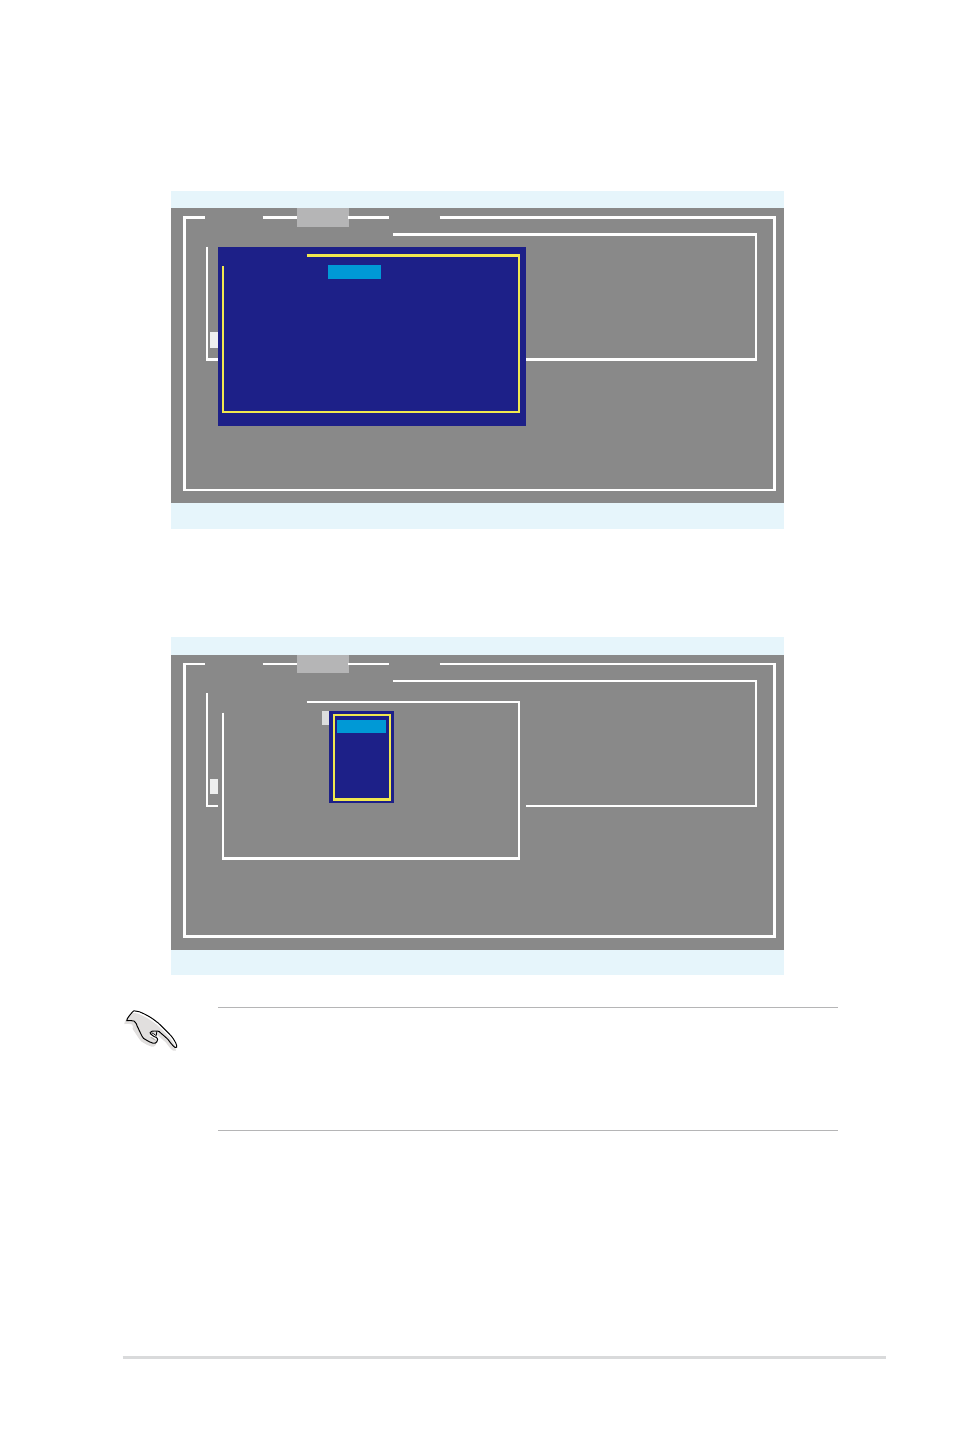
4. The Create Array screen appears.
Marvell BIOS Setup (c) 2006 Marvell Technology, Ltd.
ENTER/SPACE:Select, ESC:Back/Exit
Select free disks to create
ID Port Disk Name Size Speed Status
*0 0 SATA: Hitachi HDS721010KLA330 1TB SATA II FREE
*4 1 SATA: Hitachi HDS721010KLA330 1TB SATA II FREE
NEXT
[Adapter]
[Create]
[Delete]
Create Array
Raid Level :
RAID0
Max Size(MB) :
2000241
Capacity(MB) :
2000241
Stripe Size :
64KB
Quick Init :
No
Cache Mode :
Write Back
Array Name :
Disks ID :
0 1
NEXT
5. Use the arrow key to select the RAID Level item and press
the available RAID set. Select a RAID set and press
Marvell BIOS Setup (c) 2006 Marvell Technology, Ltd.
ENTER/SPACE:Select, ESC:Back/Exit
Select free disks to create
ID Port Disk Name Size Speed Status
*0 0 SATA: Hitachi HDS721010KLA330 1TB SATA II FREE
*4 1 SATA: Hitachi HDS721010KLA330 1TB SATA II FREE
NEXT
[Adapter]
[Create]
[Delete]
Create Array
Raid Level : RAID0
Max Size(MB) : 2000241
Capacity(MB) : 2000241
Stripe Size : 64KB
Quick Init : No
Cache Mode : Write Back
Array Name :
Disks ID : 0 1
NEXT
*RAID0
RAID1
• The available RAID sets vary with the number of disks you select. The
RAID sets that you are not allowed to create are grayed out.
• Except for the RAID Level item, we recommend you keep the default
values for the other items in Create Array screen.