Creating a multi-point route – Asus R300 User Manual
Page 54
1. Select the coordinate system: tap WGS84 or UTM.
2. Enter the coordinate values:
• In UTM: the latitude (N or S) and the longitude (E or W)
• In WGS84: the number and the letter of the zone, and the X Y coordinates
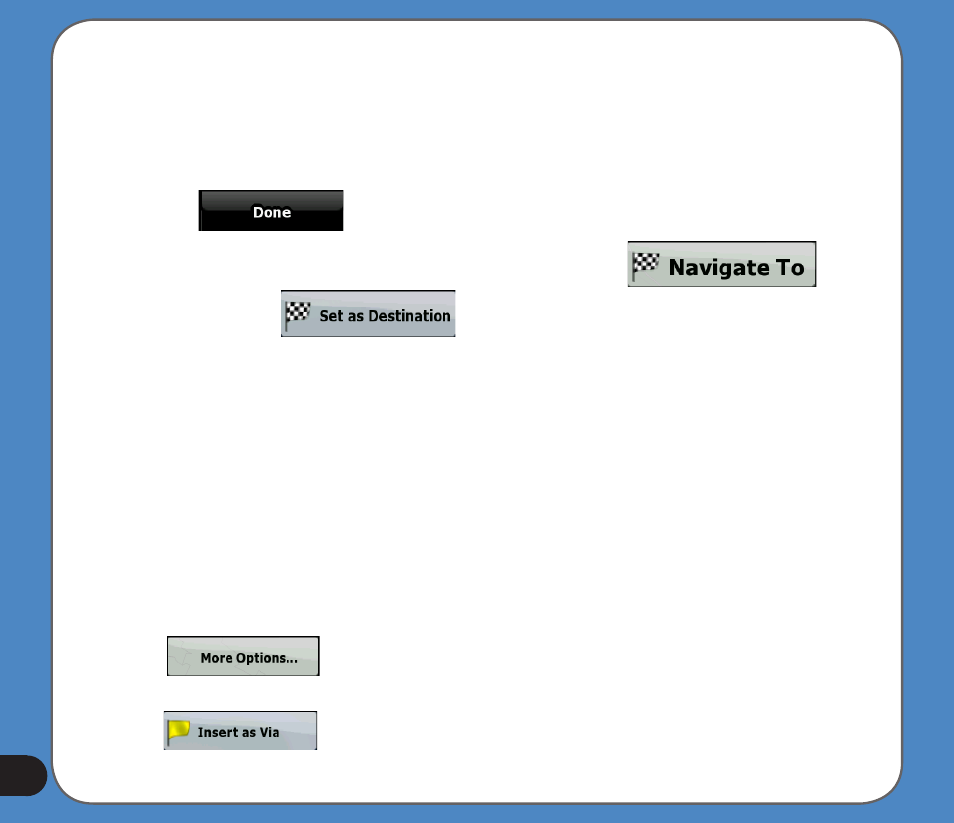
4. Tap the
button.
5. The map appears with the selected point in the middle. Tap
(Simple mode) or
(Advanced mode) from the Cursor menu. The
route is then automatically calculated, and you can start navigating.
.. Creating a multi-point route
This feature is available in Advanced mode only.
1. Multi-point routes are extended from single routes, so a route must be active first.
2. Select another point as you did in the previous sections. This will be the additional
destination in the route.
3. The map appears with the selected point in the middle, and the Cursor menu opens
automatically.
4. Tap
to open the full Cursor menu with the additional functions.
5. Now add the new point to the existing route:
• Tap
to add the point as an intermediary destination preceding the
final destination of the route.