Dayton Audio BR-1 6-1 User Manual
Page 12
Page 9
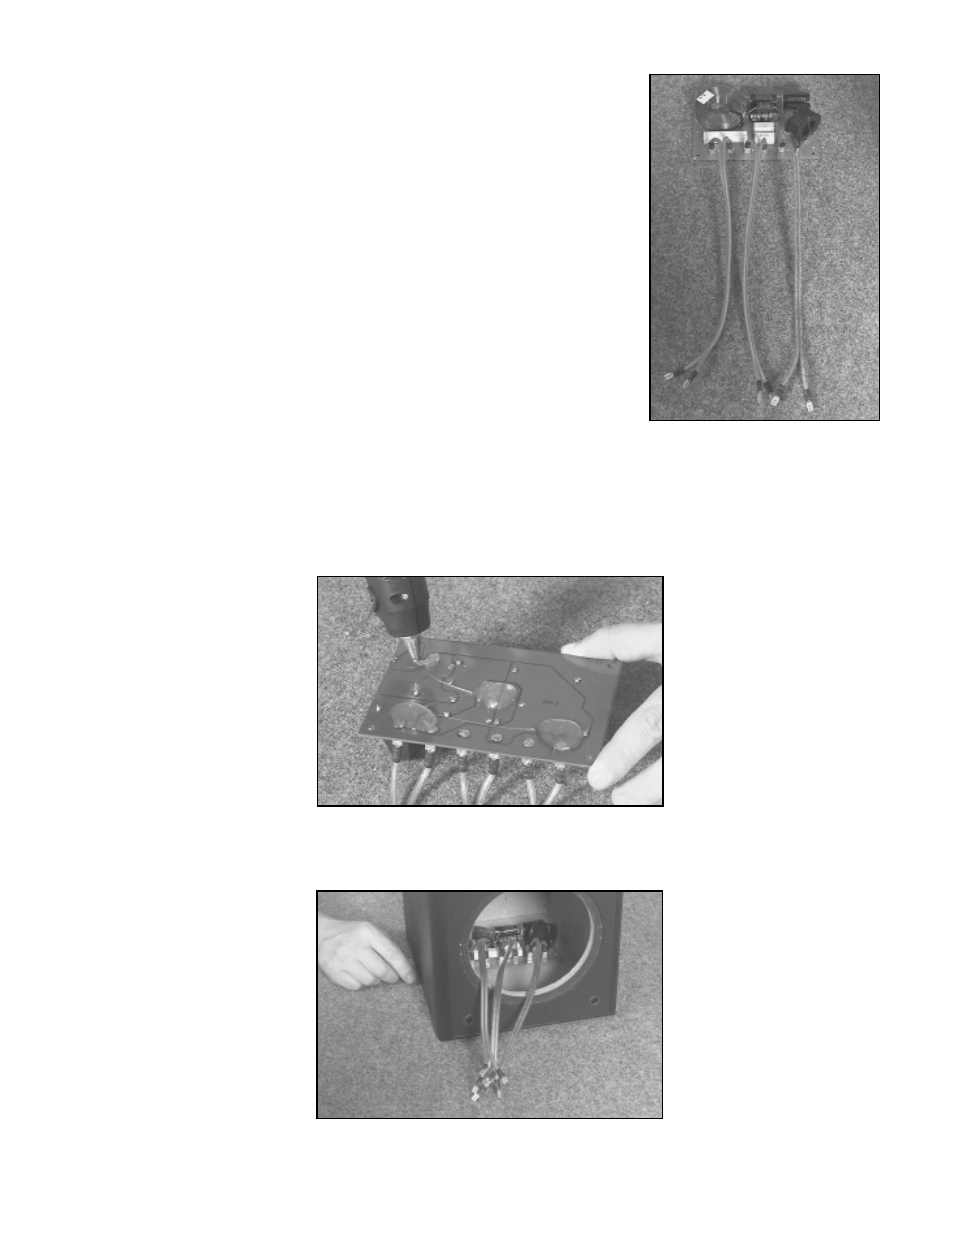
7.
The locations where the input and driver output wires connect are
clearly marked on the p.c. board. While observing proper polarity
attach all input and driver wires to their respective mounting termi-
nals. Example: To attach the input wire, take the positive (+) input
wire and connect it to the “IN+” terminal. Next, take the negative (-)
input wire and connect it to the “In-” terminal. Repeat this step for the
woofer, tweeter and other crossover. Again, it is very important to
observe the proper polarity!
8.
At this point, it is a good idea to label each wire to ensure proper
hook-up. Masking tape and a marker will work fine.
3) Cabinet Assembly Instructions
A. Installing the Crossovers
To mount the crossovers we recommend using hot glue due to its faster setup time. If you use RTV sealant, you
may need to let it setup over night, before proceeding with the assembly. You could also use screws, but they
can be a little difficult to install and you run the risk of driving the screw through the finished side of the cabinet.
No crossover mounting screws included.
1.
Position the crossover board on the inside bottom of the cabinet against the back wall with the wiring
facing outward.
2.
Glue the crossover in place.
Page 12