Installation – B&B Electronics DUALCON-6 - Datasheet User Manual
Page 14
DUALCON-6 USERS GUIDE
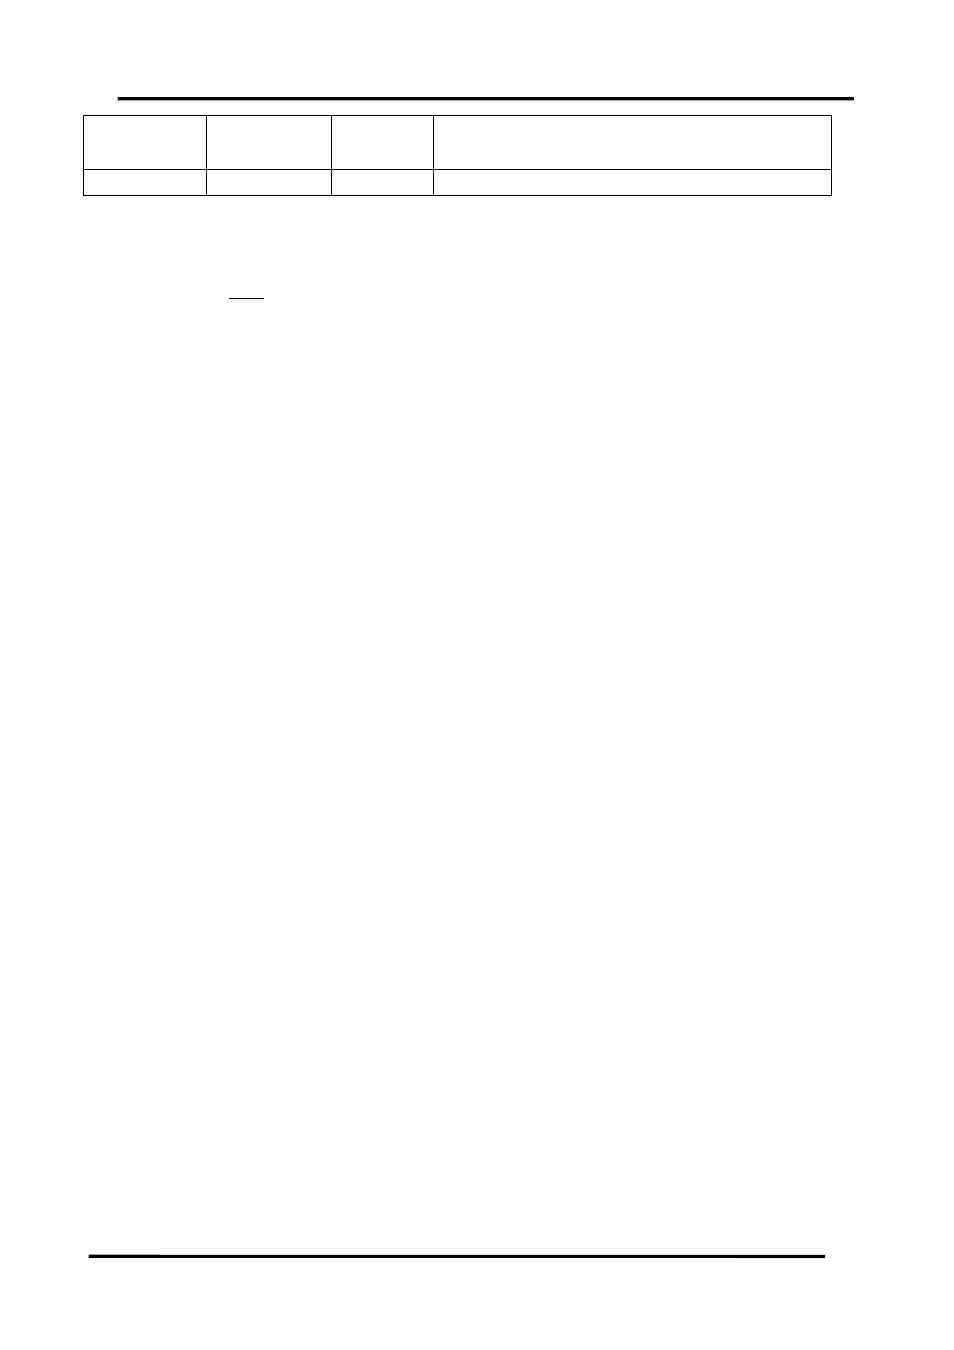
Zero
Adjust
output 2 value. Press and release both
buttons together to return to normal mode
Green Green
Normal
Use
product
The unit is now calibrated and ready for use.
Note: The unit will retain the new settings on power down.
When the unit is used to convert a thermocouple input it is important when
calibrating to ensure that the thermocouple simulator employed is switched to
automatic cold junction compensation and is at the same ambient temperature as
the DUALCON. Note that this is not always easy to achieve, especially if the
DUALCON is mounted in a warm cabinet. An altenative method is to use an ice-
point reference and a mV source.
6. INSTALLATION
The DUALCON’s input and output circuits are classed as Separated Extra Low
Voltage (SELV). This means that they must not be externally connected to
voltages exceeding 30V ac or 60V dc, nor do they generate voltages above these
limits internally. Where a higher voltage input is required a specially designed
DIVIDER unit can be used to condition the input signal prior to connection to the
process input terminals.
The DUALCON unit clips directly onto ‘Top Hat’ (TS35) symmetrical DIN rail.
Ideally, mounting orientation should be vertical, with the power supply situated on
the top face to minimise temperature rise. Good airflow around the unit will
maximise reliability of the instrument.
The use of bootlace ferrules is recommended on wiring terminations.
Do not exceed terminal torque rating of 0.4 Nm – use an appropriate screwdriver.
The unit can be removed from the DIN rail by sliding a small screwdriver into the
slot at the rear of the enclosure on the lower face and gently levering the metal
clip, whilst lifting the unit from the rail.
Page
14
IIG-010901