Tool and work area set-up, Operating instructions, Using the imager – RIDGID Seesnake Micro User Manual
Page 6: Seesnake micro, Typical applications
Ridge Tool Company
Tools For The Professional
TM
SeeSnake Micro™
Tool and Work Area Set-Up
WARNING: To prevent serious injury, proper set-up of the tool and work
area is required. The following procedures should be followed:
1. Review General Safety Information section of this manual (Page 2).
2. Check work area for:
• Adequate lighting
• Flammable liquids, vapors or dust that may ignite.
3. Follow tool set-up according to specific tool operator’s manual.
Operating Instructions
CAUTION: Do not use excessive force to insert or bend the cable.
Do not use the cable or imager head to modify surroundings, clear pathways or
clogged areas, or as anything other than an inspection device.
The hand-held display unit is not water resistant.
The imager head and its covering are water resistant, but are not acid-proof
or fireproof. Petroleum-based products will ruin the imager head’s protective
plastic covering over time. Avoid submersing the imager head into corrosive,
oily places.
Using The Imager
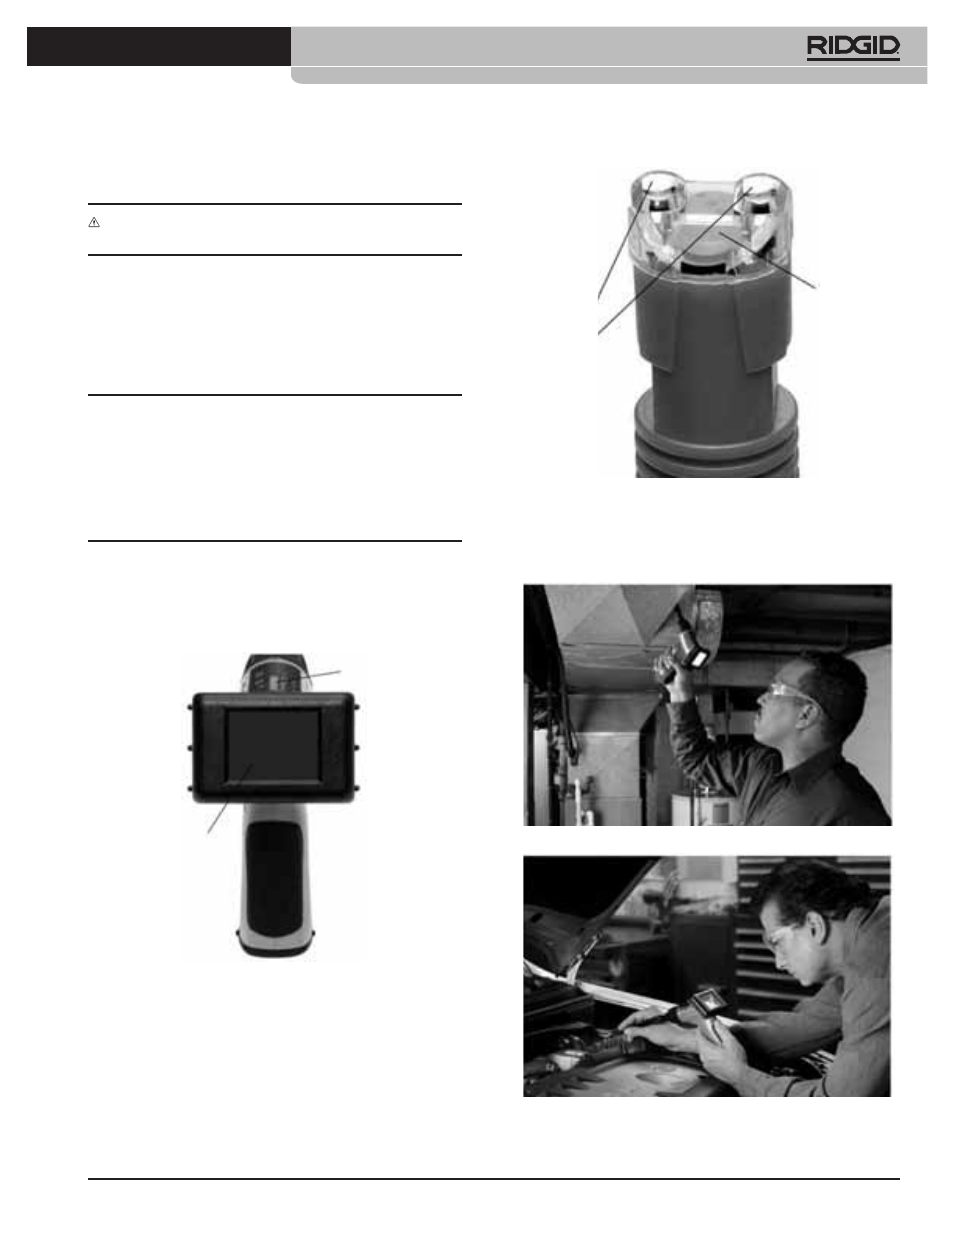
To turn the unit on, hold the viewer with the LCD screen facing you (Figure 7).
Roll the ON/OFF switch away from you to turn on the screen. The switch then
acts as a dimmer for the twin LEDs (Figure 8) that surround the camera on the
imager head and provide lighting.
Figure 7
Figure 8
Typical Applications
The SeeSnake Micro™ is designed as a remote inspection device. Typical
applications might include HVAC inspection (Figure 9), automotive inspection
(Figure 10), cable routing, automotive/boat/aircraft inspection, etc.
Figure 9
Figure 10
ON/OFF Switch
LCD Screen
Camera
LEDS