Resetting the audio settings, Using the network connection menu, Connecting to a wireless network – Vizio E3D420VX User Manual
Page 28
5
19
E3D320VX / E3D420VX / E3D470VX
Resetting the Audio Settings
To reset the audio settings to the factory default settings:
1. Press the
MENU button on the remote. The on-screen menu is displayed.
2. Use the
Arrow buttons on the remote to highlight Audio and press OK. The
Audio Settings menu is displayed.
3. Use the
Arrow buttons to highlight Reset Audio Mode and press OK. The
TV displays, “Are you sure you want to RESET Audio Settings to the factory
defaults?”
4. Highlight
Yes and press OK.
5. Press the
EXIT button on the remote.
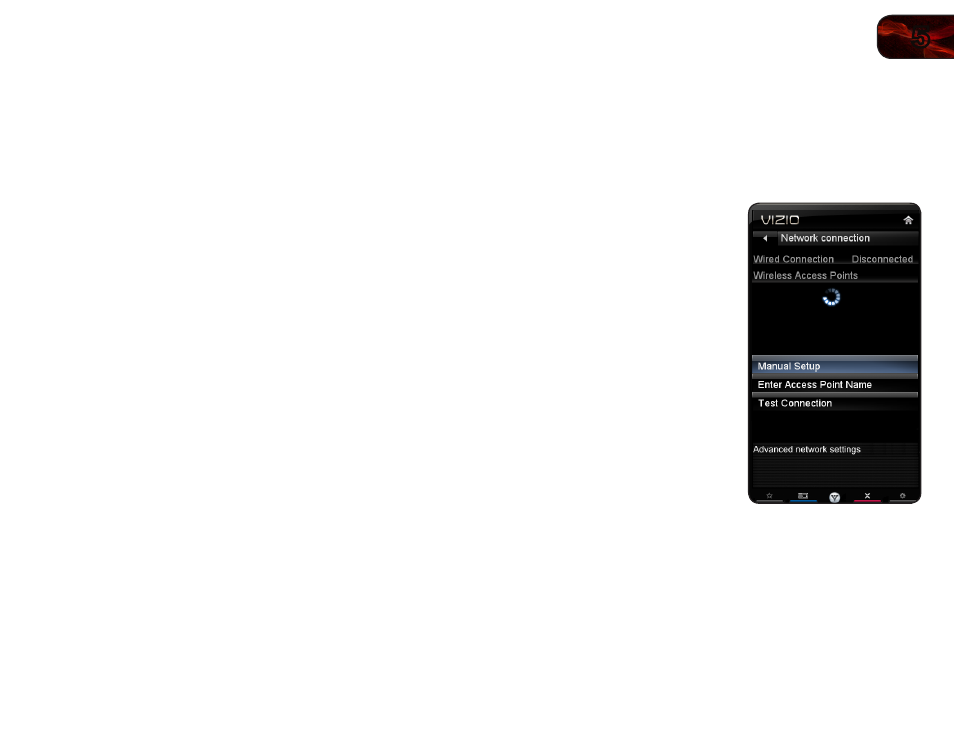
Using the Network Connection Menu
Your TV is internet-ready, featuring both an ethernet port and built-in high-speed
802.11n.
Connecting to a Wireless Network
To connect to a wireless network whose network name (SSID) is being broadcast:
1. Press the
MENU button on the remote.
The on-screen menu is displayed.
2. Use the
Arrow buttons on the remote
to highlight the Network icon and press
OK. The Network Connection menu is
displayed.
3. If you do not see your wireless
network displayed, highlight
More
Access Points and press OK. The
More Access Points menu, which is a
list of available wireless networks, is
displayed.
4. Highlight the name of your wireless
network (this is the network’s SSID)
and press
OK.
5. Using the
QWERTY Keypad on
the remote, enter your network’s
password, then highlight
Connect and
press
OK. (If you would like to use the
on-screen keyboard instead, highlight
Show Keyboard and press OK.)
6. Press the
EXIT button on the remote.