Toastmaster TUV48 User Manual
Page 7
7
1. Plug into 120V ~ 60Hz outlet.
2. Press the PREHEAT and START buttons. After four minutes, the oven will
beep five times and the POWER ON light will flash to indicate that it is
preheated. The PREHEAT function is a preset function and can not be
adjusted.
CAUTION: Use caution when removing basket and food. Protect your
hands with insulated oven mitts. Always protect counter-top from
heated basket when removing from unit.
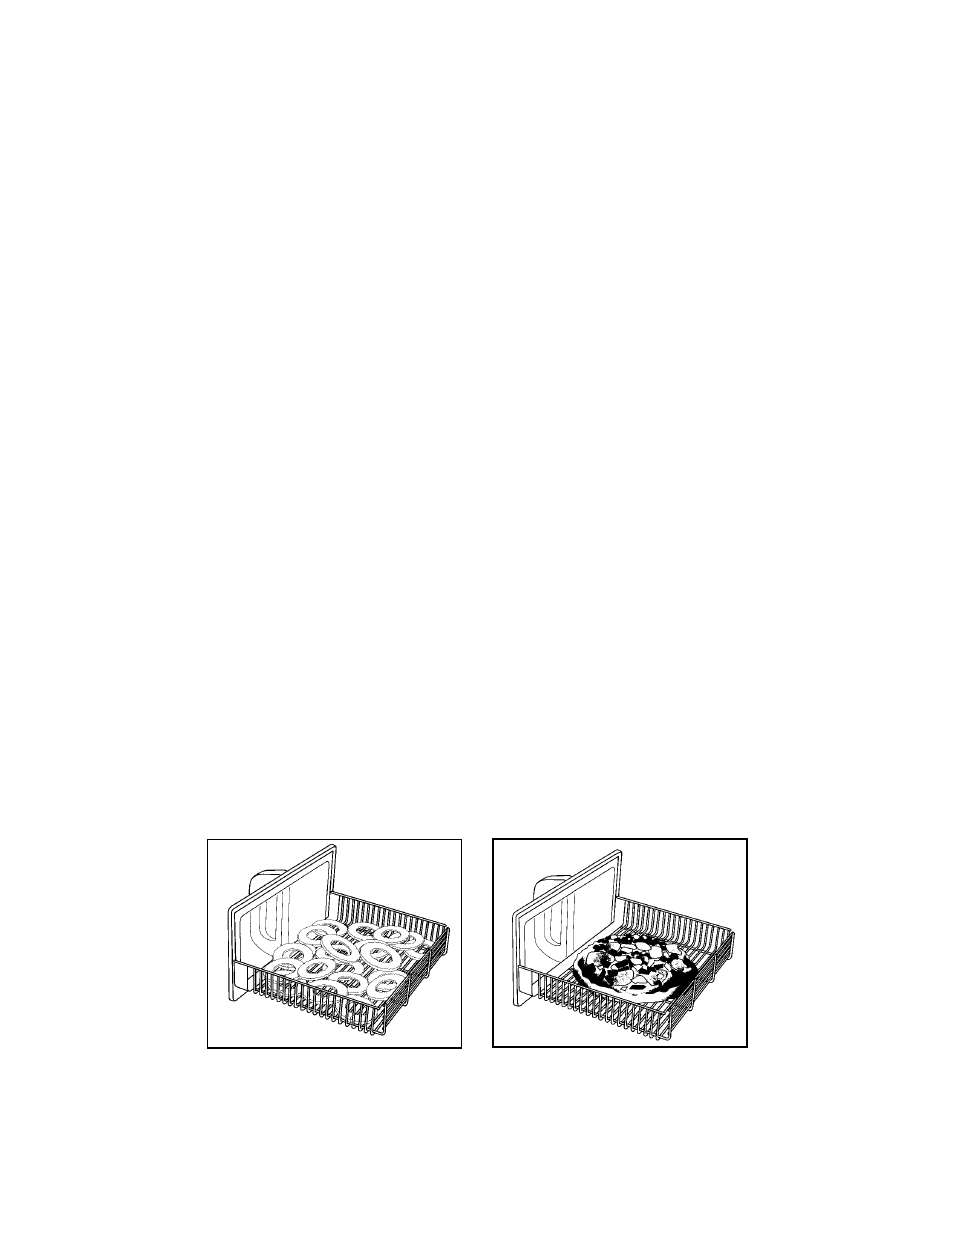
3. Pull the handle of the air surround basket straight out and add food to
the non-stick grid. There should be some air space between food to
allow air to circulate around the food. Insert food basket into oven.
4. Select one, two or all three functions, TURBO, CRISP, and/or BROWN.
Refer to cooking chart for times.
5. Press the START BUTTON, the function light and the POWER ON light
will be on. During cooking, if basket is removed and returned to oven
in under one minute, the programmed time will resume. Otherwise,
cooking time will need to be re-programmed.
Note: When a combination of functions is chosen, each function time
will count down separately on the display window, one immediately
following the other. While the time for each function is counting down,
the light for that function will be on as well as the POWER ON light.
NOTE: Oven will not operate without basket correctly in place.
6. The oven will beep five times and shut off automatically when the cook-
ing cycle is complete. The POWER ON light will flash.
7. Remove basket and food. Use a nylon or plastic utensil to remove food
to protect non-stick coating. Never cut food in non-stick basket. When
basket is removed, the display will read OPEN. To prevent heat loss,
avoid opening basket excessively.
8. Unplug and allow the oven and accessories to cool completely before
cleaning. Keep drip tray and oven clean and free of crumbs, grease
and particles. See CLEANING INSTRUCTIONS.
NOTE: A secondary fan may run even after the oven is turned off to help
cool the electronic controls.