Customizing the function settings, General operations, Network connection setting – Toshiba BDX2500KU User Manual
Page 29: Info menu performing quick-setup, Configuring a wired internet connection
29
Function setup
General Operations
1. Press / to select
Settings in home menu while in full
stop mode, the Settings menu appears.
2. Press button, then use / button to select the setting
options.
3. Press
OK button.
4. Press or
RETURN button to return to the previous
menu.
1. Press / to select
Network in stop mode, the network
connection menu appears.
2. Press button, then use / button to select the desired
connection setting.
3. Press
OK button.
Note: The option Wireless appears only while a wireless
LAN adapter is inserted into the USB slot.
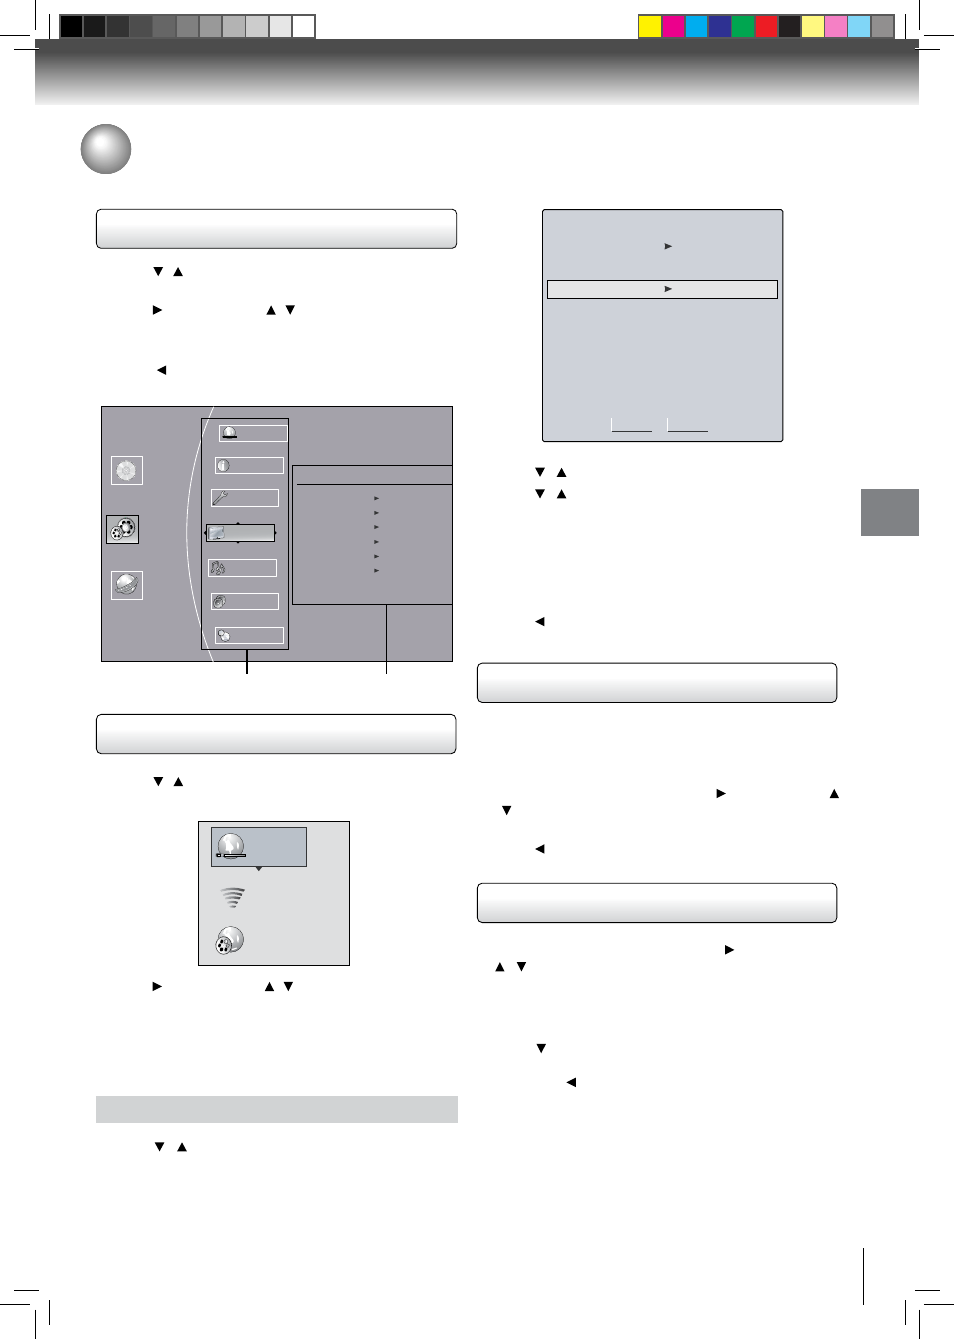
Configuring a wired Internet connection
1. Press / to select
Wired, then press OK to confirm.
The IP Settings screen appears.
If the network connection is active,
link Up appears next
to Link Status. If the network connection is not active,
link Down displays next to Link Status.
Customizing the Function Settings
You can change the default settings to customize performance to your preference.
Network Connection Setting
2. Press / to select
IP Mode, then press OK.
3. Press / to select an IP mode. You can select:
•
Off — Disables the network interface.
•
Manual — Lets you manually configure network
settings, such as IP address, subnet mask, and
gateway settings.
•
Dynamic — Uses DHCP to automatically obtain an IP
address.
4. Press or
RETURN to go to the previous menu.
This menu displays the following information:
• Software Version
• Software Date
• Netflix ESN
1. In the main menu of
Settings, press button, then use
/ button to select
Info to display the version information
on software and hardware.
2. Press or
RETURN to go to the previous menu.
1. In the main menu of
Settings, press button, then use
/ button to select
Quick Setup, and then press OK
to confirm.
2. Press
OK to perform Quick Setup
.
To exit the setup menu:
• Use button to highlight “No thanks. I’ll go through the
full setup menu later”, and then press
OK.
• Or press button directly.
3. Follow the on-screen instructions to customize the
following settings to your preference:
OSD language Settings
•
•
Resolution
TV Aspect
•
4. After setting, press
OK to confirm and exit the setup.
Info Menu
Performing Quick-Setup
IP Settings
MAC Address
00:23:18:75:b1:2b
IP Mode
Dynamic
IP Address
0.0.0.0
Gateway
0.0.0.0
Primary DNS
0.0.0.0
Secondary DNS
0.0.0.0
Link Status
Link Down
Apply
Cancel
Subnet Mask
0.0.0.0
Settings
Home Menu
Connected
BD-ROM
Quick Setup
Display
Language
A
Network
Info
Speaker
Audio
Display
HDMI Status Connected
HDMI Preferred Format 1080p(HDMI)
Resolution HDMI Auto
TV Aspect 16:9 Pillarbox
Film Mode Off
Deep Color On
Settings menu items
submenu display area
Wired
Network Test
Wireless