8 turning on the power, 9 selecting the input source, Turning on the power – Runco VX-60d User Manual
Page 48: Selecting the input source, Pre l iminar y
36
Runco VX-40d/-50d/-60d/-80d Owner’s Operating Manual
PRE
L
IMINAR
Y
3.8
Turning on the Power
1. Turn on your source components.
2. Turn on the main power switch at the rear of the DHD Controller.
3. If this is an AutoScope-equipped projector, turn on the main power switch at the rear of
the AutoScope lens motor. The lens motor power switch is located next to the AC input
(see Figure 3-14).
4. Press the ON button on the remote control – or the POWER button on the DHD
Controller front panel – to turn on the system. The vacuum fluorescent display on the
DHD Controller front panel briefly displays “Starting Display.”
The LED status window at the rear of the projector displays an active pattern of
segments to indicate that it is changing its state from “standby” to “on.”
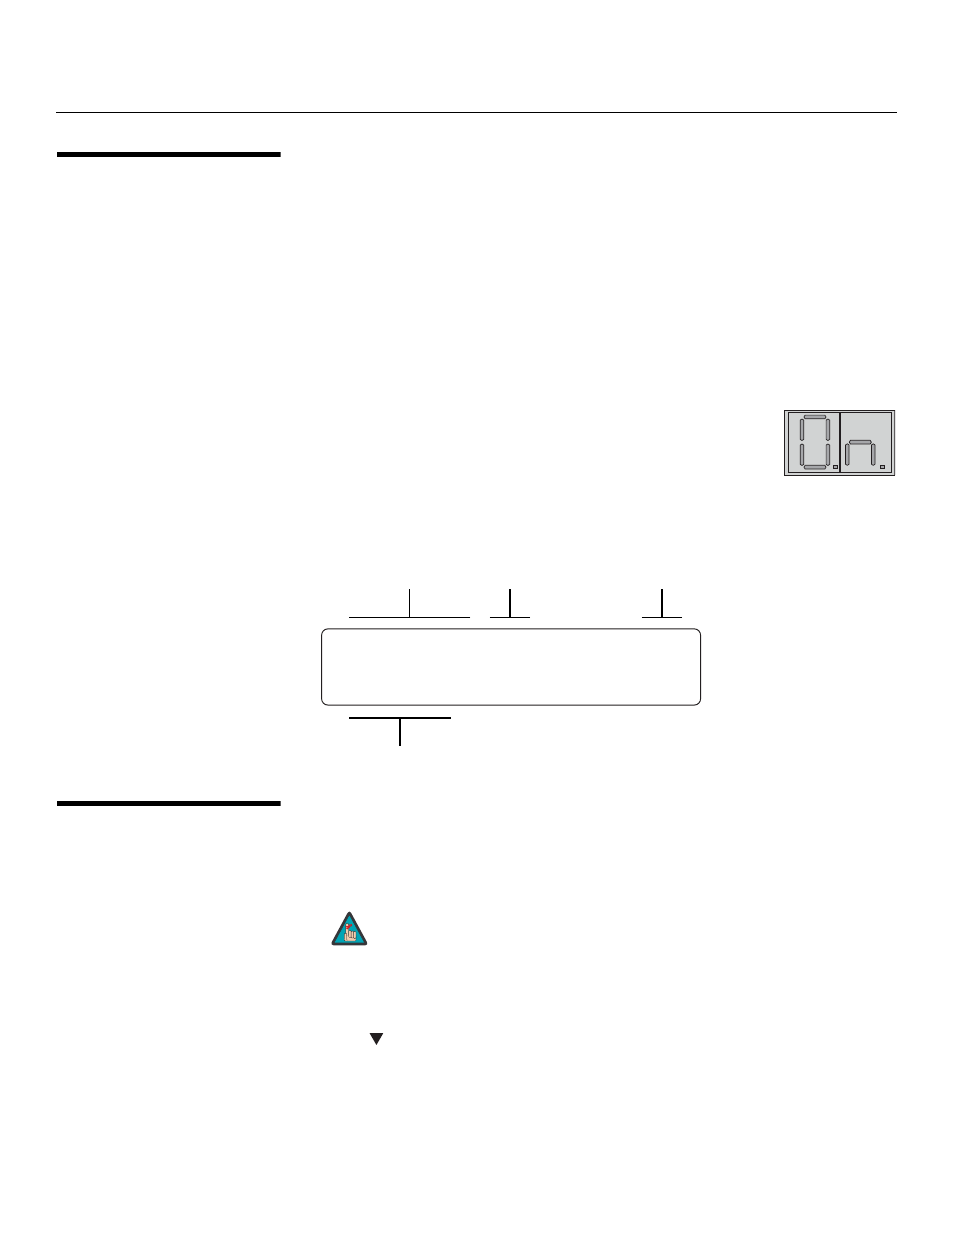
5. When the projector has completed its initialization and is ready
for use, “On” appears in the projector LED status window.
The fluorescent display on the DHD Controller indicates the active source, signal format
(NTSC or PAL), input resolution and aspect ratio; for example:
3.9
Selecting the Input
Source
By default, the VX-40d/-50d/-60d/-80d is configured to display the signal received on
Input 1 (RGB). To use Input 2 (DVI) instead:
1.
On the DHD Controller, press MENU and enter the Service Menu passcode.
2.
Select Service from the Main Menu.
3.
Select Display Device from the Service Menu.
4.
Press
to select DVI/HDMI, then press ENTER.
Component SD NTSC
480i
Anamorphic VX-40/50
DVI
Current Source
Format
Input
Resolution
Aspect Ratio
You must enter a passcode to access the Service menu.
Note