Runco CL-610LT User Manual
Page 38
38
Runco CL-610 Owner’s Operating Manual
On-Screen Display Menus
PC & HD Adjust
Auto
Yes?
Freq.
0
Phase
+10
H.Pos.
0
V.Pos.
0
Press
Enter to display the PC & HD Adjust menu. Use these
settings to fine-tune 480p and higher-resolution signals for
optimum picture quality.
•
Auto: Adjusts the phase, frequency and position
automatically.
•
Freq.: Adjusts the frequency of the signal.
•
Phase: Adjusts the phase of the input signal (similar to
tracking on a VCR).
•
H. Pos.: Adjusts the horizontal position of the image.
•
V. Pos.: Adjusts the vertical position of the image.
NOTE: To adjust the image position with a 480i source, use
the
Image Shift controls in the Set Up menu, described on
page 41.
PIP/PBP Set Up
PIP/PBP Enable
PIP Set Up
PBP Set Up
PIP/PBP Enable
Off
On
PIP Set Up
PIP Off
Graphic in Video
Video in Graphic
PIP/PBP Set Up
PIP/PBP Enable
PIP Set Up
PBP Set Up
PBP Set Up
PBP Off
Graphic by Video
Video by Graphic
PIP/PBP Set Up
PIP/PBP Enable
PIP Set Up
PBP Set Up
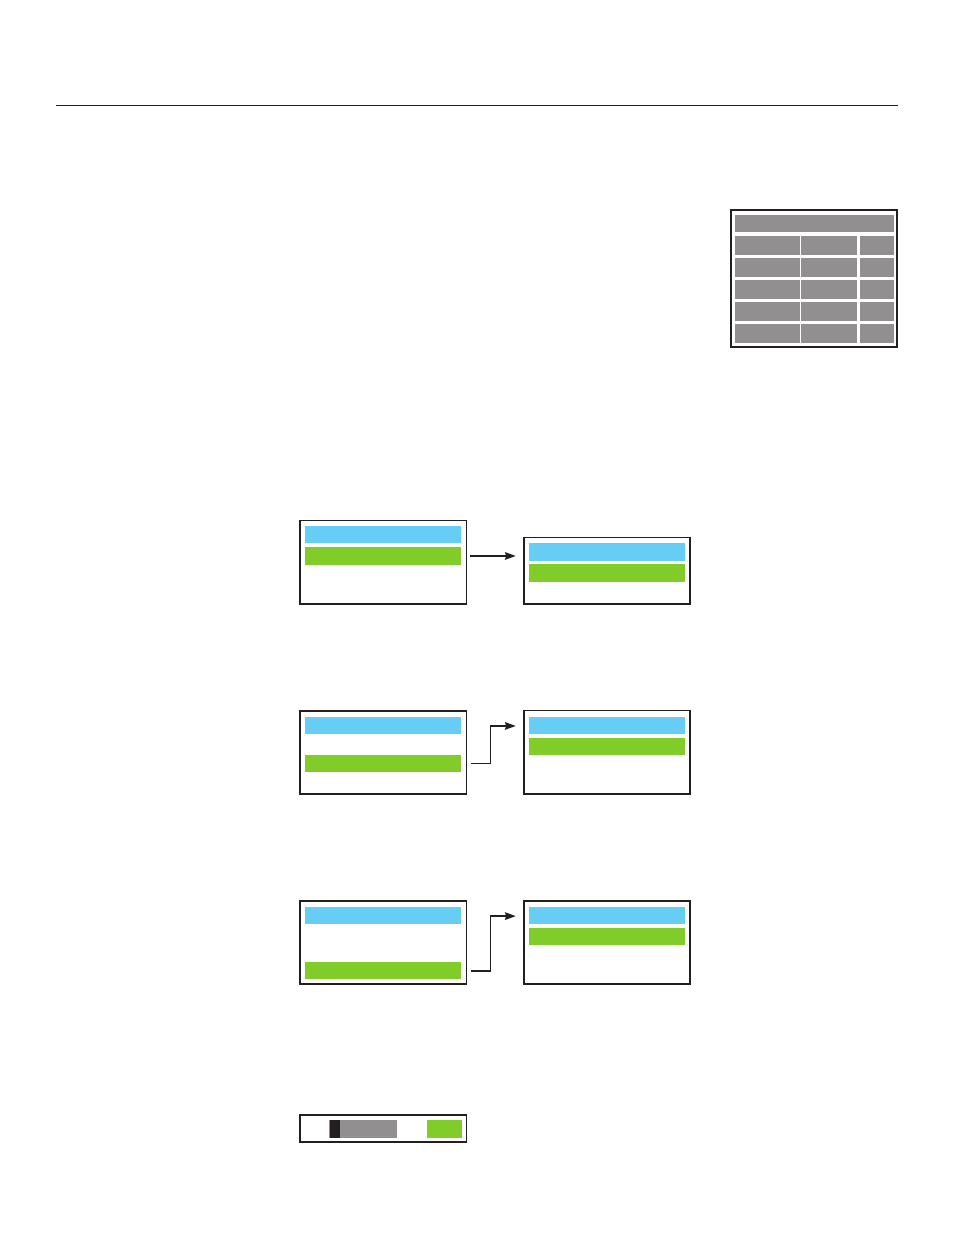
PC & HD Adjust ➤
PIP / PBP Set Up ➤
Press the
▲ or ▼ arrows to select PIP/PBP Enable, then press Enter.
Press the
▲ or ▼ arrows to select Off or On, then press Enter.
Press the
▲ or ▼ arrows to select PIP Set Up, then press Enter.
Press the
▲ or ▼ arrows to select PIP Off, Graphic in Video or Video in
Graphic, then press Enter.
PIP Set Up ➤
PBP Set Up ➤
Press the
▲ or ▼ arrows to select PBP Set Up, then press Enter.
Press the
▲ or ▼ arrows to select PBP Off, Graphic by Video or Video by
Graphic, then press Enter.
-
+ 0
Press the
◄ or ► arrows to adjust the Digital Noise Reduction (DNR). DNR is useful
for clearing up noisy RGB images such as those from a PC. Adjust as desired, keeping
in mind that reducing noise (which reduces high frequencies) may also soften the
image.
DNR ➤