Alignment (continued) – RIDGID Table Saw User Manual
Page 22
22
Alignment (continued)
NOTE: Always review the section "Check-
ing Blade Parallel to the Miter Gauge
Groove" before proceeding with this sec-
tion.
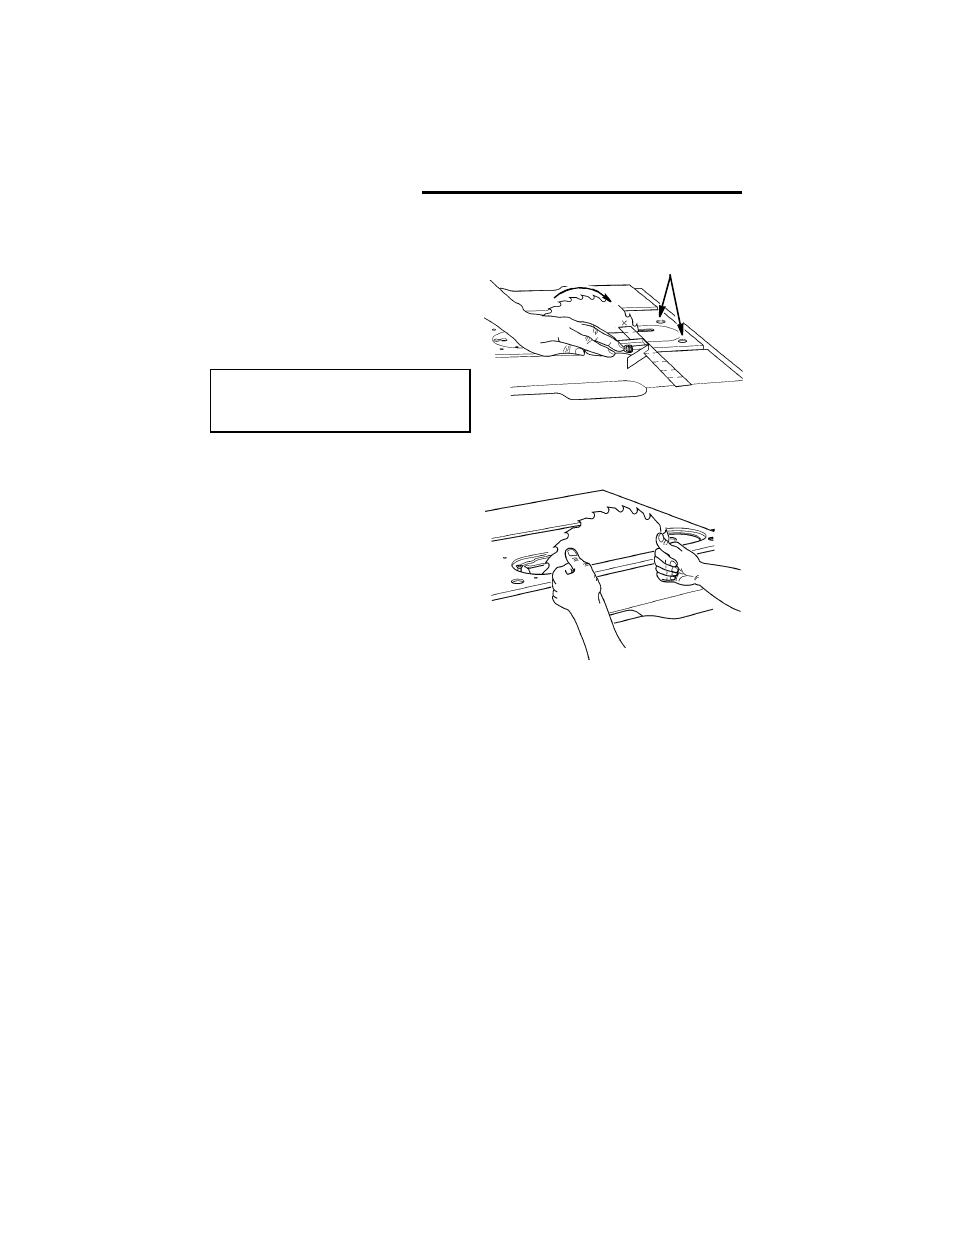
7. Loosen 1/2 turn the four alignment
screws in the top of table next to the
sawblade. This will allow the mecha-
nism below the table to be shifted
sideways.
CAUTION: Blade tips are sharp,
to move, grasp blade as shown
to avoid injury.
8. Push on side of blade and move it to
either the right or left as needed to
make the square touch the same
amount front and rear. Tighten one
screw.
9. Check with square to determine if
marked tooth touches square by the
same amount at front and rear.
If it does, alternately tighten the other
three screws.
If it does not, loosen screw and move
blade the required amount.
10. Recheck blade clearance to table
insert to make sure blade does not hit
at either 90 or 45 degree blade tilt.
Alignment
Screws