Checking the mastered result, Exported audio fi les – Roland JUNO-Gi User Manual
Page 25
25
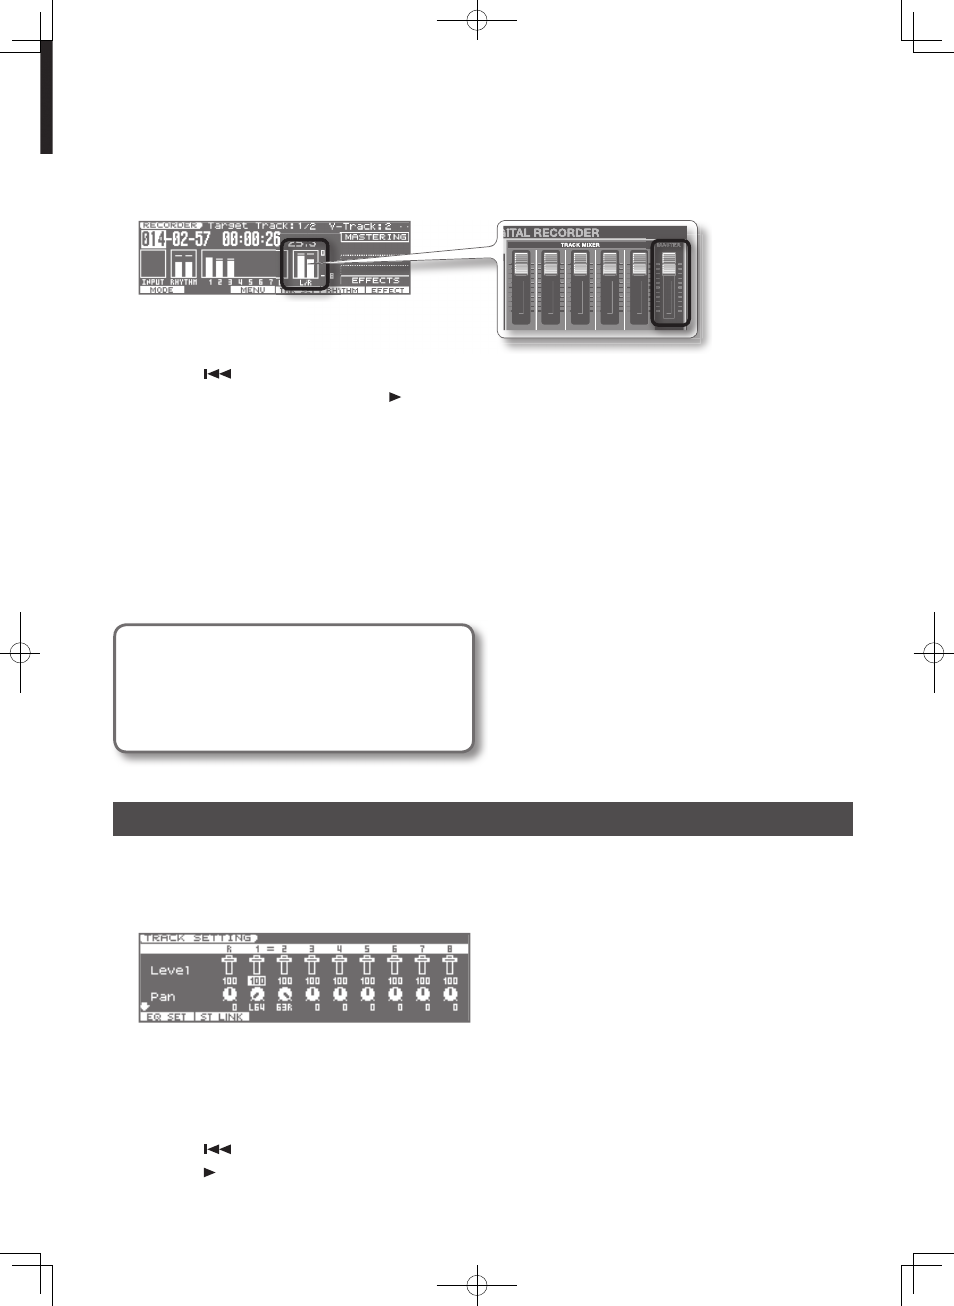
7. Play back the song, and use the [MASTER] slider to adjust the master level .
Raise the volume level until it is as high as you can get it without causing the level meter to reach the maximum (the point at which distortion would
occur) . (“CLIP” is shown when the level meter reaches the maximum position .)
\\
\
8. Press the [■] (STOP) button .
9. Press the [
] (beginning of song) button to move to the beginning of the song .
10. Press the [●] (REC) button and then the [ ] (PLAY) button to begin mastering .
11. To stop mastering, press the [■] (STOP) button .
The mastered data will be created on the tracks you specifi ed in step 3 .
The message “Export?” will appear .
12. Press the [6] (EXEC) button .
Pressing the [6] (EXEC) button lets you continue with the process of exporting the mastered data as an audio fi le .
13. In the screen that allows you to assign a name to the audio fi le, press the [6] (EXEC) button .
If you want to assign a name, refer to page 19 in the Owner’s Manual .
A confi rmation message will appear .
14. If you want to execute, press the [5] (EXEC) button .
The mastered data will be exported to an audio fi le . The exported audio fi le will be saved in the “/ROLAND/EXPORT/” folder of the SD card .
Exported audio fi les
Exported audio fi les will be in the following format .
• WAV format
• 44 .1 kHz sampling frequency
• 16-bit
15. If you want to save the settings to the currently selected song, press the [WRITE] button .
Checking the Mastered Result
1. Press the [1] (MODE) button a number of times to select normal mode .
Make sure that the display does not indicate “BOUNCE” or “MASTERING .”
2. Press the [4] (TRK SET) button .
The TRACK SETTING screen will appear .
3. Use the cursor buttons to move the cursor, and use the VALUE dial to choose “2” in the V-Track fi eld of tracks 1 .
4. For tracks 3–8 (i .e ., tracks other than the mastering destination), set the “Level” fi elds to a value of 0 .
For all tracks, set the “Reverb” fi elds to a value of 0 .
Alternatively, use the track buttons to mute tracks 3–8 (see “Muting Tracks” on p . 88 in the Owner’s Manual) .
5. Press the [EXIT] button .
6. Press the [
] (beginning of song) button to move to the beginning of the song .
7. Press the [ ] (PLAY) button to listen to the bounce-recorded sound .