Replacing the fabric switch module (fsm 4000), Replacing the fabric switch module (fsm 4000) -18, 0), see “ replacing the fabric switch – Polycom RMX DOC2548A User Manual
Page 60
Chapter 2- Component Replacement
2-18
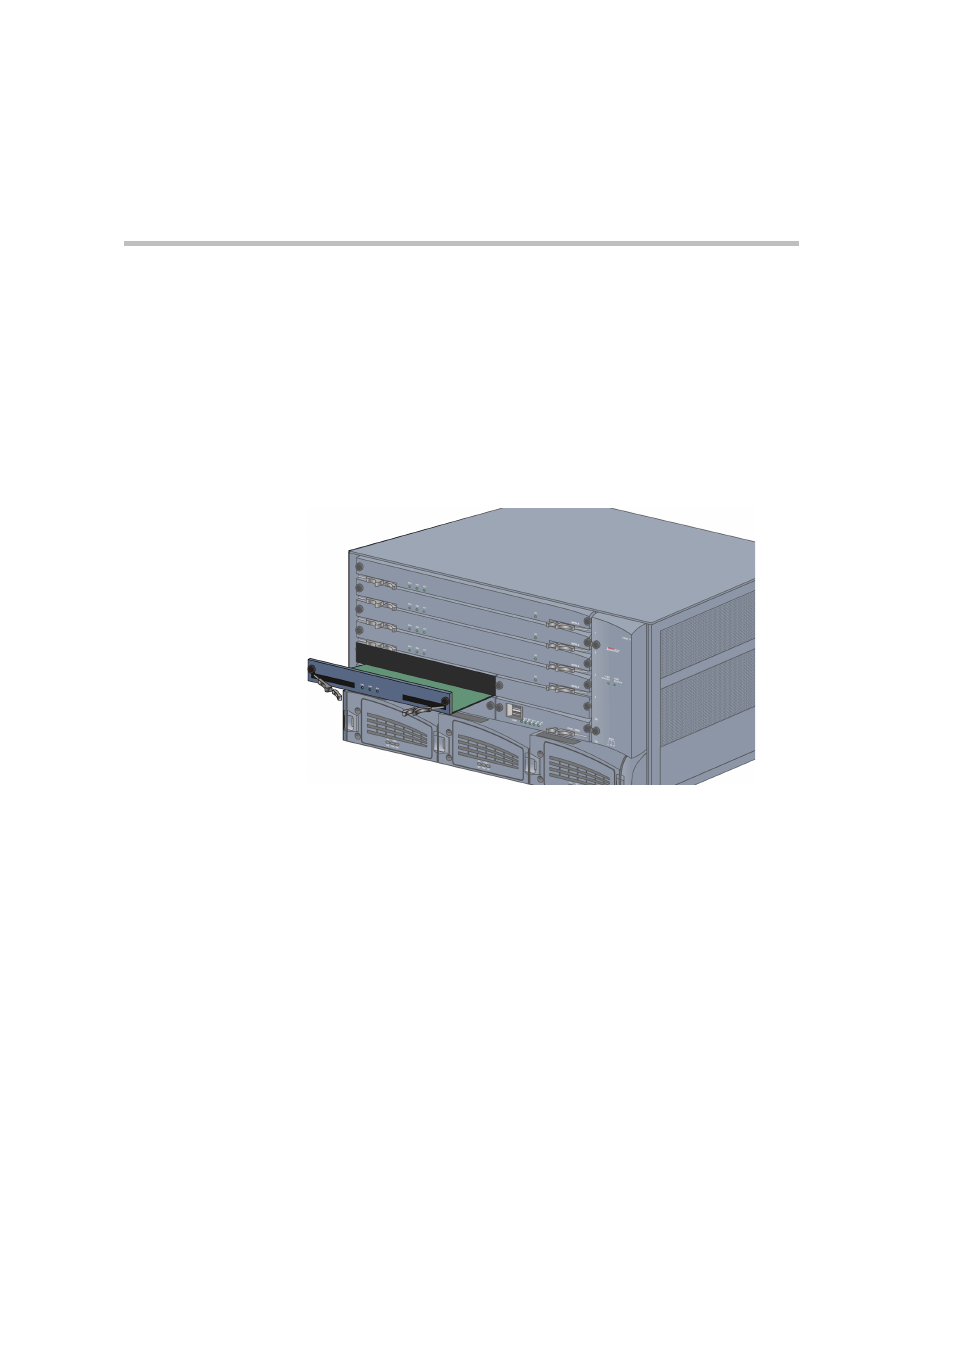
Replacing the Fabric Switch Module (FSM 4000)
1
Ensure that the power switch/circuit switch on the RMX 4000 is
turned OFF (O).
2
Loosen the captive screws that fasten the module to the MCU.
3
Remove the Fabric Switch Module (FSM 4000). Use the metal ejector
levers to pull the Fabric Switch Module (FSM 4000) out of its slot in
the backplane.
4
Carefully slide the Fabric Switch Module (FSM 4000) out through the
front panel.
5
On the card to be installed, move the ejector levers to their fully open
position.
6
Slide in the replacement Fabric Switch Module (FSM 4000).
7
Push the Fabric Switch Module (FSM 4000) firmly into the backplane,
making sure it is properly seated in its slots.
8
Ensure that the metal ejector levers are fully retracted into their
housings.
9
Tighten the captive screws on the rear panel of the RMX 4000 that
secure the Fabric Switch Module (FSM 4000).
10 Turn ON the RMX 4000.