Ransmitter, Ontrol – Philips Network Adaper User Manual
Page 14
26
27
T
RANSMITTER
C
ONTROL
R
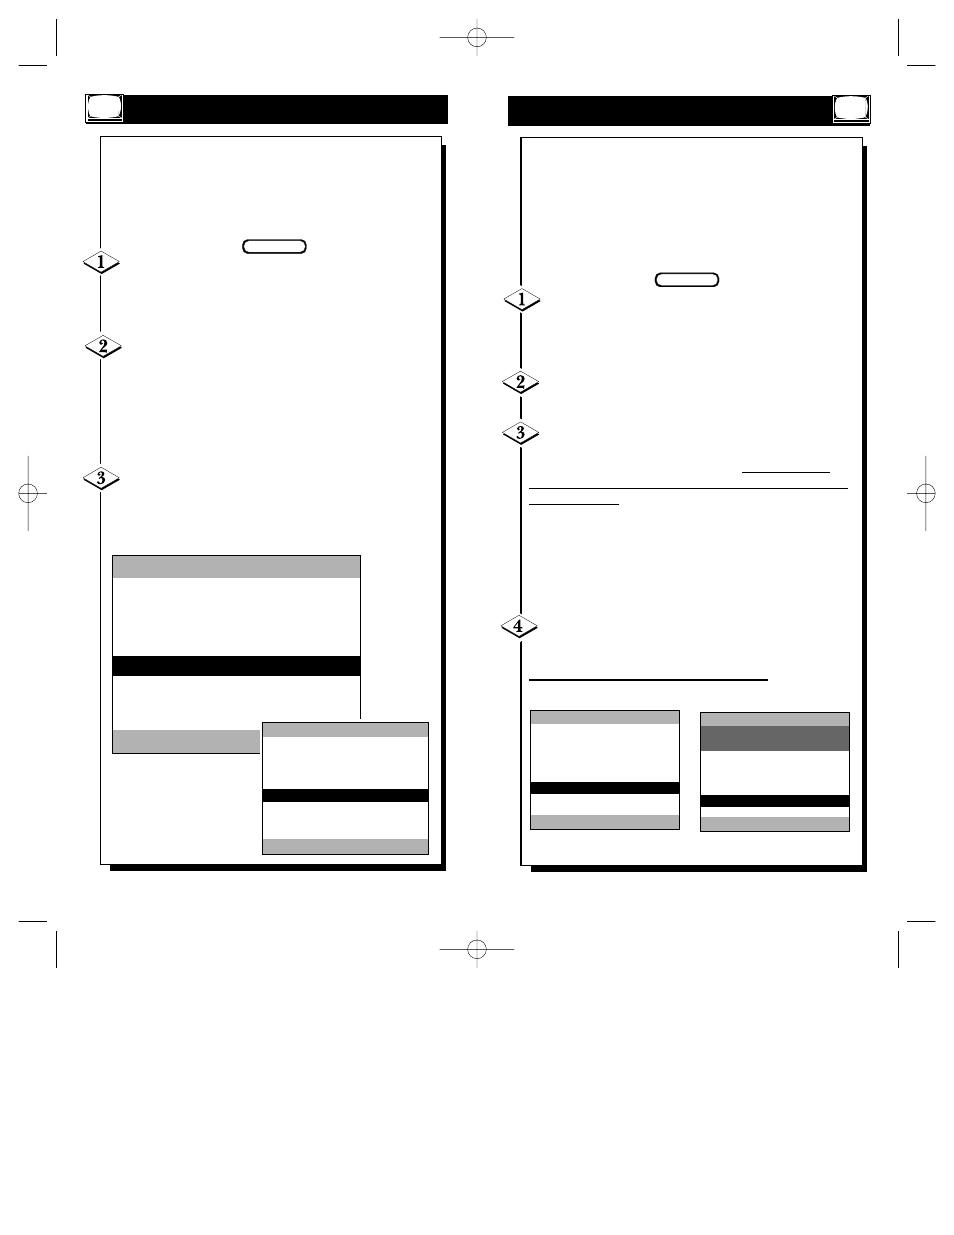
CVR LOCKOUT allows you to lock the Receiver
TVs so that they can only be adjusted by the
Transmitter TV. Or you can leave the Receiver TVs
“UNLOCKED,” so that they can be adjusted at each
TV. The default setting is “UNLOCKED.”
“UPDATE RCVR TVS” transmits all your selections to
the Receiver TVs.
If not already in the “TRANSMITTER CON-
TROL” menu, press the D button on the remote con-
trol. Then press the ▼ button until “RCVR LOCK-
OUT” is highlighted.
Press the – (
ᮤ
) or + (
ᮣ
) button to select
“UNLOCKED” or “LOCK.”
Next, press the ▼ button to highlight “UPDATE
RCVR TVS.” Press the – (
ᮤ
) or + (
ᮣ
) button to send
all the commands you have selected. You must com-
plete “UPDATE RCVR TVS” or the Receiver TVs will
not be updated.
Note: if you select “LOCK” in “RCVR LOCKOUT,”
both “ADDRESS TYPE” and “GROUP IDS” will be
highlighted in yellow and cannot be changed until the
TVs are “UNLOCKed” or “RESTOREd”. (For options
under “RCVR LOCKOUT,” see page 28.)
When finished, press the ▼ button to highlight
“EXIT.” Then press the “M” button. Or you can exit by
simply pressing the RECALL button when you're done.
Y
OU CAN NOW TRANSMIT YOUR MESSAGE
.
BEGIN
T
RANSMITTER
C
ONTROL
R
CVR CHANNEL allows you to turn the Receiver TVs
to the channel you select or leave them at their
“CURRENT” setting. Leaving them at “CURRENT”
allows the Receiver TV to change channels, even the sys-
tem is “LOCKED.” The default setting is “CURRENT.”
If not already in the “TRANSMITTER CON-
TROL” menu, press the D button on the remote con-
trol. Then press the ▼ button until “RCVR CHAN-
NEL” is highlighted.
Press the – (
ᮤ
) or + (
ᮣ
) button to select “CUR-
RENT,” channels 1 to 125 (if Cable mode is selected),
“AUX,”or “S-VIDEO,” or channels 2 - 69 (if Cable
mode is not selected). You can also use the Number but-
tons to select a number. If broadcasting from a VCR or
Camcorder, select “AUX” or “S-VIDEO,” depending on
how it is hooked up. See pages 14 - 17 for details.
When finished, press the ▼ button to highlight
“RCVR LOCKOUT.”
BEGIN
TRANSMITTER CONTROL
ADDRESS TYPE
BROADCAST
BROADCAST
ALL SETS
RCVR POWER
CURRENT
RCVR VOLUME
CURRENT
RCVR CHANNEL
CURRENT
RCVR LOCKOUT
UNLOCKED
UPDATE RCVR TVS
EXIT MENU
+/- OR DIGITS TO CHANGE
TRANSMITTER CONTROL
ADDRESS TYPE
BROADCAST
BROADCAST
ALL SETS
RCVR POWER
CURRENT
RCVR VOLUME
CURRENT
RCVR CHANNEL
40
RCVR LOCKOUT
UNLOCKED
UPDATE RCVR TVS
EXIT MENU
+/- OR DIGITS TO CHANGE
TRANSMITTER CONTROL
ADDRESS TYPE
BROADCAST
BROADCAST
ALL SETS
RCVR POWER
ON
RCVR VOLUME
CURRENT
RCVR CHANNEL
40
RCVR LOCKOUT
LOCK
UPDATE RCVR TVS
EXIT MENU
PRESS +/- TO CHANGE
TRANSMITTER CONTROL
*** (P–C)
CTRL LOCK***
BROADCAST
ALL SETS
RCVR POWER
ON
RCVR VOLUME
CURRENT
RCVR CHANNEL
40
RCVR LOCKOUT
LOCK
UPDATE RCVR TVS
EXIT MENU
PRESS +TO UPDATE RCVRS
Net 1Card IB 2/15/00 12:18 PM Page 26