Lcd screen assembly main board, Picture 10 – PACKARD BELL EasyNote B3 User Manual
Page 9
8
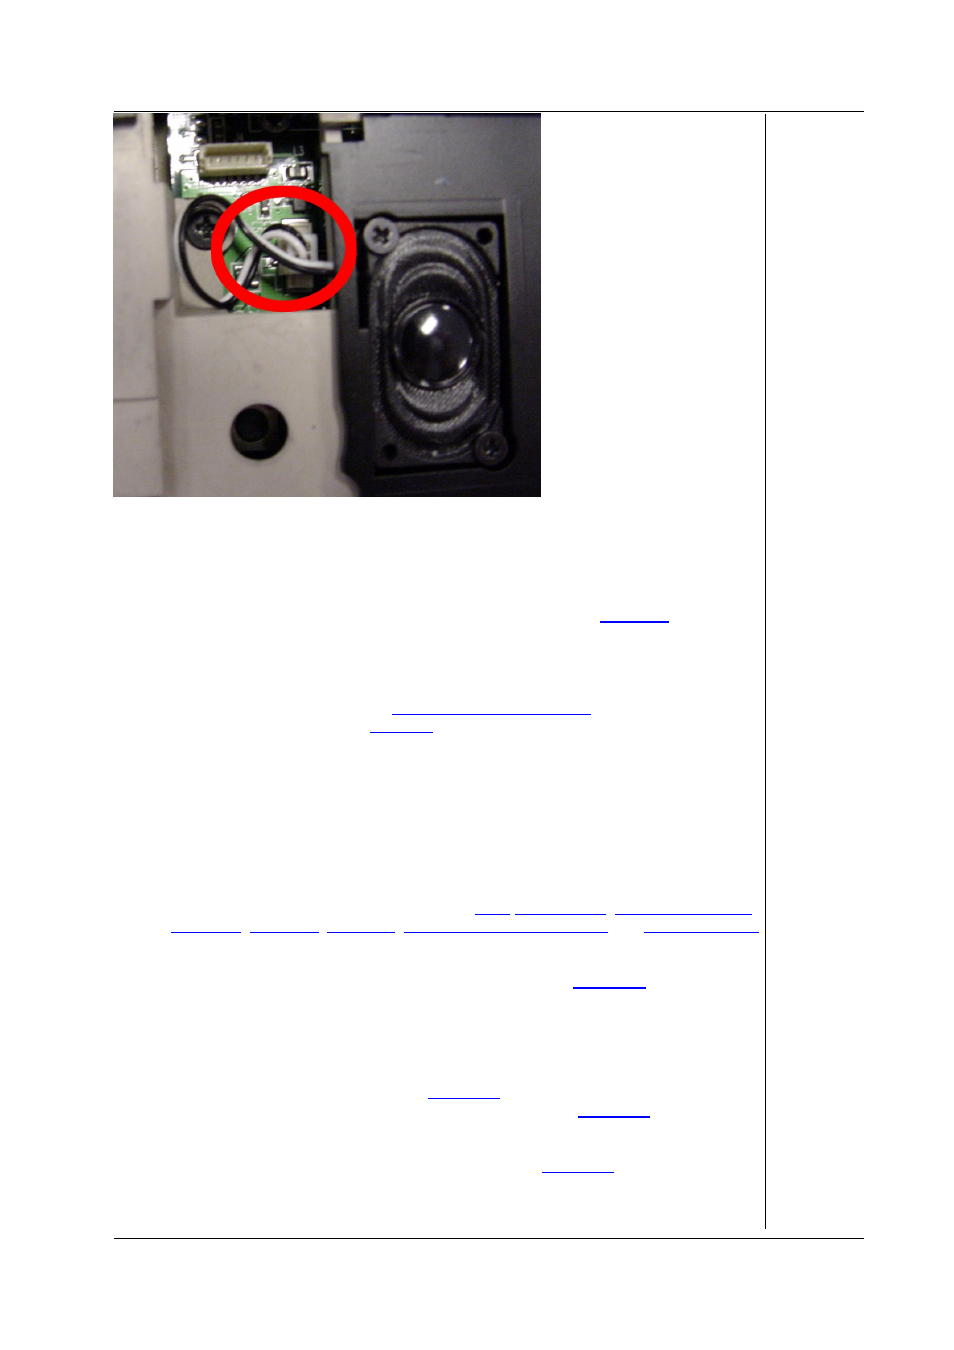
Picture 10. Right Speaker Connector
LCD Screen Assembly
To remove the LCD screen assembly, perform the following steps:
1. Remove the keyboard top cover as described in the chapter
2. Remove the LCD hinge covers; these are ‘
clicked’
in place on the backside of the
notebook. The best way is to leverage them slightly using a flat-head screwdriver.
3. Disconnect the LCD cables.
4. Disconnect the WLAN antenna. To do so, remove the CPU, the memory, and the
mini PCI cover as described in
. The antenna is clicked
onto the mini PCI card (see
).
5. Note that the antenna might be secured on the main board or CPU fan using tape.
Remove the tape temporarily to release the antenna cable.
6. Remove the 2*2 screws in the 2 LCD hinges.
7. Gently lift the LCD screen assembly, and ensure the WLAN antenna cable is free to
move as well.
Main Board
To remove the main board, perform the following steps:
1. Follow the steps described in the chapters
,
and
Removing the entire LCD lid assembly is not required. However, you will need to
disconnect the LCD cables.
2. Remove all screws from the bottom base as indicated in
(screws marked
A are long, screws marked B are medium length, and those indicated as C are
short).
3. Remove the 2 screws located just beneath the LCD hinges.
4. Remove the 2 hex bolts of the VGA connector.
5. Disconnect the glide pad flat cable: lift the small brown flap holding the flat cable in
place and gently pull out the cable. (
).
6. Remove the 5 screws located under the keyboard cover (
; screw
indicated as B is longer).
7. Remove the top cover.
8. Remove the 2 screws securing the main board (see
9. Disconnect the translation board.
10. Lift out the main board.