Lcd screen disassembly, Lcd lid assembly lcd bezel, Picture 15 – PACKARD BELL EasyNote B3 User Manual
Page 12
11
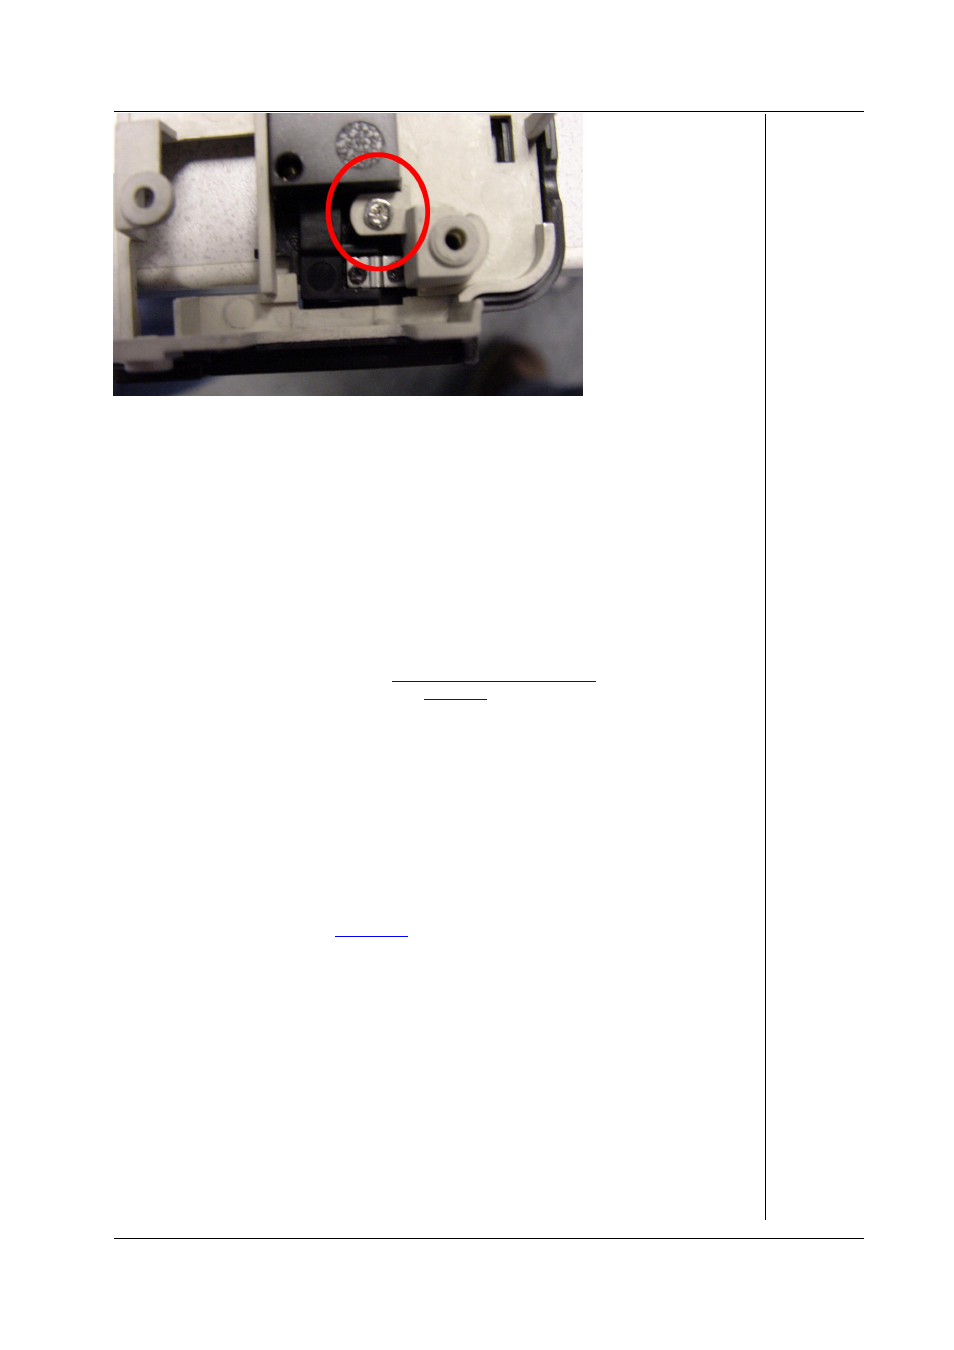
Picture 15. LCD Switch
LCD Screen Disassembly
LCD Lid Assembly
To remove the LCD lid assembly, perform the following steps:
1. Remove the keyboard top cover as described above.
2. Remove the LCD hinge covers; these are ‘
clicked’
in place on the backside of the
notebook. The easiest way is to leverage them slightly using a flat-head
screwdriver.
3. Disconnect the LCD cables.
4. Disconnect the WLAN antenna. To do so, remove the CPU, the memory, and the
mini PCI cover as described in
. The antenna is
clicked onto the mini PCI card (see
5. Note that the antenna might be secured on the main board or CPU fan using tape.
Remove the tape temporarily to release the antenna cable.
6. Remove the 2*2 screws in the 2 LCD hinges.
7. Gently lift the LCD screen assembly and ensure the WLAN antenna cable is free to
move as well.
LCD Bezel
To remove the LCD bezel, perform the following steps:
1. Remove the 2 mylars near the hinges.
2. Remove the 2 outer rubber stoppers, located on the top of the screen; the middle
rubber does not need to be removed.
3. Remove the 4 screws (
4. Remove the LCD bezel.