Step 3: installation and set-up, Continued) – Philips DVDR3300H User Manual
Page 25
25
Step 3: Installation and Set-up
(continued)
TIPS: After completing the basic installation, you can change or update your settings using the system
setup menu, see page 56~61.
Note: Make sure you have successfully
made all the required connections to this
recorder, the TV and Satellite Receiver/
Cable Box (if any) and turned them on.
The channel search will detect the signals
and save all the available programme
channels.
F
Press OK to start automatic channel
install.
It takes a few minutes to complete.
The total number of found and stored
channels appear.
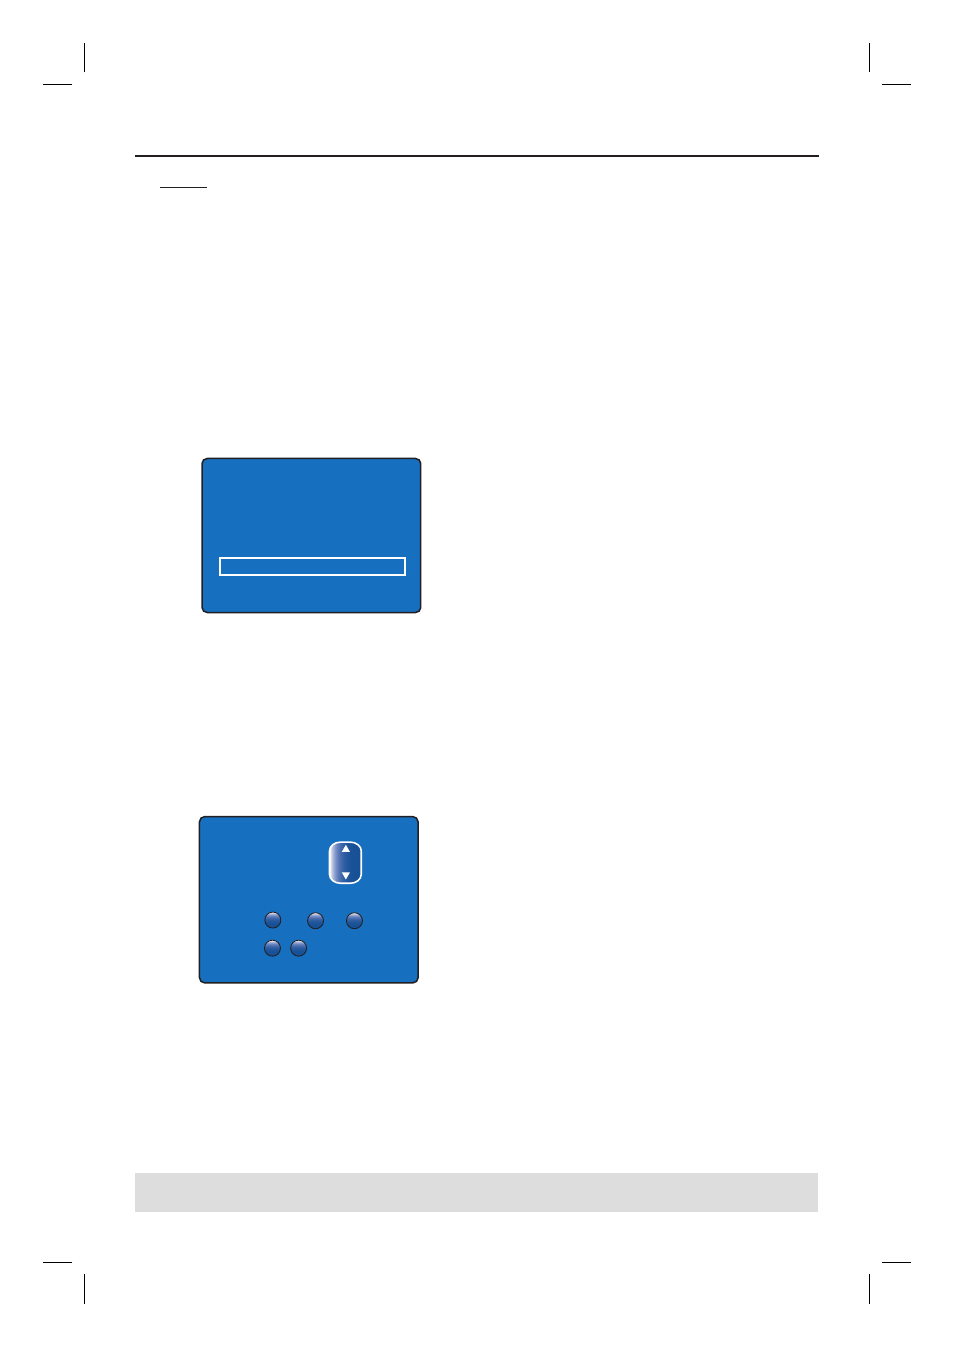
Auto Install Channels
Press STOP to save.
Please wait.... Searching for channels
This operation may take about 20 minutes
00 Channels found
If no channels are found :
– Try the auto TV channel installation
after completing the basic setup, see page
60.
G
After the channel search is fi nished, press
SETUP to save.
The date and time menu appears.
Set Date and Time
Press SETUP to save and exit
Date
00
/
00
Time
00
:
00
Day
Month
Year
/
00
Clock Preset
001
H
The recorder will automatically detect
the fi rst available channel which is
transmitting the date/time information.
If the information is incorrect, use
keys to select another TV channel for auto
clock preset function or select { Off } and
set the date/time manually.
I
Confi rm the date/time setting by pressing
SETUP to save and exit.
The basic installation is now
complete. This recorder is ready for
use!
dvdr3300h_uk_eng_17233d.indd 25
dvdr3300h_uk_eng_17233d.indd 25
2005-10-19 10:41:23 AM
2005-10-19 10:41:23 AM