Addressright® da950 printer, Installation instructions – Pitney Bowes ADDRESSRIGHT DA950 User Manual
Page 2
AddressRight® DA950 Printer
Page 2 of 10
Installation Instructions
SV61184 Rev. B
Page 3 of 10
AddressRight® DA950 Printer
Installation Instructions
SV61184 Rev. B
Assembling the
Printer
• Remove the printer and feeder from the boxes they were shipped in.
• Be sure to remove any accessories from the boxes.
NOTE: Ensure that all packing materials (styrofoam, tape, etc.) have been
removed from the exterior and interior of the printer and feeder.
Once you've placed the printer and feeder in a suitable location, assemble the
printer and feeder components in the following order:
NOTE: Do not plug the printer into the power source until you've completed
steps 1-4.
1. Attaching the Feeder
2. Installing the Gas Shock
3. Installing the Side Guides
4. Installing the Ramp
5. Connecting the Parallel or USB cable
6. Attaching the Power Cord and Turning the Printer ON.
7. Installing the Bulk Ink Tray Assembly (Optional)
8. Installing the Print Cartridges or Bulk Ink Cartridges
The following environmental consid-
erations must be kept in mind when
selecting a location for the Address
Printer. Doing otherwise may affect the
operation and performance of the Ad-
dress Printer.
1. Place the printer close enough to
the computer for the parallel or USB
cable to reach.
NOTE: A/B Parallel switches are
not recommended for operation
with this printer.
2. Place the printer on a flat, stable
surface.
3. Use a grounded, dedicated outlet
for the printer only. Do not use an
adapter plug.
4. Avoid locations near direct sunlight,
excessive heat, high humidity, mois-
ture, or dust.
5. Keep the entire system away from
large motors or other appliances
that might disturb the power supply
or create potential interference.
Choosing a Location
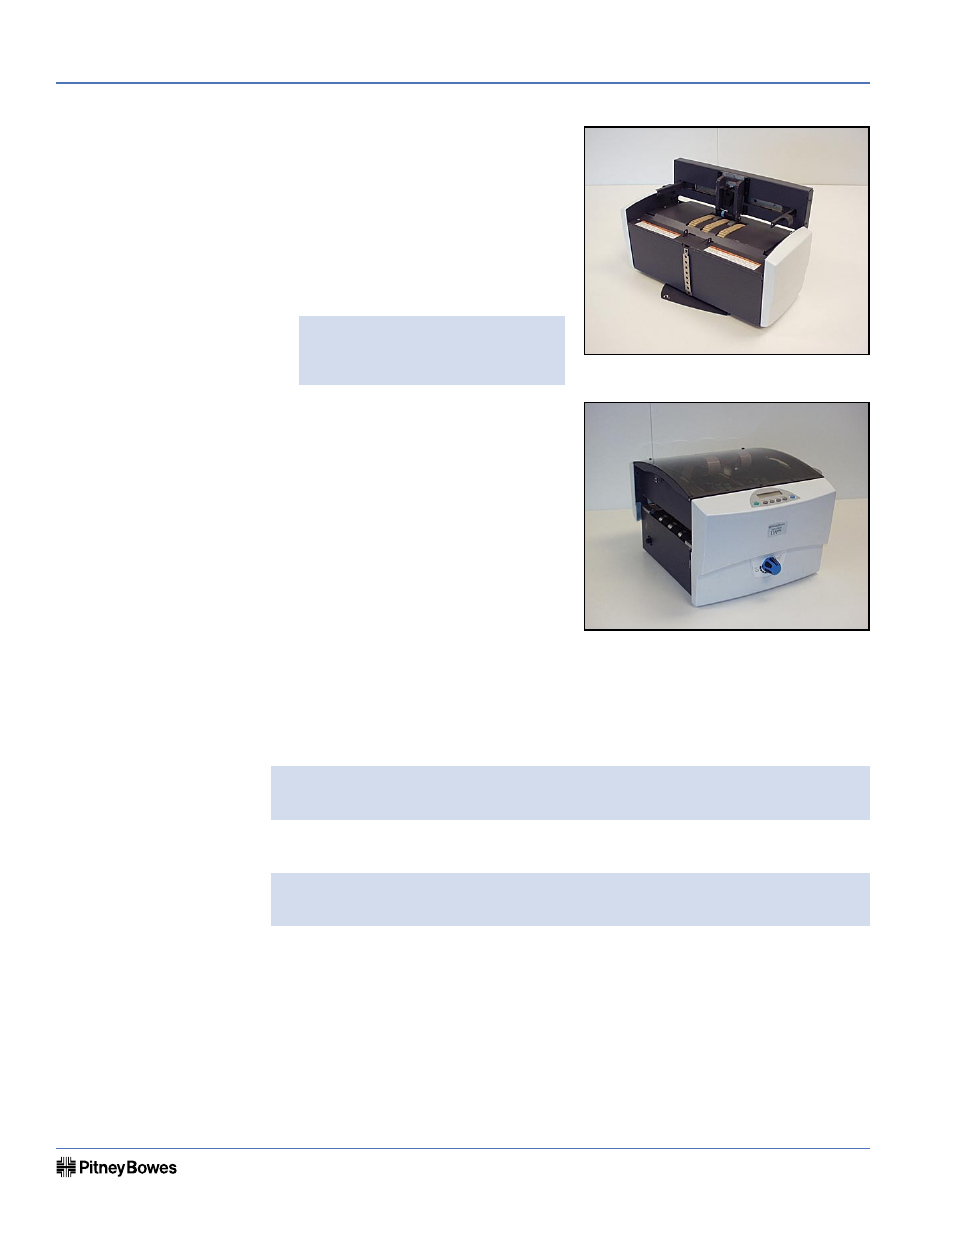
Feeder
Printer