On screen display on / off, Front panel display on / off, Remote control command mode – Pioneer DVR-520H User Manual
Page 95: Setup navigator on / off, Tuner settings, Auto channel setting antenna / cable, The initial setup menu 13, On screen display, Front panel display, Remote control set
The Initial Setup menu
13
95
En
On Screen Display
• Default setting:
On
On the default setting, the recorder shows on-screen
operation displays (
Play, Stop and so on). Change to Off
to hide these displays.
Front Panel Display
• Default setting:
On
On the default setting, the time is shown in the front
panel display when the recorder is in standby. Switch to
Off to have the front panel display switch off completely
when in standby.
Note
• When set to
Off, the display still lights dimly in
standby when setting a timer recording, or during
Auto Start Recording.
Remote Control Set
• Default setting:
Recorder1
You only need to set this if you are using more than one
Pioneer DVD recorder in the same room.
So that each remote control operates only its own
recorder, make this setting different for each recorder
and remote in the room.
There are three different recorder IDs. When set to
Recorder2 or Recorder3, the remote control mode is
shown in the front panel display.
After selecting a new recorder ID, you have to confirm the
change by selecting
Yes or No (use the
/ (cursor
left/right) buttons), then pressing
ENTER.
Note that as soon as you change the recorder ID, the
remote becomes inoperative until you change the remote
to the same ID.
To set the remote, press and hold
RETURN and a number
button (
1, 2 or 3) until the indicator on the remote lights.
Setup Navigator
• Default setting: n/a
The Setup Navigator appears automatically when you
switch on the recorder for the first time (or after resetting
the recorder). It is also available from the Initial Settings
menu should you need it at any other time.
See also Switching on and setting up on page 25.
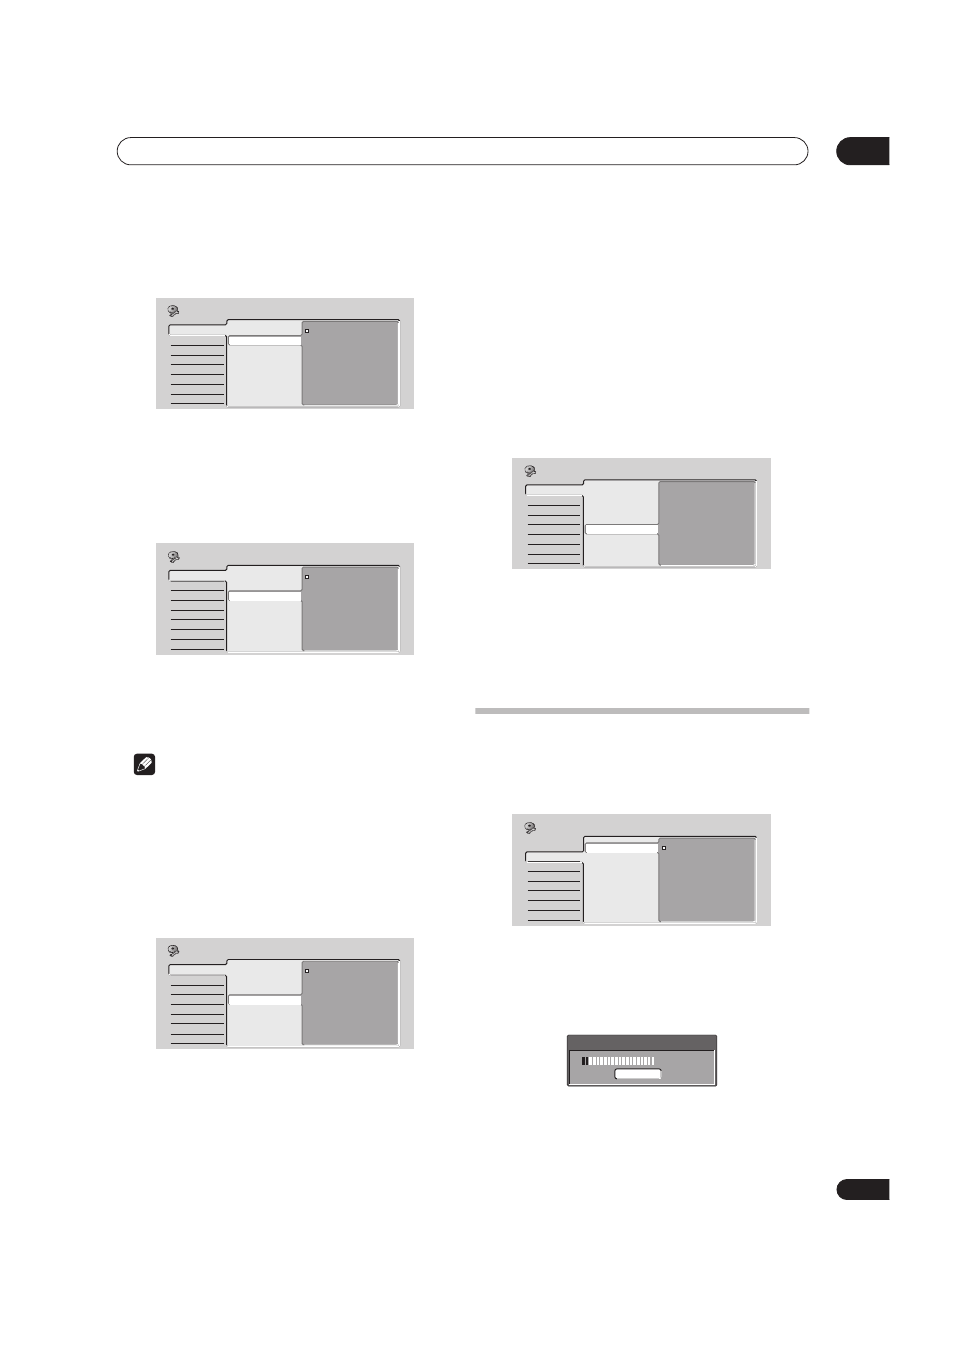
Tuner settings
Auto Channel Setting
• Default setting:
Antenna
Auto Channel Setting automatically tunes the built-in TV
tuner to terrestrial broadcast TV channels or cable
channels. Select
Antenna or Cable, depending on how
you receive your TV channels, then wait for the automatic
tuning to finish.
Basic
Tuner
Video Out
Audio In
Audio Out
Language
Recording
Playback
Clock Setting
On Screen Display
Front Panel Display
Remote Control Set
Setup Navigator
On
Off
Initial Setup
Basic
Tuner
Video Out
Audio In
Audio Out
Language
Recording
Playback
Clock Setting
On Screen Display
Front Panel Display
Remote Control Set
Setup Navigator
On
Off
Initial Setup
Basic
Tuner
Video Out
Audio In
Audio Out
Language
Recording
Playback
Clock Setting
On Screen Display
Front Panel Display
Remote Control Set
Setup Navigator
Recorder1
Recorder2
Recorder3
Initial Setup
Basic
Tuner
Video Out
Audio In
Audio Out
Language
Recording
Playback
Clock Setting
On Screen Display
Front Panel Display
Remote Control Set
Setup Navigator
Start
Initial Setup
Basic
Tuner
Video Out
Audio In
Audio Out
Language
Recording
Playback
Auto Channel Setting
Manual CH Setting
VCR Plus+ CH Setting
Antenna
Cable
Initial Setup
Tuning
7/68
Cancel