Disc navigator menu options, Editing 08 – Pioneer DVR-520H User Manual
Page 75
Editing
08
75
En
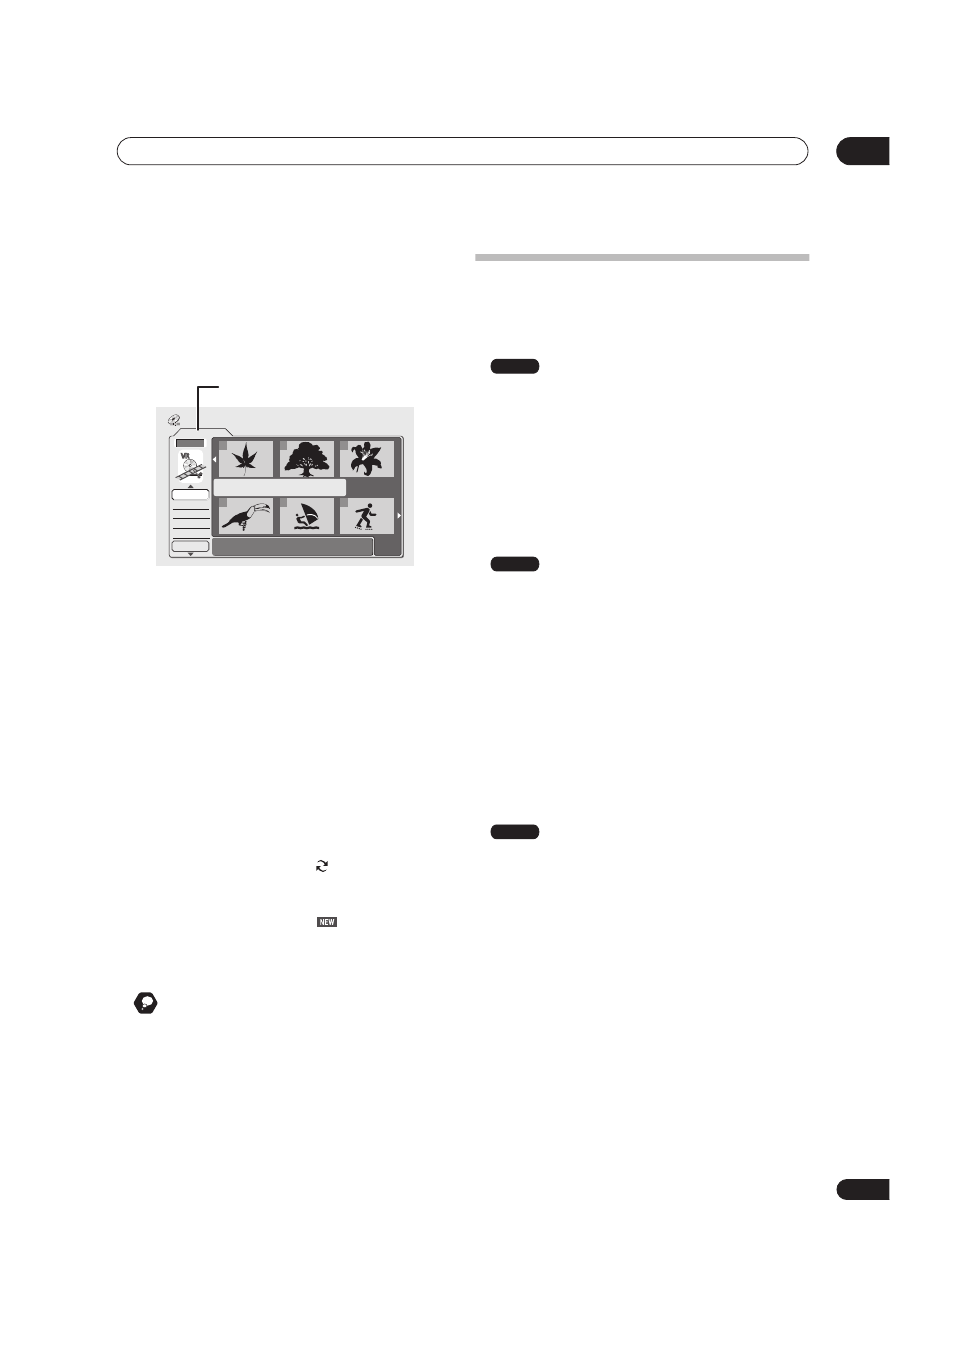
• As you highlight different thumbnails, information
about the title is shown in the central area of the
screen. Press
DISPLAY to change the information
displayed.
• If you are editing a VR mode disc, press
PLAYLIST to
switch between Original and Play List Disc Navigator
screens.
• Press
RETURN to get back to the menu options on
the left from the thumbnail area of the Disc
Navigator.
• You can switch between the HDD and the DVD Disc
Navigator screens using the
HDD and DVD buttons
(front panel or remote).
You can copy a selected HDD title to DVD, or DVD title to
HDD by pressing
ONE TOUCH COPY (see also page 59
for more on One Touch Copy).
When editing HDD content, a row of group names
appears above the title thumbnails (see Editing HDD
groups on page 80 for more details). You can access
these by pressing
(cursor up) repeatedly until the
All
group is highlighted, then using the
/ (cursor left/
right) buttons to select a group. Press
ENTER to ‘open’
the highlighted group.
Titles on the HDD marked with a
icon are timer
recordings set to Auto Replace Recording (see Standard
timer recording on page 48).
Titles on the HDD marked with a
icon are recently
recorded titles that haven’t yet been played.
3
To exit the Disc Navigator, press HOME MENU.
Remember
• You can change the thumbnail pictures used for titles
using the
NAVI MARK button—see Changing the
thumbnail picture for a title on page 36.
Disc Navigator menu options
The commands available from the Disc Navigator for the
VR mode and Video mode discs and the HDD are shown
below.
•
Play – Play a title (page 76)
•
Title Name (Ttl Name) – Name or rename a title
(page 77)
•
Lock/Unlock – Lock or unlock a title to prevent
accidental changes being made (page 79)
•
Erase – Erase a title (page 76)
•
Erase All – Erase all titles (page 80)
•
Undo – Undo the last change (page 80)
(Original)
•
Play – Play a title (page 76)
•
Title Name (Ttl Name) – Name or rename a title
(page 77)
•
Lock/Unlock – Lock or unlock a title to prevent
accidental changes being made (page 79)
•
Erase – Erase a title (page 76)
•
Erase All – Erase all titles (page 80)
•
Undo – Undo the last change (page 80)
•
Chapter Edit (Chpt Edit) – Make detailed changes to
chapters in a title (page 77)
•
Erase Section (Erase Sec) – Erase a part of a title
(page 79)
•
Play – Play a title (page 76)
•
Title Name (Ttl Name) – Name or rename a title
(page 77)
•
Lock/Unlock – Lock or unlock a title to prevent
accidental changes being made (page 79)
•
Erase – Erase a title (page 76)
•
Erase All – Erase all titles (page 80)
•
Chapter Edit (Chpt Edit) – Make detailed changes
to chapters in a title (page 77)
•
Divide – Divide a title into two (page 80)
•
Change Group (Chg Group) – Assign a title to a
group on the HDD (page 81)
•
Group Name (Grp Name) – Name or rename an
HDD group (page 81)
•
Erase Section (Erase Sec) – Erase part of a title
(page 79)
Play List
1/1
Undo
DVD
1
2
3
4
5
6
Disc Navigator
Play
Erase
Ttl Name
Chpt Edit
Erase Sec
DVD Remain
0h37m(FINE)
Playlist / Original indicator
Video mode
VR mode
HDD