Taking pictures (auto mode), P28), Area (p28) – Panasonic DMC-LC5PP User Manual
Page 28
28
Taking Pictures (AUTO Mode)
By only pressing the shutter button, the
exposure (shutter speed and aperture
value) will be automatically adjusted and
the picture will be taken.
[Preparations]
• Insert the card. (P17)
• Set the power switch to [ON]. (P19)
• Set the operational mode dial to the
single mode [
]. (P25)
1
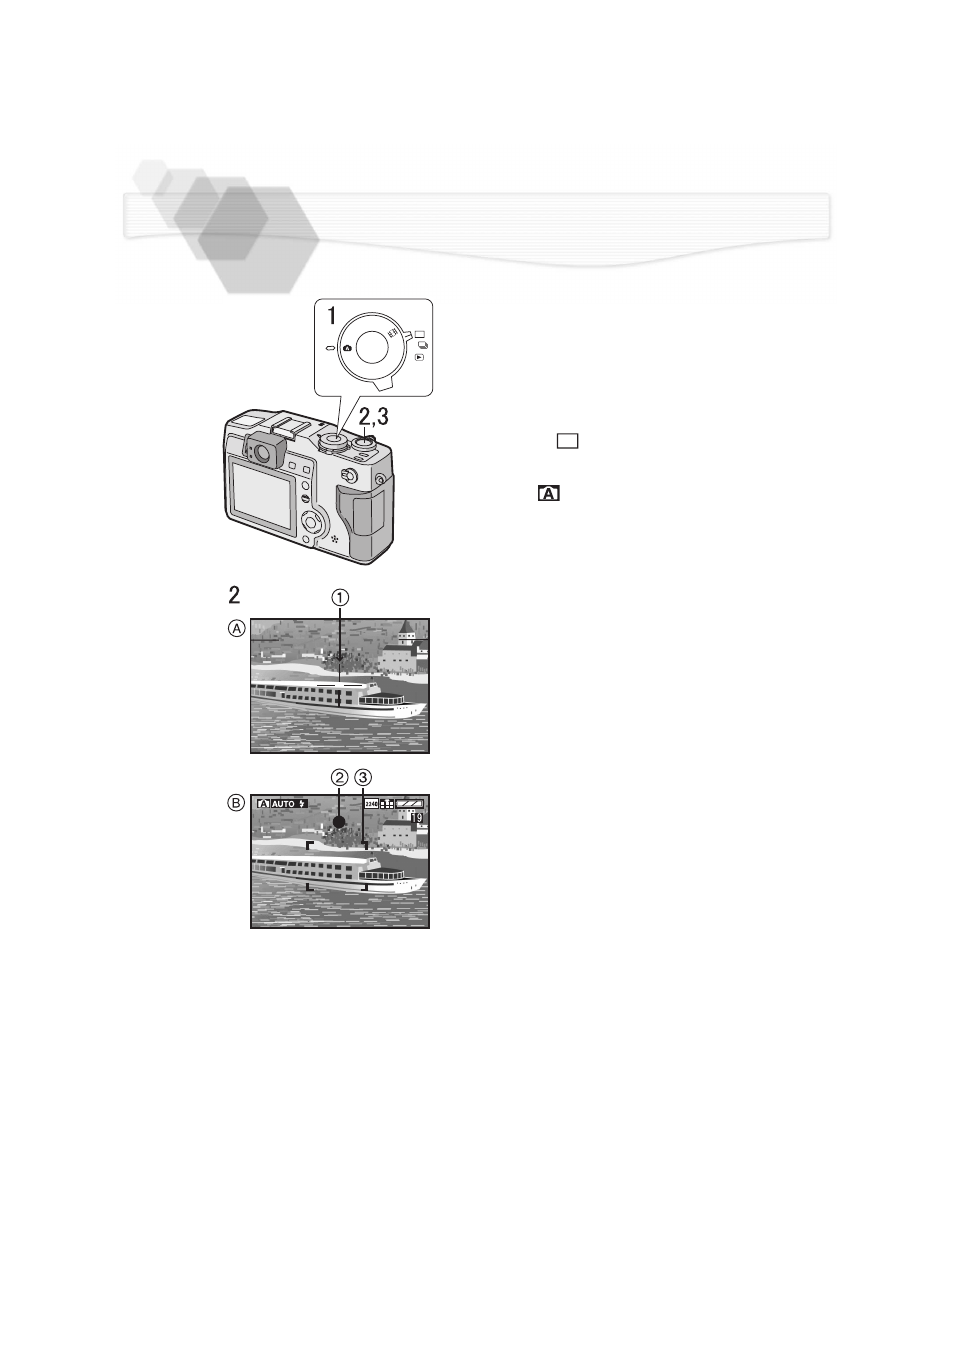
Set the REC mode dial to AUTO
mode [
].
2
[
A Optical finder]
Let the subject be centered in the
AF target
1 inside the optical finder
and press the shutter button
halfway.
[
B LCD monitor]
After centering the subject in the
focus area
3 on the LCD monitor,
press the shutter button halfway.
• When the focus is adjusted, the focus
indication [¥]
2 appears.
• The shutter speed and the aperture
value are automatically adjusted and
displayed on the LCD monitor.
• When the subject is out of the AF
target or the focus area, take the AF/
AE lock. (P47)
3
Press the shutter button fully to
take the picture.
• After taking a picture, when the auto
review (P79) is set to [ON], the
picture is displayed on the LCD
monitor for about 2 seconds.
• When power saving time is set, if you do not operate the camera, it is
automatically turned off at the set time. To operate the camera again, turn the
power switch first to [OFF] and then to [ON], or press the shutter button. (P81)
• There are times when the brightness of the LCD monitor differs from that of
the recorded pictures. In particular, when taking pictures in dark places with a
long time exposure, darkness appears on the LCD Monitor, but the recorded
pictures are bright.
M
S
A
P