Inverter board, Webcam – PACKARD BELL MX User Manual
Page 17
1616161616
Packard Bell EasyNote MX Disassembly Manual
16
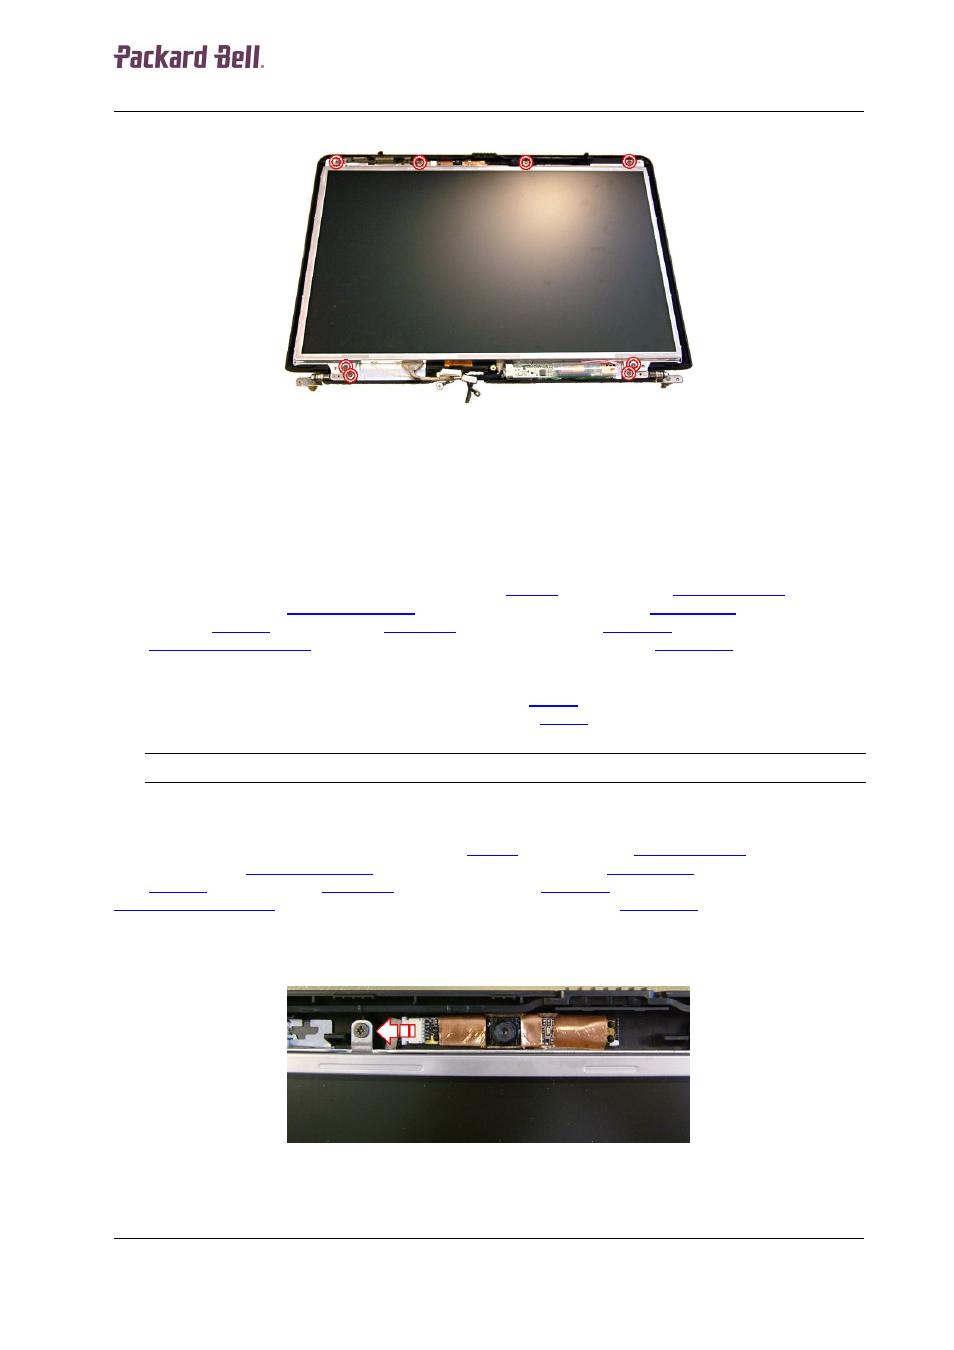
5. Remove the 8 screws securing the LCD and lift out the LCD panel.
Fig. 28 Location of screws securing LCD module.
6. Remove the 4 screws on each side of the bracket.
7. Remove the top support bracket (usually held in place by the left and the right brackets).
8. Disconnect the LCD cable from the back of the panel.
Inverter Board
To remove the inverter board, first remove battery (see
), the HDD (see
), the CD-
ROM or DVD drive (see
), the wireless network card (see
), the installed
memory (see
), the CPU (see
), the keyboard (see
), remove the LCD screen
(see
), disassemble the LCD panel up to step 3 (see
), and then do the
following:
1. Disconnect all cables from the inverter board (see
2. Remove the screw securing the inverter board (see
) and extract the board.
Note: The protective Mylar around the inverter board is a separate service part.
Webcam
To remove the webcam, first remove battery (see
), the HDD (see
), the CD-ROM
or DVD drive (see
), the wireless network card (see
), the installed memory
(see
), the CPU (see
), the keyboard (see
), remove the LCD screen (see
LCD Screen Assembly
), disassemble the LCD panel up to step 3 (see
LCD Panel
), and then do the
1. Disconnect the cable from the webcam.
Fig. 29 Location of webcam connector.
2. Lift out the webcam.