Linksys RV082 User Manual
Page 68
59
Chapter 6: Set Up and Configure the Router
Wizard Tab
10/100 8-Port VPN Router
Access Rule Setup
1. Click the Launch Now button to run the Access Rule Wizard to help you easily set up the Firewall security
policy for the Router.
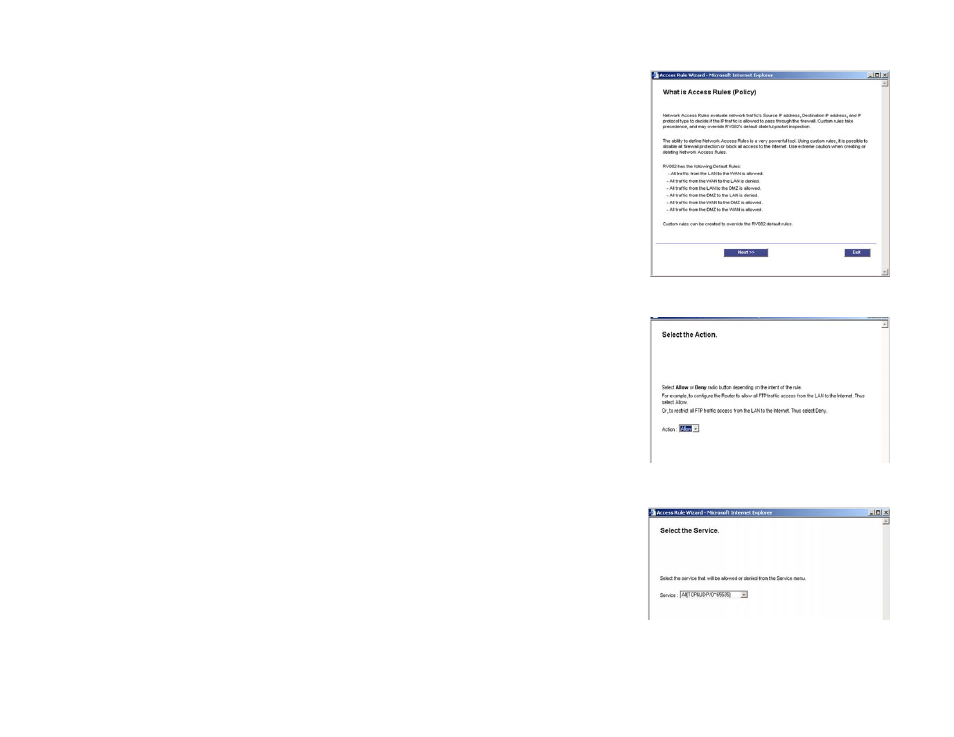
2. The first screen to appear is Figure 6-64. This screen explains the Access Rules. Click Next to continue. Click
Exit if you want to exit the wizard.
3. The next screen to appear is shown in Figure 6-65. Select Allow or Deny for the action. Click Next to
continue. Click Previous if you want to return to the previous screen. Click Exit if you want to exit the wizard.
4. The next screen to appear is shown in Figure 6-66. Select the service from the drop-down menu that will be
allowed or denied from the Service menu. Click Next to continue. Click Previous if you want to return to the
previous screen. Click Exit if you want to exit the wizard.
5. The next screen to appear is Figure 6-67. Select the log from the drop-down menu, Log packet match this
rule or Not log. Click Next to continue. Click Previous if you want to return to the previous screen. Click Exit
if you want to exit the wizard.
6. The next screen to appear is shown in Figure 6-68. Select the Source from the Ethernet drop-down menu.
Then, select the users from the drop-down menu, Any, single, or Range. Click Next to continue. Click
Previous if you want to return to the previous screen. Click Exit if you want to exit the wizard.
7. The next screen to appear is Figure 6-69. Select the destination, either Any, Single, or Range, from the
drop-down menu. Click Next to continue. Click Previous if you want to return to the previous screen. Click
Exit if you want to exit the wizard.
8. The next screen to appear is shown in Figure 6-70. Select the scheduling for the rule, Always, if the Rule is
always in effect, or Scheduling, if you want to define a range for a specific time and day of the week. Click
Next to continue. Click Previous if you want to return to the previous screen. Click Exit if you want to exit the
wizard.
9. The final screen that appears is Figure 6-71. If you don’t need to make any changes click Save Settings.
Click Previous if you want to return to the previous screen. Click Exit if you want to exit the wizard. The
screen in Figure 6-72 will appear when the settings are correct.
Figure 6-64: Access Rules Policy
Figure 6-65: Select the Action
Figure 6-66: Select the Service