Attach chain lock to your safe drive (optional), Lacie safe hard drive user manual page 1 – LaCie SAFE User Manual
Page 13
LaCie SAFE Hard Drive
User Manual
page 1
Examine the cable carefully and make sure that
you have the USB 2.0 cable properly aligned,
then insert the cable firmly into the USB port
on the back of the drive for a stable connection.
Look for a USB 2.0 logo (which is generally
used to identify the port) next to the connec-
tor on the front, back, or side of your computer,
then insert the cable firmly into the USB port.
1.
2.
4.2. Connect the USB 2.0 Cable to Your LaCie Drive and to Your Computer
Universal Serial Bus (USB) Icons
USB 1.0
USB 2.0
TeChNICAl NOTe:
To achieve USB 2.0
speeds, your drive must be connected to a
USB 2.0 host port. If it is connected to a
USB 1.1 port, your drive will operate at USB
1.1 speeds. For more details see section 7.3.
Optimizing USB 2.0 Connections
.
TeChNICAl NOTe:
Please refer to sec-
tion 7.3.
Optimizing USB 2.0 Connections
for important information on disconnecting
USB 2.0 devices and ensuring optimum per-
formance.
TeChNICAl NOTe:
The volume of the
drive will not yet appear at this point. In-
stead, you’ll see an empty, removable disk.
Once your drive is configured, the total stor-
age volume mounts and you can begin to use
your drive.
Connecting Your LaCie SAFE Drive
You have the option to secure your LaCie
SAFE Hard drive to a permanent fixture (table,
computer, etc.) via a chain lock.
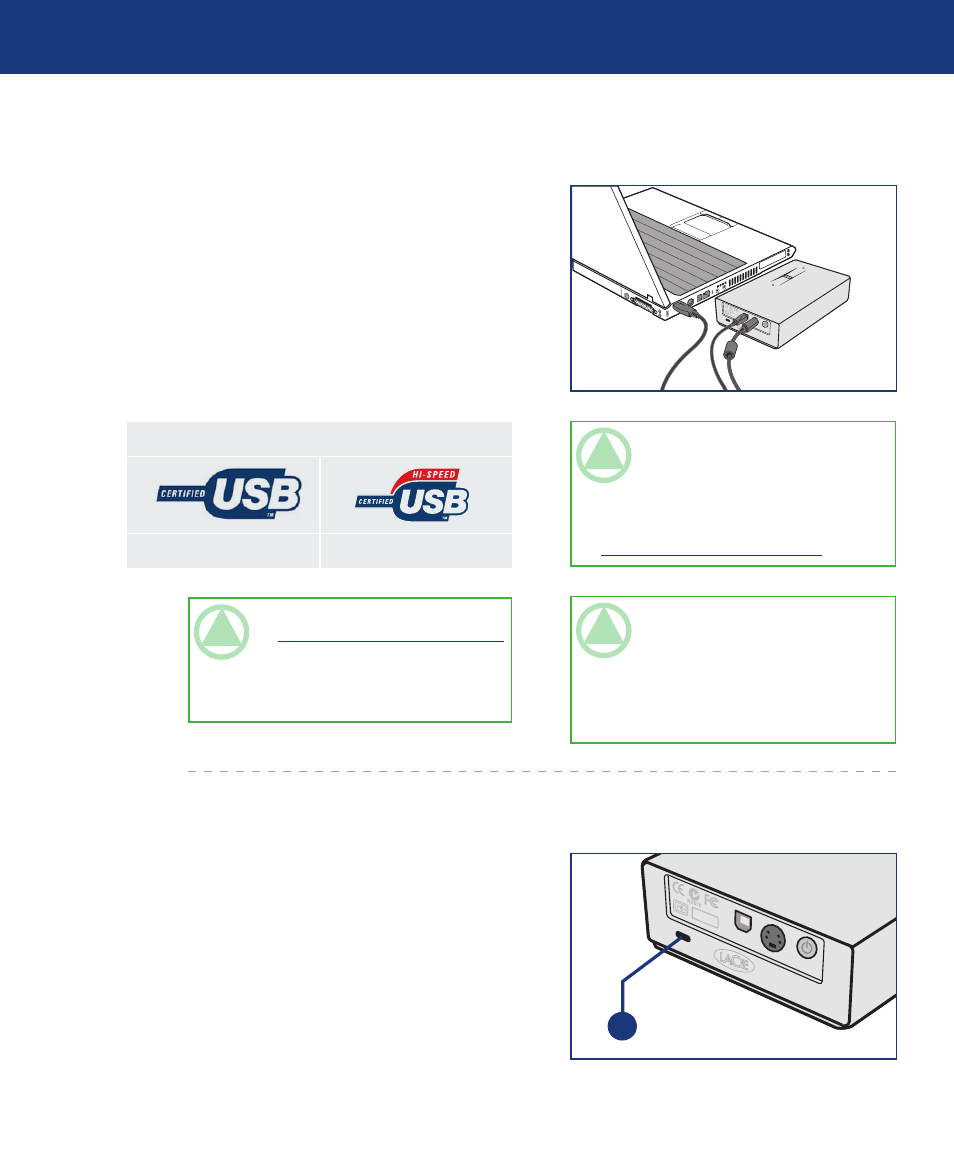
On the back of your SAFE drive, you will see a
slot (L) where the chain lock attaches.
For more information or to purchase a chain
lock, see the LaCie Web site.
4.3. Attach Chain Lock to Your SAFE Drive (Optional)
L