Verifying installation – Lexmark 60 User Manual
Page 31
Verifying installation
27
Verifying installation
NOTE:
To clear the
Maintenance
message from the printer operator panel display,
and to reset the internal counter that determines when it is necessary to
order another maintenance kit, you must follow the instructions in step 2
below after installing the fuser, transfer roll, and paper feed rollers.
1
Plug in the power cord(s).
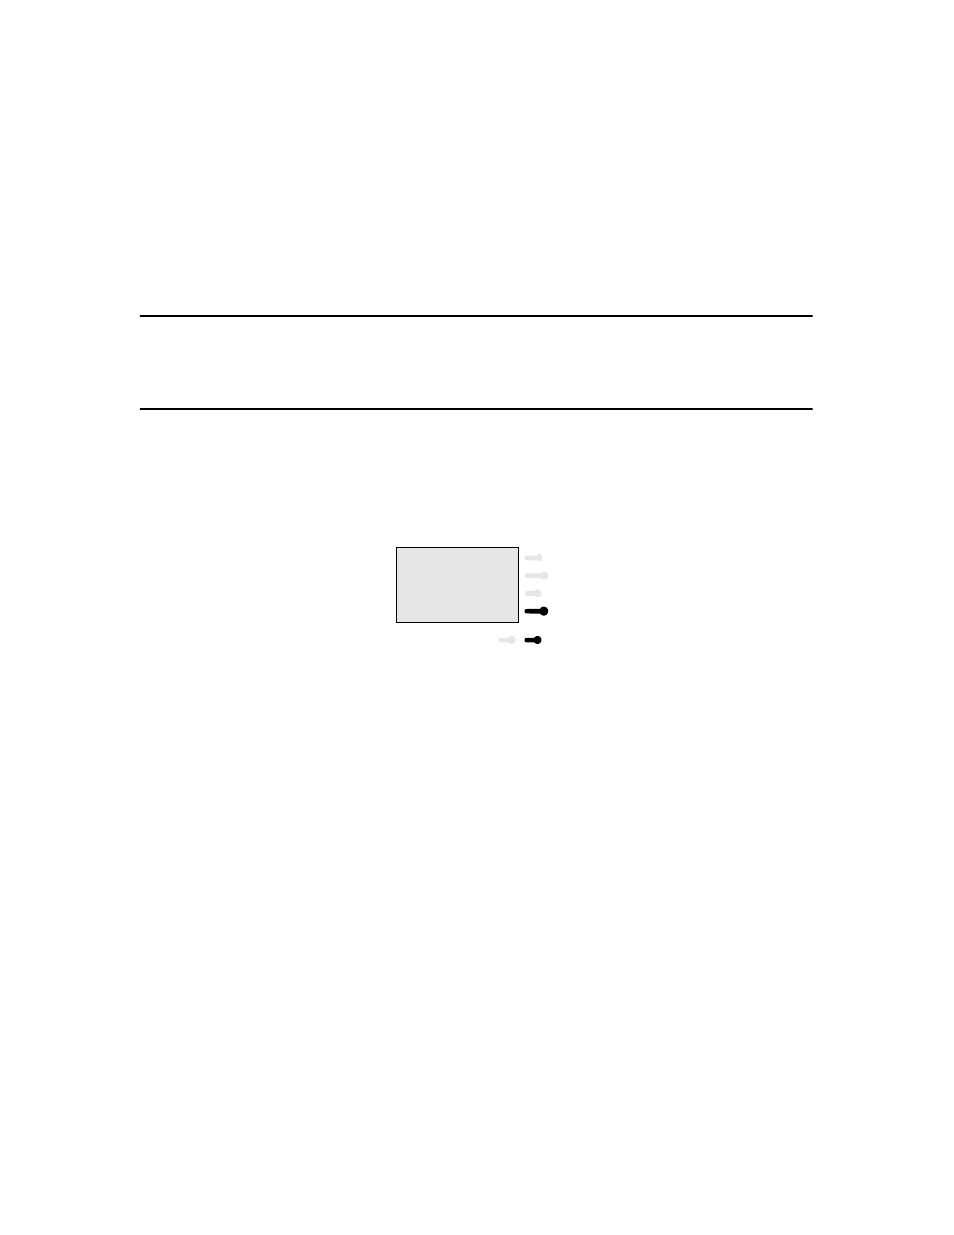
2
Hold down the Return button and the bottom button to the right of the operator
panel, and turn the printer power on.
The messages
Performing Self Test
and
Busy
appear on the display. It may take a
minute or two before the printer is ready.
The
80 Scheduled Maintenance
message should not appear on the display. If it does,
turn the printer off, and then turn it back on while holding down the two buttons as
described above.
3
Print a test page to make sure the paper feeds properly through the printer.
a
From the printer operator panel, select
MENUS
.
b
Select
MORE
.
c
Select
TESTS MENU
.
d
Select
Print Test Page
.
Ready Return