Konica Minolta DiMAGE Scan Multi PRO User Manual
Page 101
DiMAGE Scan Multi PRO
101
CUSTOM WIZARD
3.
Select the format of the film to be scanned and
click on
.
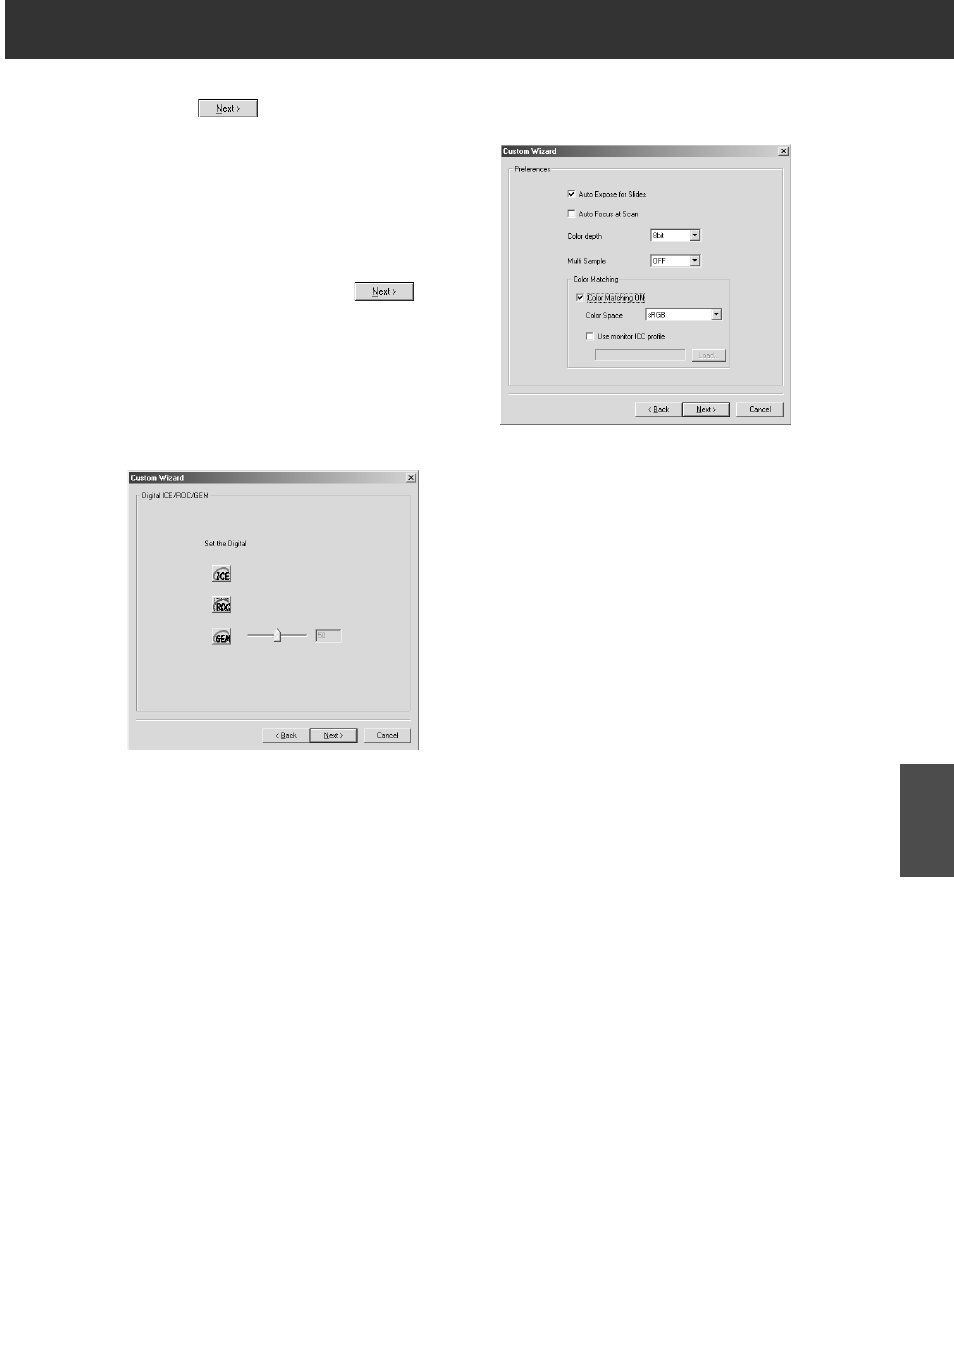
• The Preferences dialog box is displayed.
• For details of “Auto Expose for Slides”, “Auto
Focus at Scan”, “Colour depth” or “Multi Sample
Scan”, see “SETTING THE PREFERENCES” on
page 29.
• For details of “Colour Matching”, see “COLOUR
MATCHING” on page 106.
4.
Set each item and click on
.
• The Digital ICE/ROC/GEM window is displayed.
• Click on the desired function.
• For details of each function, see “DIGITAL ICE”,
“DIGITAL ROC” “DIGITAL GEM” on pages 85 to 90.