Operating instructions icc 1 s b/d english, Adjust driver seat, Check the tyre air pressure – Karcher 1.142-114 User Manual
Page 18: Changing wheels
Operating instructions
ICC 1 S B/D
English
41
Adjust driver seat
Press seat release device
outwards
Displace the seat
Release the seat unlatching
device
Lock the seat by moving
backwards and forwards
Adjusting back-rest inclination.
Disengage back-rest
Pull back-rest release device
upwards
Inclination can be changed by the
position of the upper body
Let go of release device
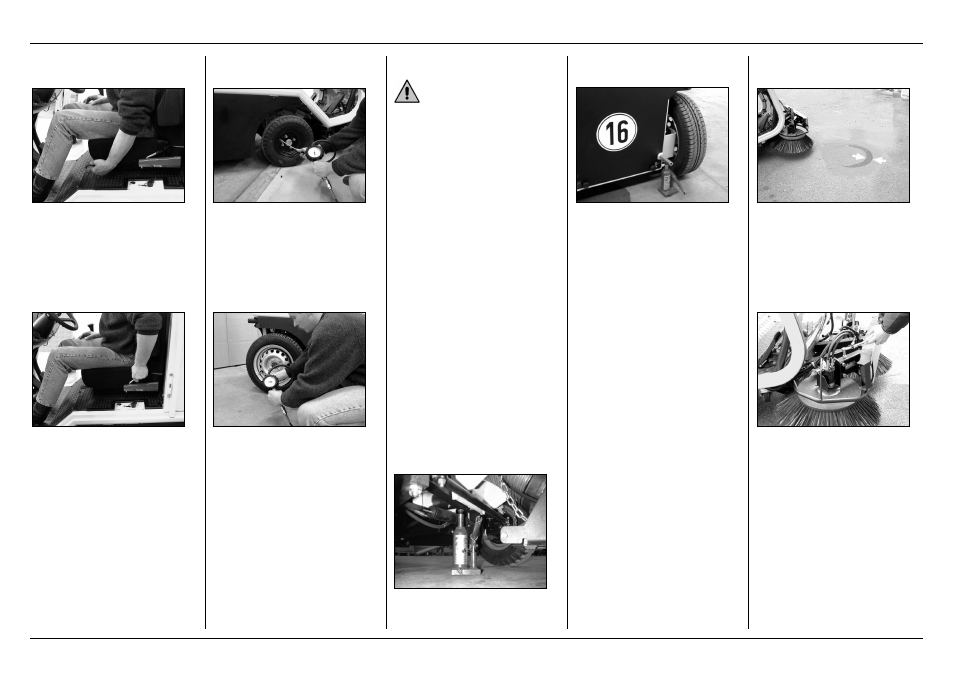
Check the tyre air pressure
The air pressure in the front tyres
must be set to 2,9 bar.
The air pressure in the rear tyres
must be set to 2,9 bar.
Changing wheels
Danger!
Preparations
Stand sweeper on a flat surface
Remove the ignition key
Apply parking brake
Wear warning clothing when
performing repair work on public
streets where it is dangerous
because of moving traffic .
Check that the ground is stable
Protect the machine additionally
from moving with a wheel chock
Recommended express
assistance:
Check the tyre tread for
imbedded objects
Remove the objects
Use a suitable, commercially
available tyre repair agent
Note:
Comply with the recommendations
of the respective manufacturers
Continuing the journey is possible if
the recommendations of the product
manufacturer are observed
Change the tyre or the wheel as
soon as possible
Jack fixing point (front wheels)
Jack fixing point (rear wheels)
Feed Ø 20 mm steel rod into the
specified bore hole
Place the jack in position
Unscrew the wheel nuts
Lift the machine with the jack
Remove the wheel nuts
Slide the wheel off
Position the spare wheel
Mount the wheel nuts
Lower the machine with the jack
Tighten the wheel nuts
Note:
Heed the symbol labels (jack) at the
respective wheel change positions
Use suitable, commercially available
jacks
Checking and adjusting
sweeping area of the side
brush
Check the tyre air pressure
Raise the side broom
Drive sweeper over a flat, smooth
surface covered with a clear layer
of dust
Lower side brush and start up.
Raise the side broom
Drive aside backwards
Check the sweep mirror
1. The sweeping area should be
between 40 and 50 mm wide.
Adjusting the width of the sweep
mirror.
2. Width of sweeping range can
be adjusted by altering stop:
By turning the screw clockwise
the sweeping area becomes
smaller
By turning the screw anti-
clockwise the sweeping area
becomes larger