Klc legacycell, Klc mono/poly, Microkorg – KORG MICROSTATION KLC M1 User Manual
Page 3: Microkorg xl
3
7
KORG
KLC LegacyCell
[Encoder]
Name
Encoder 1
Encoder 2
Encoder 3
Encoder 4
Click the controller logo on the “PERFORMANCE” page. Select “Load Controller Map...”
from the displayed controller menu. Load the controller setting file “LegacyCell.cmap”
from the “Presets” folder that’s located inside the folder where the KORG Legacy Collec-
tion is installed.
Ch
Global Ch
Global Ch
Global Ch
Global Ch
CC#/Note
CC#28
CC#29
CC#30
CC#31
8
[Slider]
Name
Slider 1
Slider 2
Slider 3
Slider 4
Ch
Global Ch
Global Ch
Global Ch
Global Ch
CC#/Note
CC#77
CC#15
CC#5
CC#20
9
KLC Mono/Poly
[A]
Name
XMOD INT
FREQ MOD
PWM INT
VCF Cut
Click the “FILE” button at the bottom of the screen. Click the “LOAD” button in the dis-
play and make the popup menu appear. Choose “Controller Map...” from the popup
menu. Load the controller setting file “MonoPoly.cmap” from the “Presets” folder
located inside the folder where the KORG Legacy Collection is installed.
Ch
Global Ch
Global Ch
Global Ch
Global Ch
CC#/Note
CC#12
CC#13
#CC15
#CC74
10
[B]
Name
VCF EG ATTACK
VCF EG DECAY
VCF EG SUSTAIN
VCF EG RELEASE
Ch
Global Ch
Global Ch
Global Ch
Global Ch
CC#/Note
#CC28
#CC29
#CC30
#CC31
11
microKORG
[A]
Name
OSC 1 Wave
Filter Cutoff
Filter Resonance
Filter EG Int
1: Connect the microSTATION’s MIDI OUT jack to the microKORG’s MIDI IN jack with a
MIDI cable.
2: Set the EDIT SELECT 2 knob to “MIDI”. Move Knob 1 to set the MIDI CH to “1”. Move
Knob 3 to set the CLOCK to “Ext”.
3: Set the EDIT SELECT 2 knob to “GLOBAL”. Move Knob 4 to set the POSITION to “PrE”
(Pre TG).
4: Press the 4 key while holding the SHIFT key to enter MIDI Filter settings. Move Knob 1
to select “P-E” (PROGRAM CHANGE Enabled). Move Knob 2 to select “C-E” (CONTROL
CHANGE Enabled). Move Knob 3 to select “b-E” (PITCH BEND Enabled).
Ch
Global Ch
Global Ch
Global Ch
Global Ch
CC#/Note
CC#77
CC#74
CC#71
CC#79
12
[B]
Name
OSC 1 Control2
OSC 2 Tune
OSC 1 Level
OSC 2 Level
Ch
Global Ch
Global Ch
Global Ch
Global Ch
CC#/Note
CC#15
CC#19
CC#20
CC#21
13
microKORG XL
[A]
Name
Filter1 Balance
Filter1 Cutoff
Filter1 Resonance
Drive/WS Depth
1: Connect the microSTATION’s MIDI OUT jack to the microKORG XL’s MIDI IN jack with a
MIDI cable.
2: Set the KNOB FUNCTION SELECT dial to “FULL EDIT”.
3: Move Knob 1 to set the page to “MIDI.” Move Knob 2 to set the parameter to “MIDI
CH.” Move Knob 3 to set the value to “01.” Move Knob 2 to set the parameter to
CLOCK” Move Knob 3 to set the value to “EXT MIDI.”
4: Move Knob 1 to set the page to “GLOBAL.” Move Knob 2 to set the parameter to
“POSITION ” Move Knob 3 to set the value to “PRE TG.”
5: Move Knob 1 to set the page to “MIDI FLT.” Move Knob 2 to set the parameter to
“PROG CHG ” Move Knob 3 to set the value to “ENABLE.” Move Knob 2 to set the
parameter to “CTRL CHG ” Move Knob 3 to set the value to “ENABLE.” Move Knob 2 to
set the parameter to “P.BEND CHG ” Move Knob 3 to set the value to “ENABLE.”
Ch
Global Ch
Global Ch
Global Ch
Global Ch
CC#/Note
CC#27
CC#74
CC#71
CC#83
14
[B]
Name
EG2(AmpEG) Attack
EG2(AmpEG) Release
MFX1 We/Dry
MFX2 We/Dry
Ch
Global Ch
Global Ch
Global Ch
Global Ch
CC#/Note
CC#73
CC#72
CC#115
CC#116
1: These operations will overwrite the previous MIDI Control settings. If necessary, back up the previous control Midi file.
2: When the MIDI channel settings of the host application and the plug-in software are the same, proper control may not be available. Please change the MIDI channel setting on
either the host application or the plug-in software. Please refer to the application’s manual for the correct setting
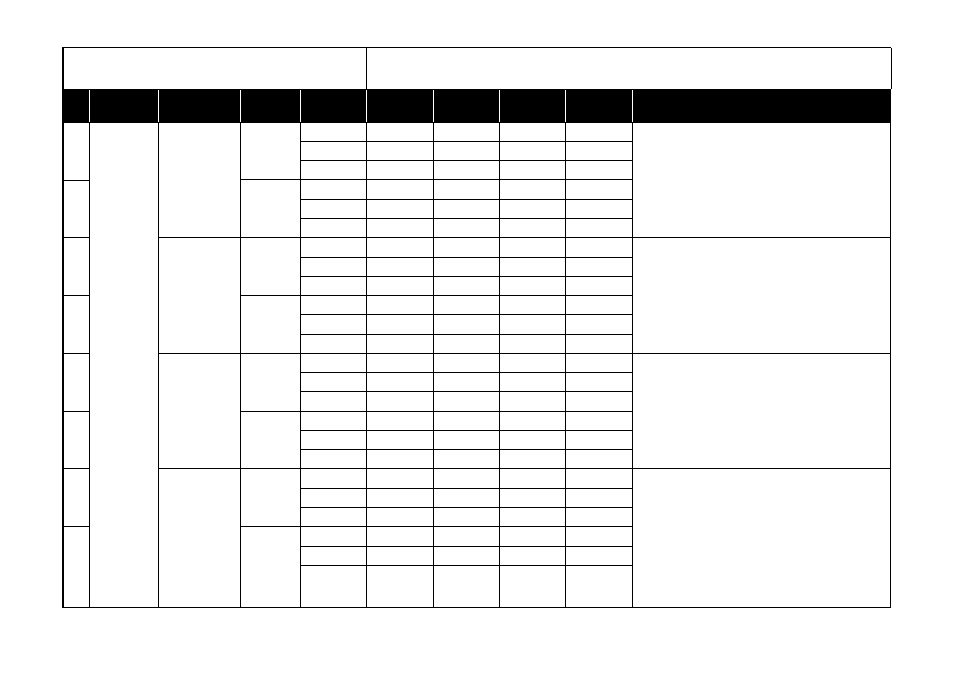
Manufacturers
Product Name
Scene
Variation
Knob 1
Knob 2
Knob 3
Knob 4
HINT