Flush tegular, Accessories data, Installation – Sonance ST2432D User Manual
Page 2
Page 2
ST2432D Series
960.066 Rev # 1
RECOMMENDED ENVIRONMENTS
Indoor or Weather Protected Outdoor
ACCESSORIES DATA
SOUND ADVANCE offers a backbox to allow code
installation requirements to be met:
PBB2.0 — 2.0 cu. ft. backbox
Dimensions: See below. All dimensions are in inches (mm).
Weight: 4.8 lbs. (2.17 kg)
NOTE: The use of backboxes may be required by
local or national building codes.
INSTALLATION
UNPACKING AND INSPECTION
Carefully open the shipping cartons and remove all
contents. Inspect the SpeakerTile and accessories for dam-
age. Report damage or shortages to Sound Advance.
Figure 1 indicates all items required for installation if
the PBB2.0 backbox is NOT being used. See
Figure 8 for
details on the backbox.
CAUTION: SOUND ADVANCE loudspeakers utilize
a fl at polystyrene material as the sound radiating
surface. Although it is resistant to mechanical
damage and is unaffected by environmental extremes,
care should be observed during handling, to avoid
punctures or other damage.
INSTALLATION PREPARATION
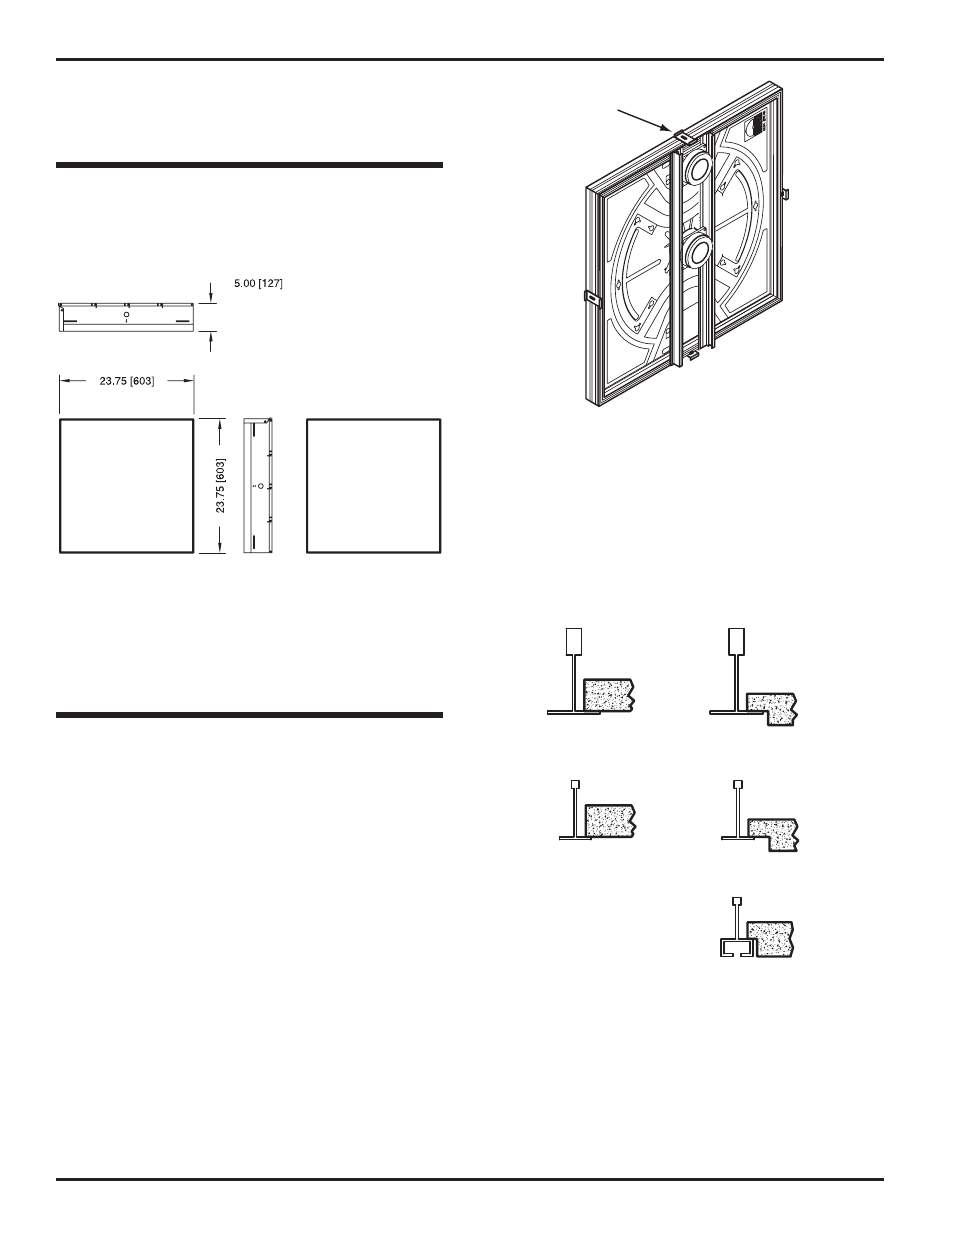
Determine the type of ceiling grid system (9/16” or 15/16”)
and mounting application (fl ush or Tegular). See
Figure 2.
9/16” AND 15/16” CEILING GRIDS: FLUSH-MOUNT
INSTALLATION WITHOUT BACKBOX
1. If not previously done, run speaker wires or conduit
(as per local Building Code requirements) into the se-
lected mounting location. Fasten and seal as required.
Connect the speaker wires to the correct (+) and (–)
SpeakerTile terminals and select the appropriate power
tap. Insure that all connections and wiring runs are in
compliance with required codes and regulations.
IMPORTANT: To avoid any noise or damage to the
system when in operation be sure speaker wires or
other objects are not in contact with the back of the
SpeakerTile surface. To avoid damage to the front
s u r f a c e d u r i n g m o u n t i n g d o n o t r e m o v e t h e
protective cardboard cover from the Speaker Tile until it has
been fully positioned into the ceiling.
Figure 1
Tegular
Brackets
Flush
Tegular
15
/
16
” Grid
15
/
16
” Grid
9
/
16
” Grid
9
/
16
” Grid
Figure 2