Samson VX2510 User Manual
Page 10
8
Setting Up and Using the VX2510 & VX2515
INPUT
PASSIVE
ACTIVE
o
POWER
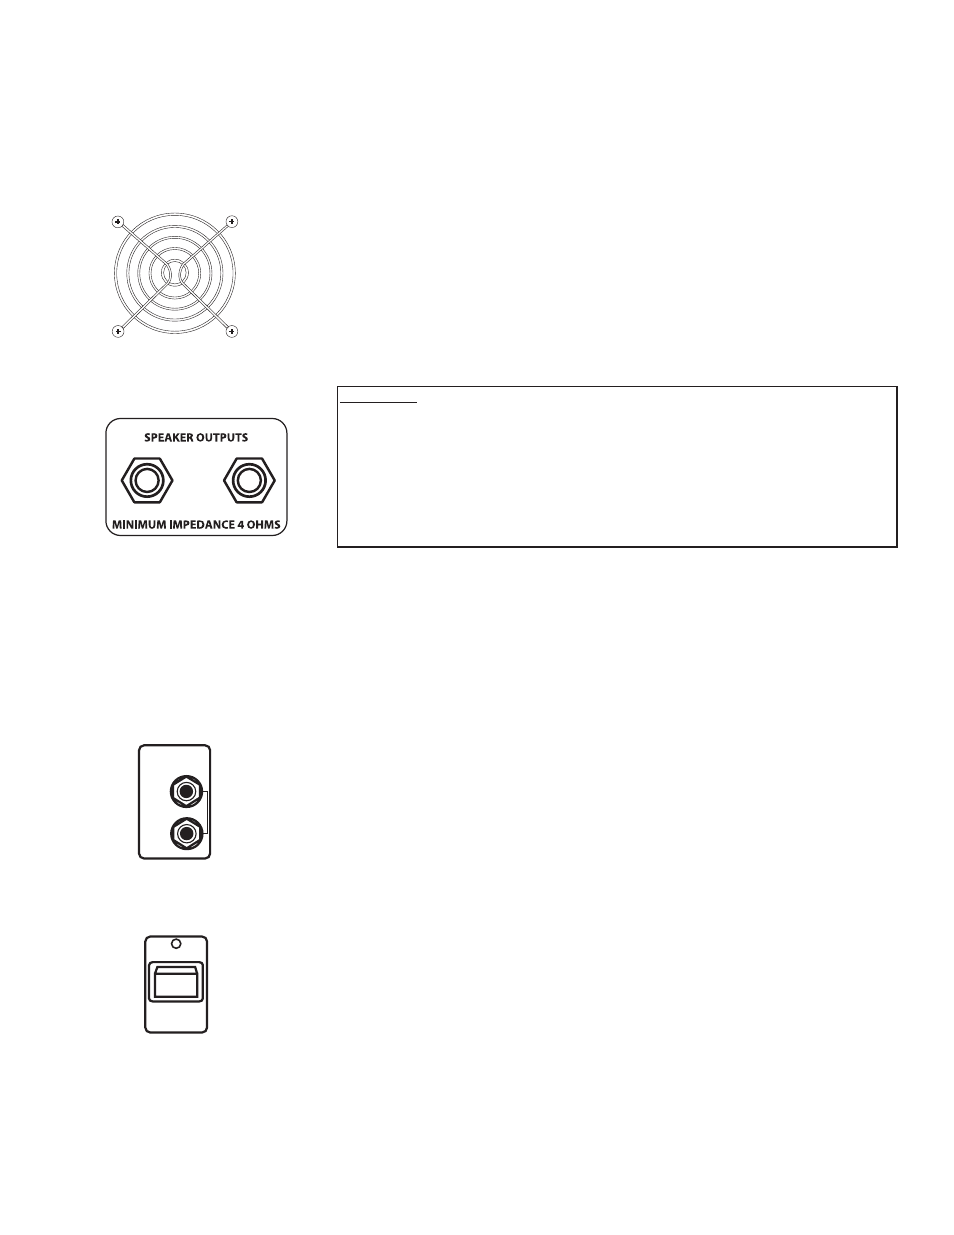
WARNING: Hartke amplifiers can deliver very high power levels. Driven to full
power, they can damage connected loudspeakers, regardless of brand, size, or
configuration. Care should be taken not to strain connected loudspeakers as this
can cause permanent damage and will degrade the performance of the entire
system. If you see connected loudspeakers moving excessively, turn your sys-
tem down immediately or use the equalization and/or compression controls to
reduce the amount of subharmonic (extremely low frequency) signal.
Setting up your Hartke Systems VX2515/VX2510 Bass Amplifier is a simple procedure
which takes only a few minutes:
1. Remove all packing materials (save them in case of need for future service) and
decide where the amplifier is to be physically placed. To avoid potential overheating
problems, be sure that the rear panel is unobstructed and that there is good ventila-
tion around the entire unit, particularly behind the rear-panel fan.
2. Locate the included casters, which are packed separately in the shipping carton,
and follow the installation instructions outlined in Appendix A on page 13 of this
manual.
3. Next, connect the 3-pin AC plug into any grounded AC socket. Don’t turn the
amplifier on just yet, though.
4. Use a standard music instrument cable to connect your bass to the appropri-
ate Input jack on the front panel (if your bass has active circuitry,* connect it to the
“Active” input; if not, connect it to the “Passive” input). On the front panel of the
Model VX2515/VX2510, set the Master volume control to “0” (fully counterclockwise)
and set both Pre-Amp A (Tube) and B (Solid State) knobs to “5” (the twelve o’clock
position). Set the Compression knob to its “Off” position (fully counterclockwise—
you’ll hear a click) and set both Contour knobs to their center detented “0” position.
Finally, set the graphic equalizer In/Out switch to its “Out” position.
5. Press the front panel Power switch in order to turn on the amplifier. After
approximately three seconds, you’ll hear a click, indicating that the relay protection
circuitry has completed cycling and that power to the system has been provided.
6. Set the output of your bass to maximum and then, while playing, slowly turn the
Master volume control up until the desired level is achieved. If you hear distortion
even at low amplifier Master volume settings, back off the output of your bass (or
check for a faulty cable).
* Bass guitars that have active circuitry normally require a battery for the circuitry to
be functional.