Date/time settings, Angle adjustment, Getting started – JVC GZ-MC200 EN User Manual
Page 18
18
EN
GETTING STARTED
MasterPage: Body_Left
The date/time is recorded on the picture at all times, but
its display can be turned on or off during playback.
(
1
Set the power switch to
or
while pressing down
the lock button located on the switch.
2
Press MENU. The menu screen appears.
3
Press rt to select
[DISPLAY], and press 49. The
sub menu appears.
4
Press rt to select [CLOCK
ADJUST], and press 49. The
month is highlighted.
5
Press rt to input the month,
and press 49. Repeat to input
the day, year, hour and minute.
6
Press MENU to return to the normal screen.
Built-in Clock’s Rechargeable Lithium Battery
If the camera is not used for approx. 3 months, the clock’s
lithium battery will become discharged and the date/time
stored in memory will be lost. When this occurs, first
connect the camera to an AC outlet using the AC adapter
for over 24 hours to charge the clock’s rechargeable
lithium battery. Then perform the date/time setting before
using the camera.
Note that the camera can be used without setting the
date/time.
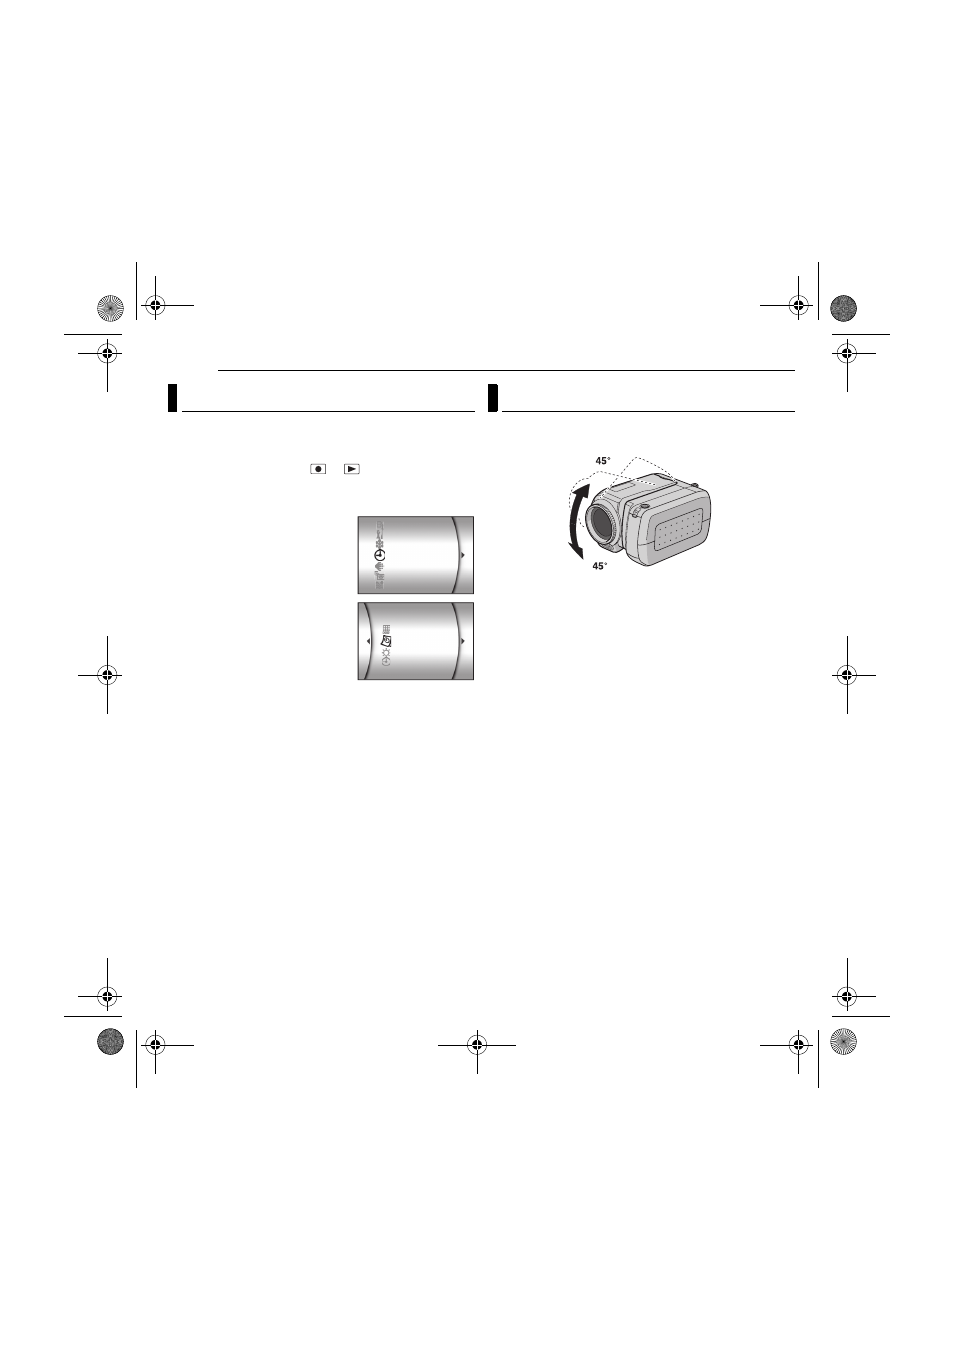
Tilt the lens part at the most convenient angle. The lens
part can rotate 45° upward and downward.
Date/Time Settings
DISPLAY
CAMERA SETTING
WIND CUT
WIDE MODE
QUALITY
MEMORY CARD SETTING
BASIC SETTEING
CLOCK ADJUST
SCENE COUNTER
DATE/TIME
BRIGHT
Angle Adjustment
GZ-MC200US.book Page 18 Tuesday, September 7, 2004 9:56 PM