Viewing recorded images in the split screen mode, Press the [play] button, Press the ‘camera selection’ button – JVC VR-716E User Manual
Page 39: Press the ‘camera selection’ button again
39
Viewing Recorded Images in the Split Screen Mode
1.
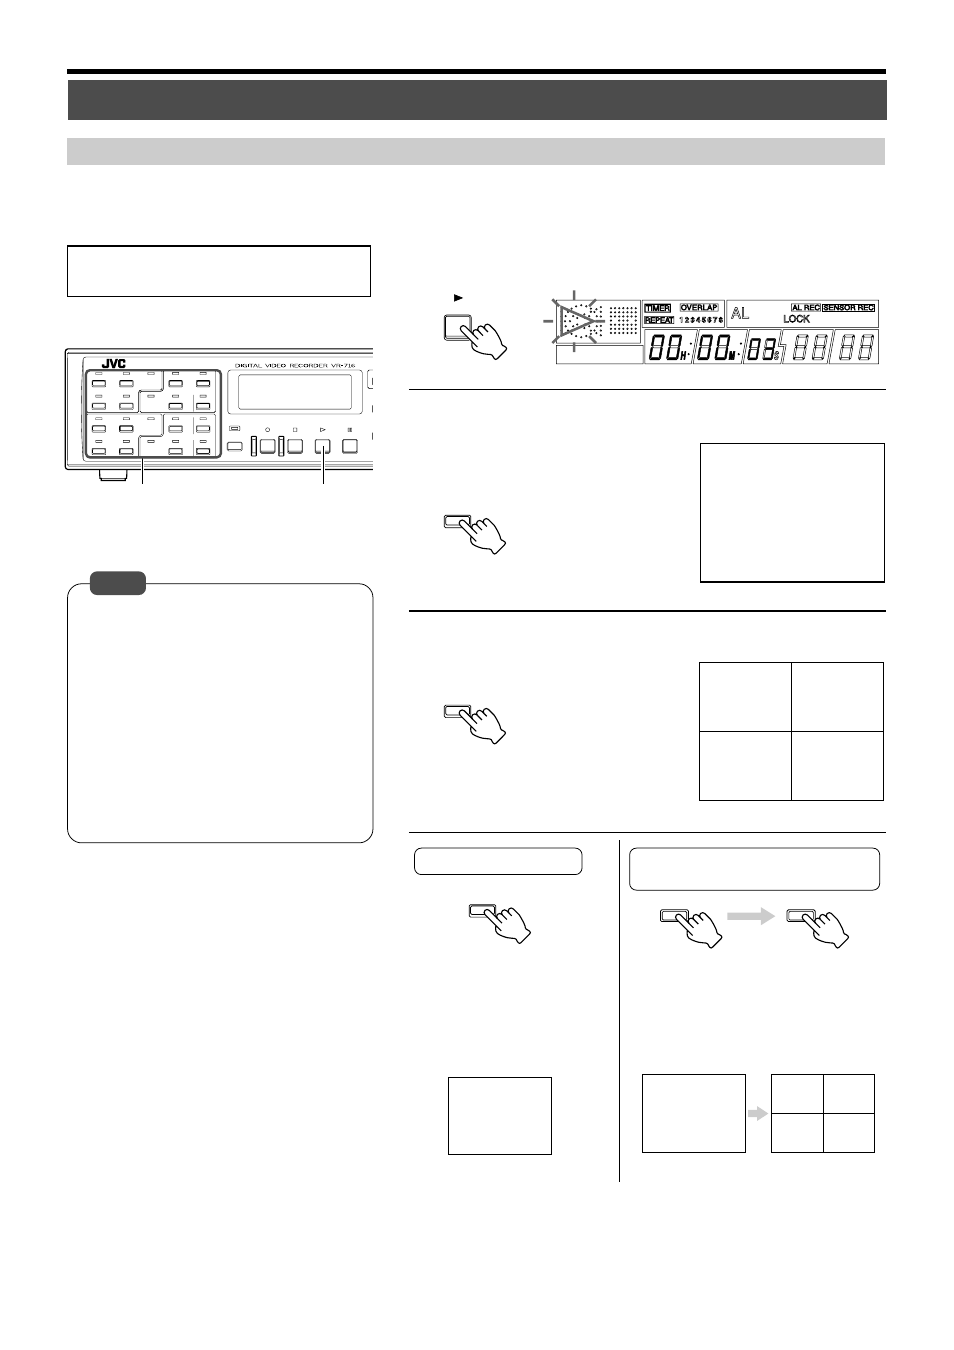
Press the [PLAY] button
• The playback mark [<] on the front display lights up and playback starts.
2.
Press the ‘Camera Selection’ button
• Select the camera no. for which its im-
age is to be displayed on the monitor.
3.
Press the ‘Camera Selection’ button again
• Monitor will display in quad picture.
Connect the monitor for viewing the playback
image to the [VIDEO OUT] terminal.
• If there is no image in the selected camera
no., the “SPECIFIED IMAGE IS NOT RE-
CORDED” message will be displayed. In this
case, jump using the [SKIP] button.
• Display in the Split Screen mode is possible
only when multiple cameras are set to “ON”
for the selected camera block in the “REC
MODE” Menu (
☞ Page 24).
• When selecting cameras from different blocks,
images may distort or error may occur in the
time display if the “REC MODE” Menu settings
(
☞ Page 24) vary across the blocks.
• Recorded images cannot be viewed in 16 Split
pictures.
To exit quad picture
To view image of other cameras in the
Split Screen
• Press the ‘Camera Selection’
button.
Image of the selected cam-
era no. will be played back on
the monitor.
• Select the camera no. to be
displayed on the monitor by press-
ing the ‘Camera Selection’ button
twice.
‘Camera Selection’
Front Display
ALARM
SENSOR
SEQUENCE
MULTI
REC
STOP
PLAY
STILL
D
C
ALARM
SENSOR
ALARM
SENSOR
ALARM
SENSOR
11
1
9
10
3
4
1
2
7
8
5
6
13
14
15
16
2.3.
1.
PLAY
3
3
3
5
5
CAMERA 3
CAMERA 3
CAMERA 2
CAMERA 4
CAMERA 1
CAMERA 3
CAMERA 5
CAMERA 6
CAMERA 7
CAMERA 8
CAMERA 5
Notes