Features for recording, Led light, Live slow – JVC GR-D370AH User Manual
Page 37: Wide mode, Pg. 37), 37 live slow, 37 wide mode, Wide mode indicator, Led light indicator, Er to “live slow
EN
37
MasterPage: Start_Right
ADV
ANCED FEA
TURES
FEATURES FOR RECORDING
LED Light can be used to
brighten the subject in the dark
place during video recording or
D.S.C. shooting.
1
Press LIGHT repeatedly to
change the setting.
OFF: Turns off the light.
ON: The light is on always. (
appears.)
AUTO: The light turns on automatically when
dark. (
appears.)
2
Press the Recording Start/Stop Button to
start video recording or SNAPSHOT to shoot a
still image.
NOTES:
●
Be careful not to point the LED Light directly to eyes.
●
If the light does not reach the subject when the
LED Light setting is “ON”, the Night-Scope
function will be activated, and makes it possible to
shoot the subject brighter.
●
There is a difference in the brightness of the
images shot between the center area which is
illuminated by the LED Light and the surrounding
areas (which will be darker).
●
Since subjects are shot at a reduced shutter
speed when the LED Light setting is “ON”, they
will appear slightly blurred.
This feature is useful for recording or playing
back precious or hard-to-see moments at a slow
speed. Sound is recorded and played back in
real time.
1
Set the VIDEO/MEMORY Switch to “VIDEO”.
2
Set the recording mode to “
M
3
Select and set “SNAP/SLOW” to “SLOW”.
੬ pg. 32, 34) The Live Slow indicator “
”
appears.
4
Press SNAPSHOT (SLOW) during recording
or playback.
● The moving pictures are divided into four
frames. They are recorded or played back for
1.5 seconds, and then normal recording or
playback resumes.
● This feature is effective when the recording
mode selection is set to both “
A” or “
M
”.
NOTE:
Available only when the VIDEO/MEMORY Switch is
set to “VIDEO”.
This camcorder allows you to choose the type of
image output format for video recording.
1
Set the Power Switch to “REC”.
2
Press 16:9 button repeatedly to choose your
selection.
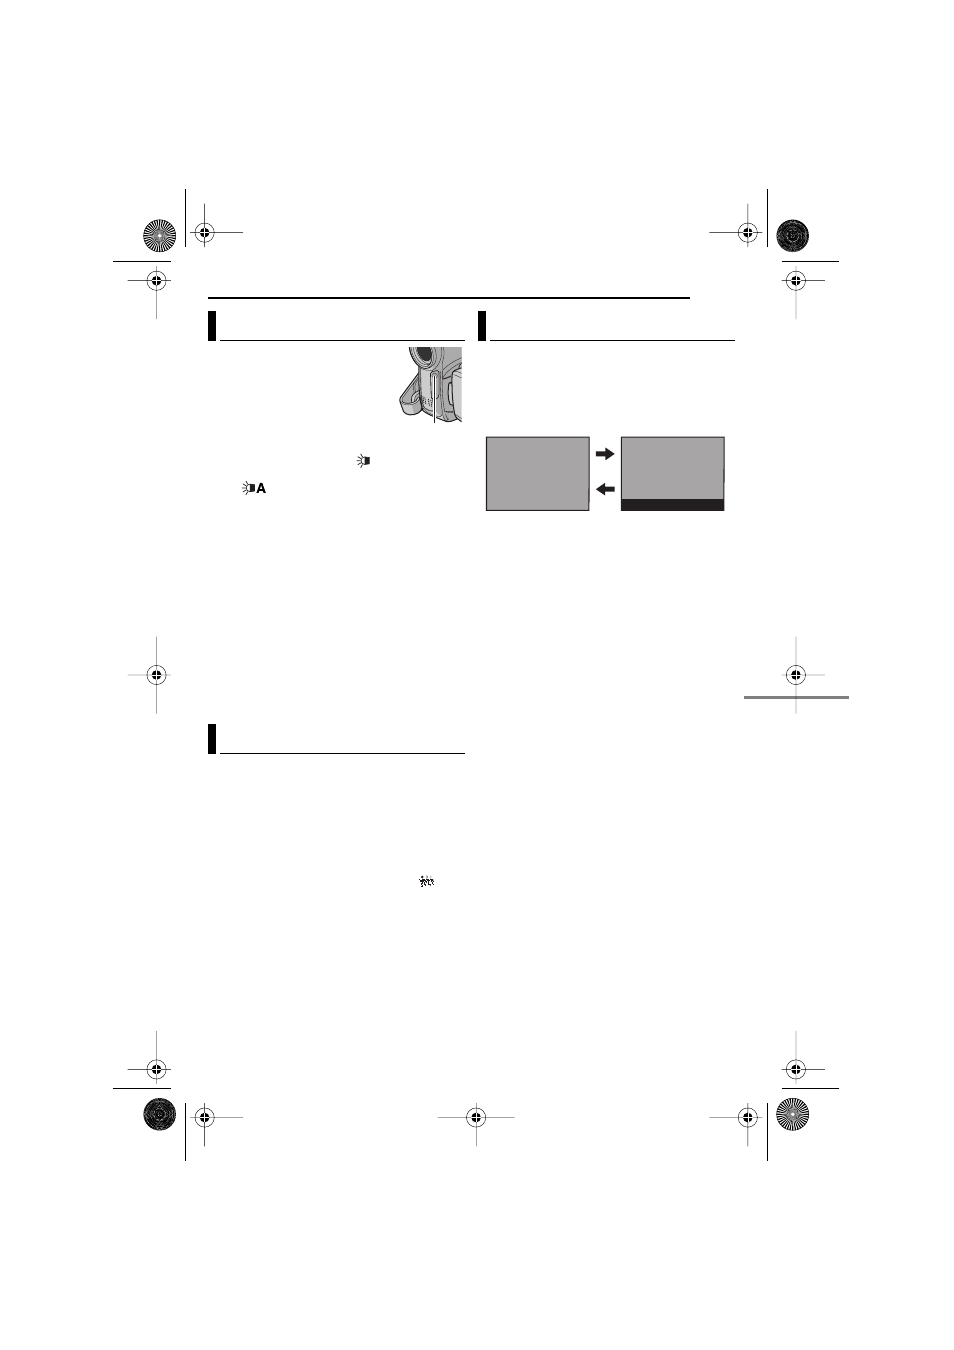
[4:3]: Records with no change in the screen
ratio. For playback on a TV with a normal screen
ratio. When using this mode on a TV with a
normal screen ratio, refer to your TV’s instruction
manual.
16:9: For playback on TVs with an aspect ratio of
16:9. Naturally expands the image to fit the
screen without distortion. The “16:9” indicator
appears. When using this mode, refer to your
wide-screen TV’s instruction manual. During
playback/recording on 4:3 TVs/LCD monitor/
viewfinder, select “4:3TV” in “16:9” (
36) to prevent vertical elongated images.
[ ] = Factory-preset
NOTES:
●
Available only when the VIDEO/MEMORY Switch
is set to “VIDEO”.
●
Still images are recorded at 4:3 mode. They
cannot be recorded at 16:9 mode.
LED Light
Live Slow
LED Light
Wide Mode
16 : 9
4 : 3
GR-D370AH_EN.book Page 37 Monday, April 17, 2006 2:24 PM