JVC GR-D370AH User Manual
Gr-d370ah, Instructions digital video camera
ENGLISH
LYT1557-001B
EN
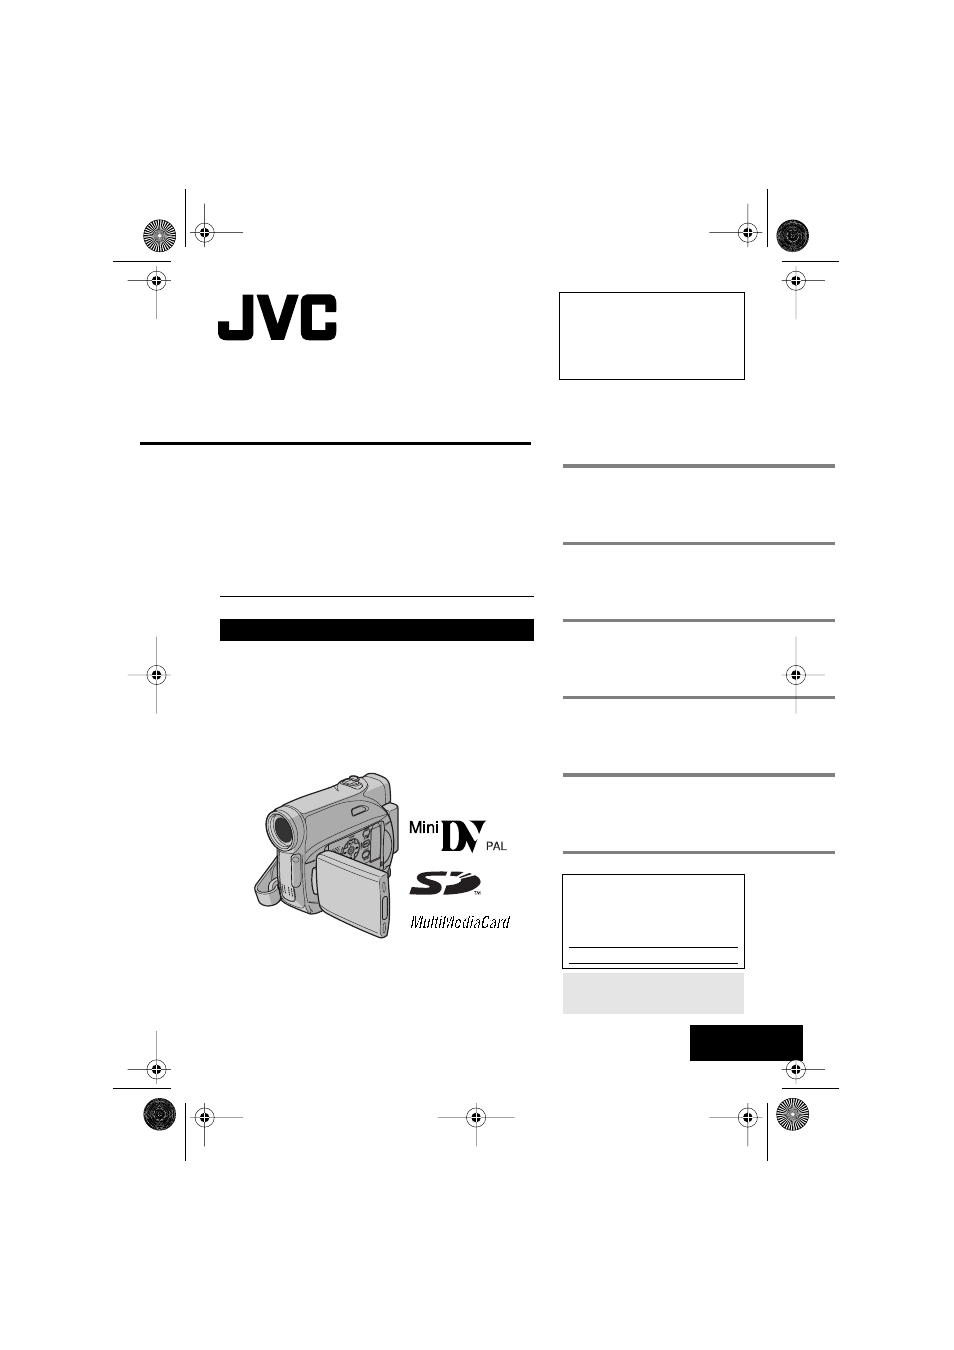
GR-D370AH
TERMS
Dear Customer,
Thank you for purchasing this digital
video camera. Before use, please
read the safety information and
precautions contained in the pages
2 – 5 to ensure safe use of this
product.
For Accessories
:
http://www.jvc.co.jp/english/accessory/
INSTRUCTIONS
DIGITAL VIDEO CAMERA
GETTING STARTED
VIDEO RECORDING &
PLAYBACK
DIGITAL STILL CAMERA
(D.S.C.) RECORDING &
PLAYBACK
ADVANCED FEATURES
REFERENCES
For Customer Use:
Enter below the Model No. and
Serial No. which is located on the
bottom of the camcorder. Retain this
information for future reference.
Model No.
Serial No.
To deactivate the demonstration,
set “DEMO MODE” to “OFF”.
(
GR-D370AH_EN.book Page 1 Monday, April 17, 2006 2:24 PM
Document Outline
- SAFETY PRECAUTIONS
- CONTENTS
- GETTING STARTED
- VIDEO RECORDING
- VIDEO PLAYBACK
- D.S.C. RECORDING
- ADDITIONAL FEATURES FOR D.S.C.
- MENUS FOR DETAILED ADJUSTMENT
- FEATURES FOR RECORDING
- EDITING
- TROUBLESHOOTING
- CAUTIONS
- SPECIFICATIONS
- TERMS
- LYT1520-006A.pdf
- Contents
- JVC SOFTWARE LICENSE AGREEMENT
- TO CUSTOMERS: PLEASE MAKE SURE TO READ THIS CAREFULLY BEFORE INSTALLING OR USING THE SOFTWARE PROGRAM NAMED “DIGITAL PHOTO NAVIGATOR” (“Program”) ON YOUR PC.
- 1 COPYRIGHT; OWNERSHIP
- 2 GRANT OF LICENSE
- (1) Subject to the conditions of this Agreement, JVC grants to You a non- exclusive right to use the Program. You may install and use the Program on a HDD or other storage devices incorporated in Your PC.
- (2) You may make one (1) copy of the Program solely for your personal backup or archival purposes.
- 3 RESTRICTION ON THE PROGRAM
- (1) You may not reverse engineer, decompile, disassemble, revise or modify the Program, except to the extent that expressly permitted by applicable law.
- (2) You may not copy or use the Program, in whole or in part, other than as expressly specified in this Agreement.
- (3) You have no right to grant a license to use the Program, and may not distribute, rent, lease or transfer the Program to any third party or otherwise let them use the Program.
- 4 LIMITED WARRANTY
- 5 LIMITED LIABILITY
- 6 TERM
- 7 EXPORT CONTROL
- 8 U.S. GOVERNMENT USER
- 9 GENERAL
- (1) No modification, change, addition, deletion or other alternation of or to this Agreement will be valid unless reduced to writing and signed by an authorised representative of JVC.
- (2) If any part of this Agreement is held invalid by or in conflict with any law having jurisdiction over this Agreement, the remaining provisions will remain in full force and effect.
- (3) This Agreement shall be governed by and interpreted under the laws of Japan. The Tokyo District Court has jurisdiction over all disputes which may arise with respect to the execution, interpretation and performance of this Agreement.
- Victor Company of Japan, Limited
- Notice for Users
- System Requirements
- Software Installation (Windows®)
- Connecting (Windows®)
- Connect the USB cable to copy still image files in a memory card to the PC.
- 1 To assure safety, make sure all units are turned off before making any connections.
- 2 Use the USB cable to connect the camcorder to the PC.
- Viewing the Contents of a Memory Card (Windows®)
- 1 Make sure that there is a memory card in the camcorder.
- 2 Set the camcorder’s VIDEO/ MEMORY Switch to “MEMORY”.
- 3 Set the camcorder’s Power Switch to “PLAY” while pressing down the Lock Button located on the switch.
- 4 Connect the camcorder to the PC with a USB cable. (Z pg. 8)
- 5 When using Windows® XP:
- 6 The folders in the memory card appear.
- Copying Files to the PC (Windows®)
- Playing Back Files on the PC (Windows®)
- Disconnecting the USB cable (Windows®)
- 1 Confirm that “ ” is not currently displayed on the LCD monitor of the camcorder.
- 2 Double- click the [Safely Remove Hardware] or [Unplug or Eject Hardware] icon in the status bar.
- 3 Select [USB Mass Storage Device] or [USB Disk], and then click [Stop].
- 4 Click [OK].
- 5 Disconnect the USB cable.
- 6 Set the camcorder’s Power Switch to “OFF”.
- Connections (Macintosh)
- Connect the USB cable to copy still image files in a memory card to the PC.
- PC
- Viewing the Contents of a Memory Card (Macintosh)
- 1 Make sure that there is a memory card in the camcorder.
- 2 Set the camcorder’s VIDEO/ MEMORY Switch to “MEMORY”.
- 3 Set the camcorder’s Power Switch to “PLAY” while pressing down the Lock Button located on the switch.
- 4 Connect the camcorder to the PC with a USB cable. (Z pg. 12)
- 5 Double-click the memory card icon on the desktop.
- Copying Files to the PC (Macintosh)
- Playing Back Files on the PC (Macintosh)
- Disconnecting the USB cable (Macintosh)
- User’s Guide/Help/Readme (Windows®)
- Contents