Advanced printing (cont.) – JVC GV-PT1 User Manual
Page 20
20
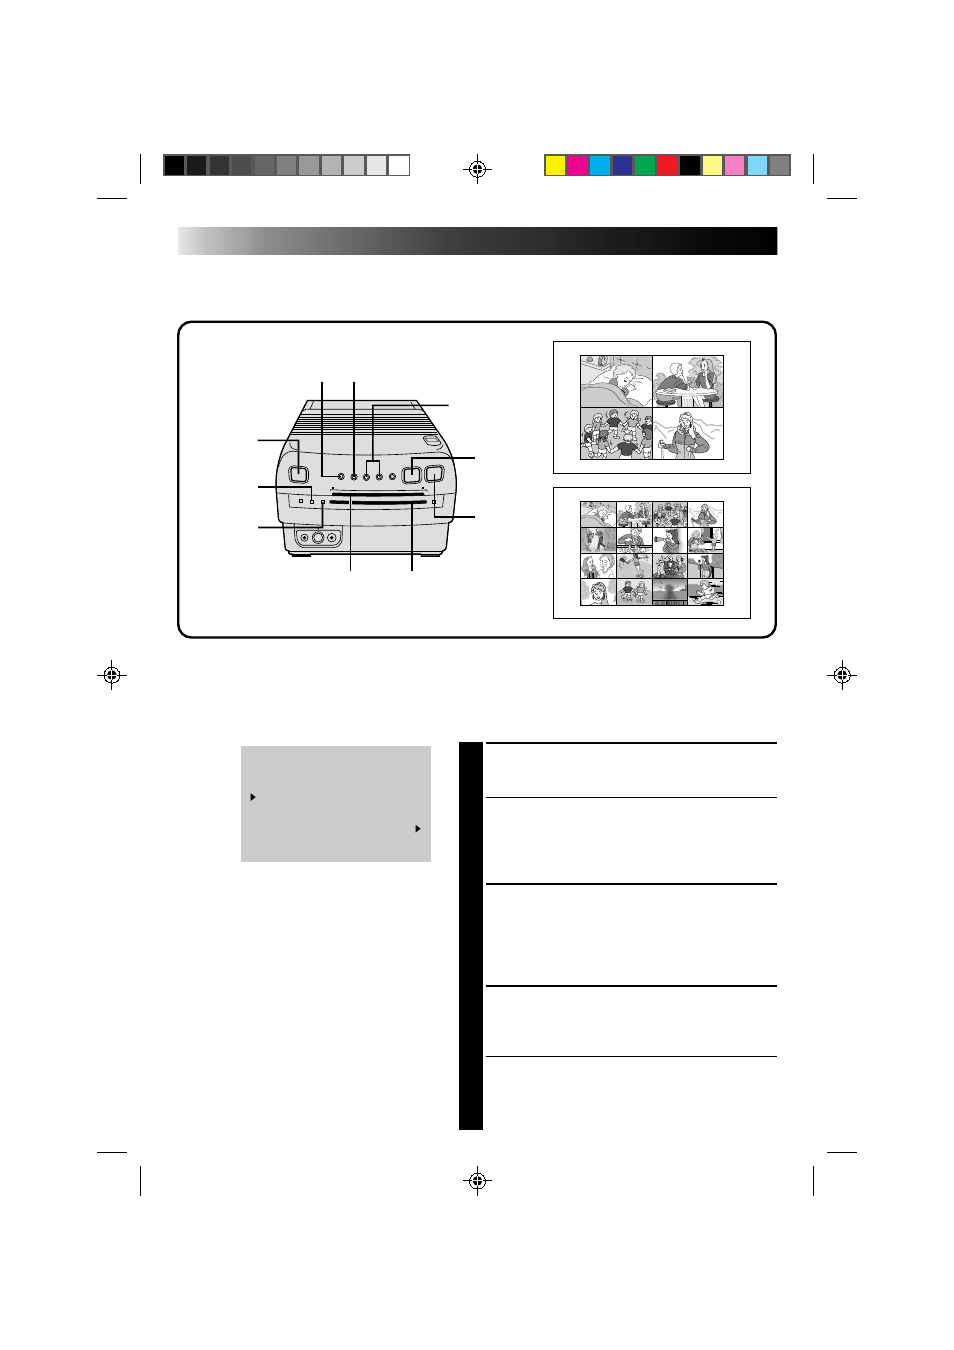
Multi-Print (Different Scenes)
You can print various scenes on the same print sheet.
Preparation
● Connect the image source (camcorder, video cassette recorder) to the printer (
੬
pg. 12).
● Install the ink sheet cartridge in the printer (
੬
pg. 10).
● Plug in the printer and press POWER. The power comes on and the POWER ON Lamp lights.
ADVANCED PRINTING (cont.)
Print Lamp
POWER
ON Lamp
MENU Button
SELECT Button
Print Sheet Insertion Slot
Print Sheet Exit Slot
MEMORY
Button
PICTURE
SELECT
Button
POWER
Button
SET Buttons
2
and
3
1
ACCESS PRINT MENU
Press MENU. The Print Menu appears.
2
SELECT NO. OF SCENES
Place the pointer next to “MULTI PIX” by
pressing SELECT, then set to “4” or “16” by
pressing SET +/–.
3
SELECT PRINT CONTENT
Make sure "CONTENT" is set to “SELECTED
PIX”. If not, place the pointer next to
“CONTENT” by pressing SELECT, then set to
“SELECTED PIX” by pressing SET +/–.
4
CLOSE PRINT MENU
Press MENU. The Print Menu disappears and
selection is complete.
5
BEGIN SOURCE PLAYBACK
Fast-forward or rewind the source tape to find
the desired scene, then start playback a little
before the scene.
PRINT MENU 1 / 2
PIX STABILIZER : OFF
MULTI PIX : 16
CONTENT : SELECTED PIX
TO SELECT PUSH ( SELECT )
TO SET PUSH ( + , – )