JVC GV-PT1 User Manual
Page 19
19
5
BEGIN SOURCE PLAYBACK
Fast-forward or rewind the source tape to find
the desired scene, then start playback a little
before the scene.
6
STORE SCENE FOR PRINTING
When the desired scene is located, press
MEMORY. The image appears on screen and is
stored in memory.
•Only one image is stored in memory,
regardless of the “MULTI PIX” setting.
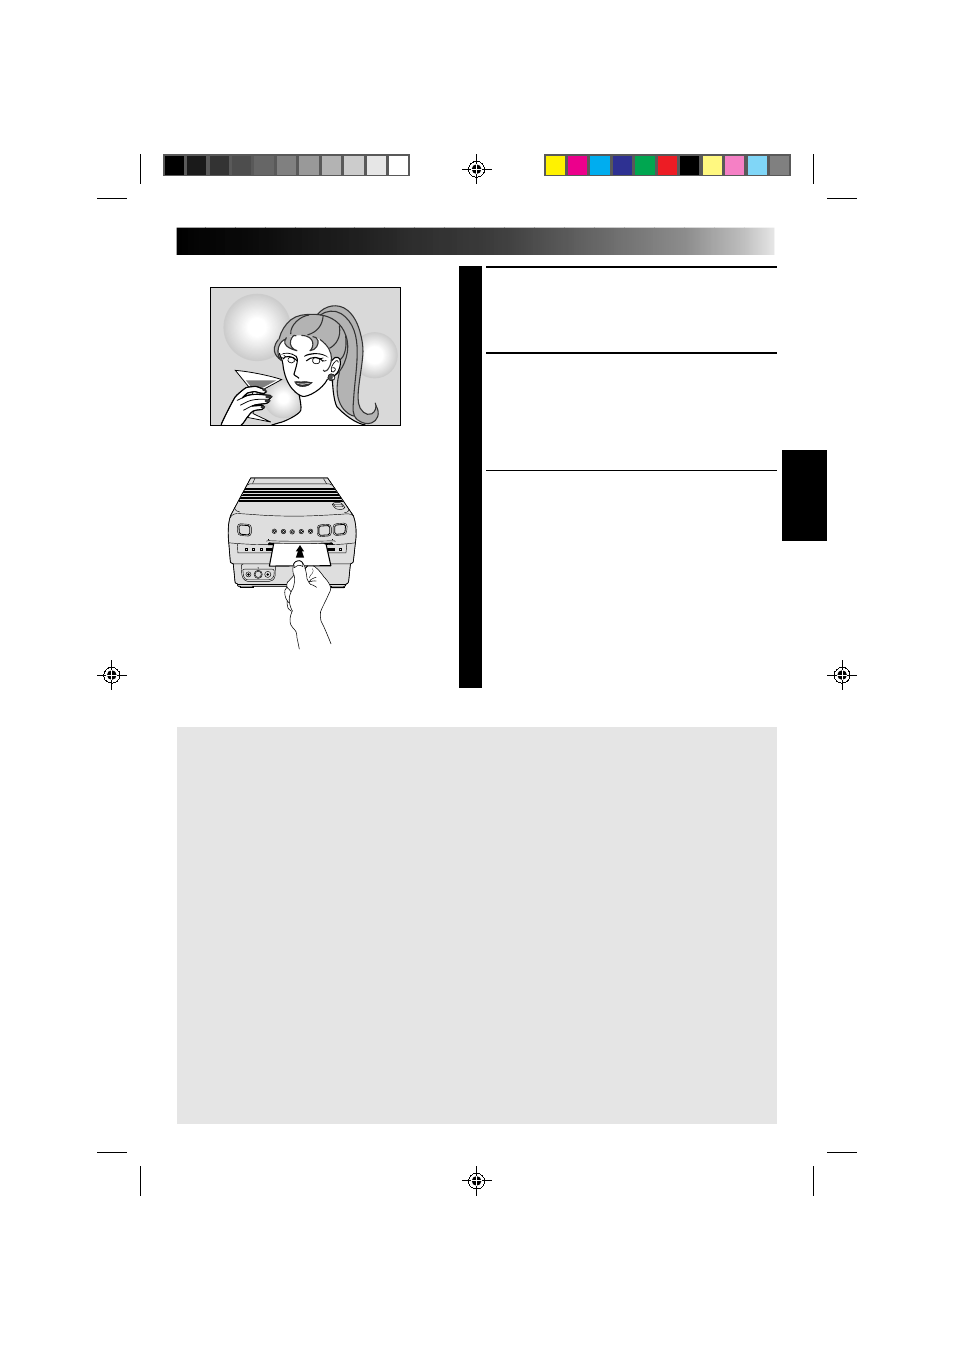
7
PRINT STORED SCENE
Insert a print sheet with the print side (the side
with no writing on it) UP into the print sheet
insertion slot until it is pulled in automatically.
•The Print Lamp comes on, indicating printing
is in progress.
•“NOW PRINTING” appears on screen, on a
blue background.
•When the Print Lamp starts blinking, printing
is complete. Remove the print from the exit
slot. The Print Lamp goes out.
•The number of images printed depends on
the selection you made in step 2.
If the stored image is shaky . . .
.... set “PIX STABILIZER” at the Print Menu to “ON”.
If you want to switch between the image being input and the stored image . . .
.... press PICTURE SELECT. The input image and the stored image appear on the connected
TV alternately.
* During printing, the image being input alternates with “NOW PRINTING” (appears on a
blue background).
* During printing, noise or color changing may be visible on the connected TV. This is
normal and does not affect printing.
If you store the wrong image . . .
.... press PICTURE SELECT so the input image appears, then find the correct image and store
it in memory.
If you want to print multiple copies of the same image . . .
.... after printing, take the printed image out of the exit slot and insert a new print sheet in
the insertion slot.
* Do not attempt to insert a print sheet during printing, as this can result in malfunctions.
To print a “live” image using a camcorder as the source . . .
.... in step 5, instead of playing back the source tape, engage the camcorder’s Record mode.
If you’re using a JVC camcorder, you can store a scene you want to print by pressing the
camcorder’s Start/Stop button (in place of the GV-PT1’s MEMORY button). Connect the
camcorder’s Editing connector to the PAUSE Connector on the GV-PT1 using the
camcorder’s supplied Editing cable (or a commercially available
φ
3.5 Mini plug cable).