Impex WMGG-368 User Manual
Gold’s gym weight bench wmgg-368, Model wmgg-368, Impex
NOTE:
Please read all instructions
carefully before using this
product
Table of Contents
Safety Notice
Hardware Identifier
Assembly Instruction
Parts List
Warranty
Ordering Parts
Model
WMGG-368
Retain This
Manual for
Reference
08-04-08
OWNER'S
MANUAL
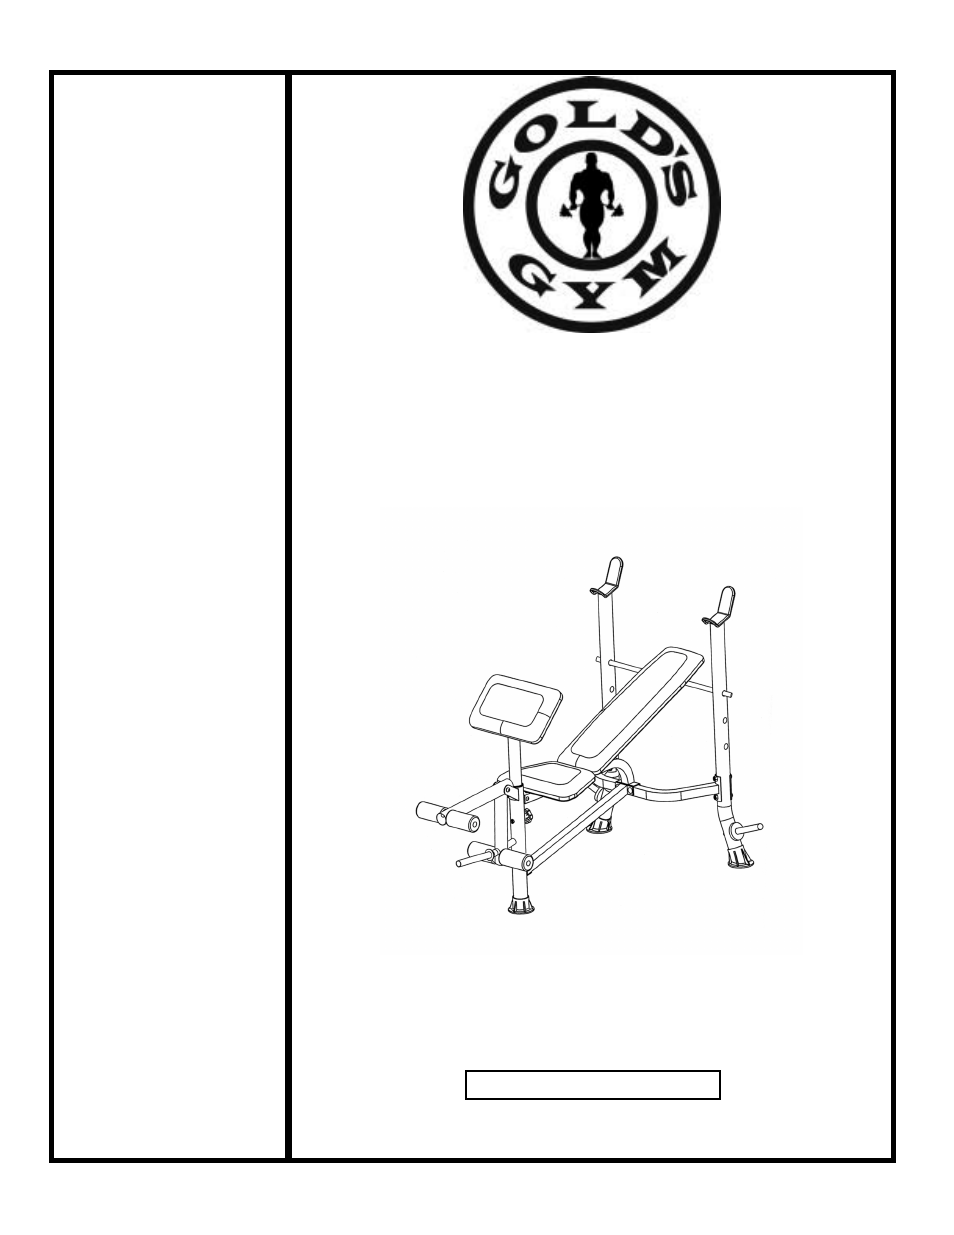
GOLD’S GYM
WEIGHT BENCH
WMGG-368
IMPEX
®
INC.
14777 DON JULIAN RD., CITY OF INDUSTRY, CA 91746
Tel: (800) 999-8899 Fax: (626) 961-9966
Table of contents
Document Outline
- BEFORE YOU BEGIN...................................................................................…. 1
- IMPORTANT SAFETY NOTICES..................................................................…. 2
- HARDWARE IDENTIFIER.....…....................................................................…. 4
- ASSEMBLY INSTRUCTIONS........................................................................…. 5
- EXPLODED DIAGRAM………………………………………………………………. 10
- PARTS LIST...............................................................................................……. 11
- WARRANTY.................................................................................................…. 12
- ORDERING PARTS.......................................................................................… 12
- ASSEMBLY INSTRUCTION
- Attach the Leg Developer (#7) to the Front Leg (#5). Secure it with one M8 x 3 1/8” Allen Bolt (#32), two Ø 5/8” Washers (#36), and one M8 Aircraft Nut (#28).
- Insert two Foam Tubes (#11) halfway through the holes on the Leg Developer. Push four Foam Rolls (#24) onto the Tubes from both sides.
- Attach the Backrest Supports (#10) onto both ends of the pivot on the Main Seat Support (#3). Place the other end rest against the Backrest Adjustment Bar (#28).
- Place the Backrest Board (#27) onto the Backrest Supports. Secure it with four M6 x 1 ½” Hex Bolts (#34) and Ø ½” Washers (#37).
- Place the Seat Pad (#26) onto the Main Seat Support. Secure it with four M6 x 1 ½” Hex Bolts (#41) and Ø ½” Washers (#37).
- Attach the Arm Curl Pad (#25) to the Arm Curl Stand (#6). Secure it with two M8 x 5/8” Allen Bolts (#31) and Ø 5/8” Washers (#36).
- Insert the Arm Curl Stand into the top opening on the Front Leg. Secure it with a Lock Knob (#13).
- 1 Right Upright Beam 1
- 14 2 3/8” Rubber Bumper 2