Recording a source – Integra DTR-7.3 User Manual
Page 38
38
To record an input source signal different from
that you are currently watching or listening to
Follow the procedure given below to record an input source signal
different from that which you are listening to or watching at the time
of recording.
1. Press the Rec Out button.
2. Within 8 seconds, press the input source selector button
of the input source signal that you wish to record.
The signal from the selected input source is now output to the
TAPE OUT, VIDEO 1 OUT, and VIDEO 2 OUT outputs for
recording.
3. Start recording at the recording component as desired.
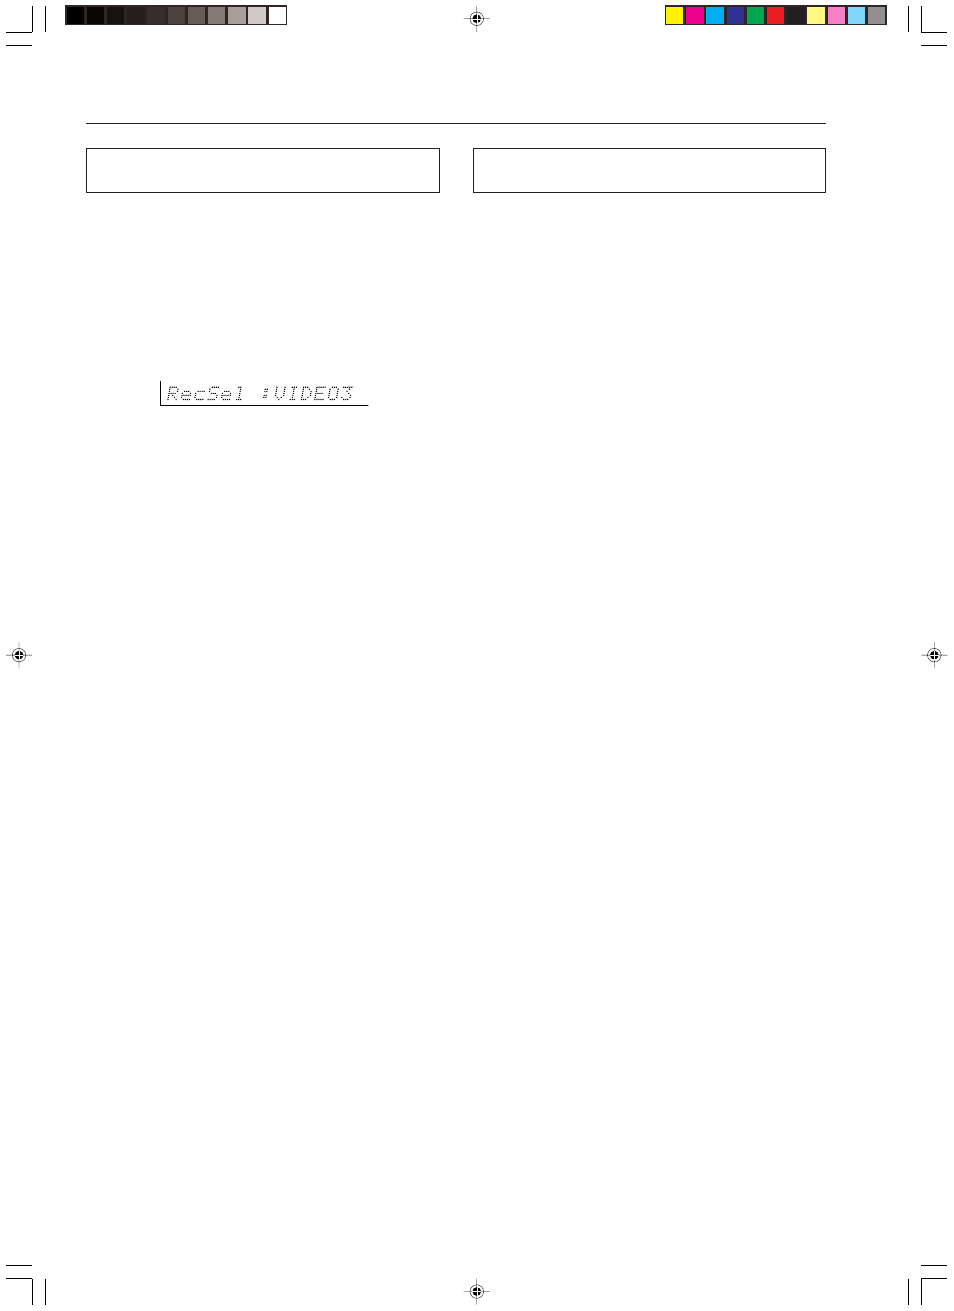
To confirm the settings, press the Rec Out button. The current
settings will appear for 8 seconds in the front display.
Notes:
• Be aware that the remote (Zone 2) and recording (REC OUT)
outputs use the same circuit and therefore cannot be used at the
same time.
• You cannot record the surround effects.
• Digital signals input to the DIGITAL INPUT (COAX) and
DIGITAL INPUT (OPT) inputs will be output to the DIGITAL
OUTPUT (OPT) outputs.
• There are some restrictions on recording digital signals. When
making digital recordings, consult the instruction manual that
came with your digital recording equipment (e.g., MD recorder
or DAT deck) to know what restrictions are imposed.
• You cannot record the source connected to the MULTI CH
INPUT connector.
• You cannot listen to a broadcast from one station while
recording the broadcast from another.
Recording a source
Recording the video from one source and the
audio from another
You can add the sound from one source to the video of another
source to make your own video recordings.
Below is an example of recording the sound from a compact disc
player connected to CD IN and the video from a video camera
connected to VIDEO 5 INPUT to video cassette tape in a video
cassette recorder connected to the VIDEO 1 OUT jack.
1. Press the CD input source button.
2. Set “VIDEO 5” for the Video setting in the Video Setup
sub-menu of the Setup menu: Input Setup
→ Video
Setup
→ Video.
3. Insert a CD in the CD player and insert a tape in the
video camera connected to the VIDEO 5 INPUT.
4. Insert a video tape for recording in the video cassette
recorder connected to VIDEO 1 OUT.
5. Press the Rec Out button repeatedly until “Rec
Sel:SOURCE” appears in the front display.
Now “CD” has been selected as the audio input source and
“VIDEO 5” as the video input source.
6. Start recording on the video cassette recorder and
start playing at the CD player and video camera as
desired.
Notes:
• If you change the input source during recording, you will record
the audio signals from the newly selected input source and the
video signals assigned to that input source.
• You cannot record the surround effects.