Impex IVT-50 User Manual
Marcy, Classic inversion table ivt-450, Model ivt-50
NOTE:
Please read all instructions
carefully before using this
product
Table of Contents
Safety Notice
Hardware Identifier
Assembly Instruction
Parts List
Warranty
Ordering Parts
Model
IVT-50
Retain This
Manual for
Reference
05-27-09
OWNER'S
MANUAL
MARCY
®
CLASSIC
INVERSION TABLE
IVT-450
IMPEX
®
INC.
14777 DON JULIAN RD., CITY OF INDUSTRY, CA 91746
Tel: (800) 999-8899 Fax: (626) 961-9966
Table of contents
Document Outline
- BEFORE YOU BEGIN...................................................................................…. 1
- IMPORTANT SAFETY NOTICES..................................................................…. 2
- HARDWARE IDENTIFIER.....…....................................................................…. 4
- ASSEMBLY INSTRUCTIONS........................................................................…. 5
- EXPLODED DIAGRAM………………………………………………………………. 11
- PARTS LIST...............................................................................................……. 12
- WARRANTY.................................................................................................…. 13
- ORDERING PARTS.......................................................................................… 13
- ASSEMBLY INSTRUCTION
- Attach the Left Handle (#8) to Front Support Frame (#1). Secure it with one M8 x ¾” Allen Bolt (#35), one Ø 5/8” Washer (#46), and one M8 Aircraft Nut (#43).
- Attach the Left Handle to the Rear Support Frame (#2). Secure it with one M8 x 1 ¾” Allen Bolt (#36), one Ø 5/8” Washer (#46), and one M8 Aircraft Nut (#43).
- Repeat Procedures A & B to install the Right Handle (#9).
- Pull up the Foot Adjustment Lock Pin (#23). Insert the Foot Lock Frame (#13) into the Adjustment Fame (#11). Push down the Pin to securely lock the Foot Lock Frame in position.
- Insert the Foot Support (#6) into the bottom of Adjustment Frame. Secure it with one M8 x 1 5/8” Allen Bolt (#40), one Ø 5/8” Washer (#46), and one M8 Aircraft Nut (#43).
- Insert the Foam Tube halfway through the hole on Adjustment Frame. Push two Foam Rolls (#17) onto the Tube from both ends.
- Push two Curved Foam Rolls (#16) onto the tube on Foot Lock Frame from both ends.
- Pull out the Backrest Adjustment Lock Pin (#22). Insert the Adjustment Frame (#11) into the opening on the vertical frame on the back of Backrest Frame (#7). Push back the Pin into the selected hole on Adjustment Frame.
- Insert the Ring Lock Pin (#21) through the hole on the vertical frame and hole on Adjustment Frame to securely lock the Adjustment Frame.
- Attach hook on Inversion Adjustment Belt (#15) to Front Support Frame (#1) and to the vertical frame on Backrest Frame. Adjust the length of the Belt to adjust the extension of inversion.
- Attach one side of U-shaped Lock Pin (#14) on front of Adjustment Frame, insert the other side into hole on Front Support Frame and secure with one M8 Aircraft Nut to lock Inversion Table for usage.
- When using the Inversion Table, remove the side of U-shaped Lock Pin off from Adjustment Frame.
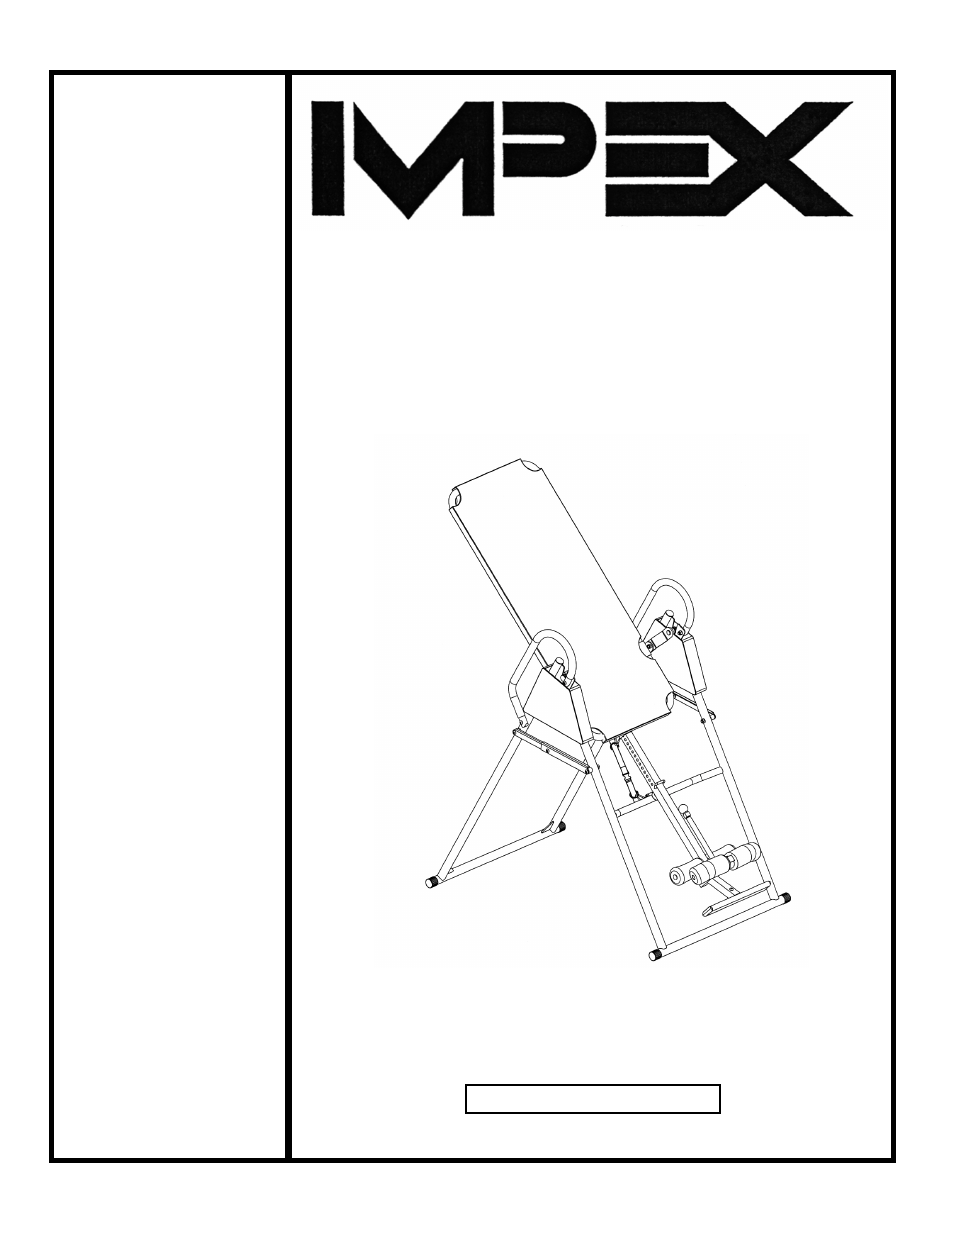
- DIAGRAM 5
- 1 Front Support Frame 1
- 14 U-shaped Lock Pin 1
- 16 Curved Foam Roll 2
- 17 Foam Roll 2