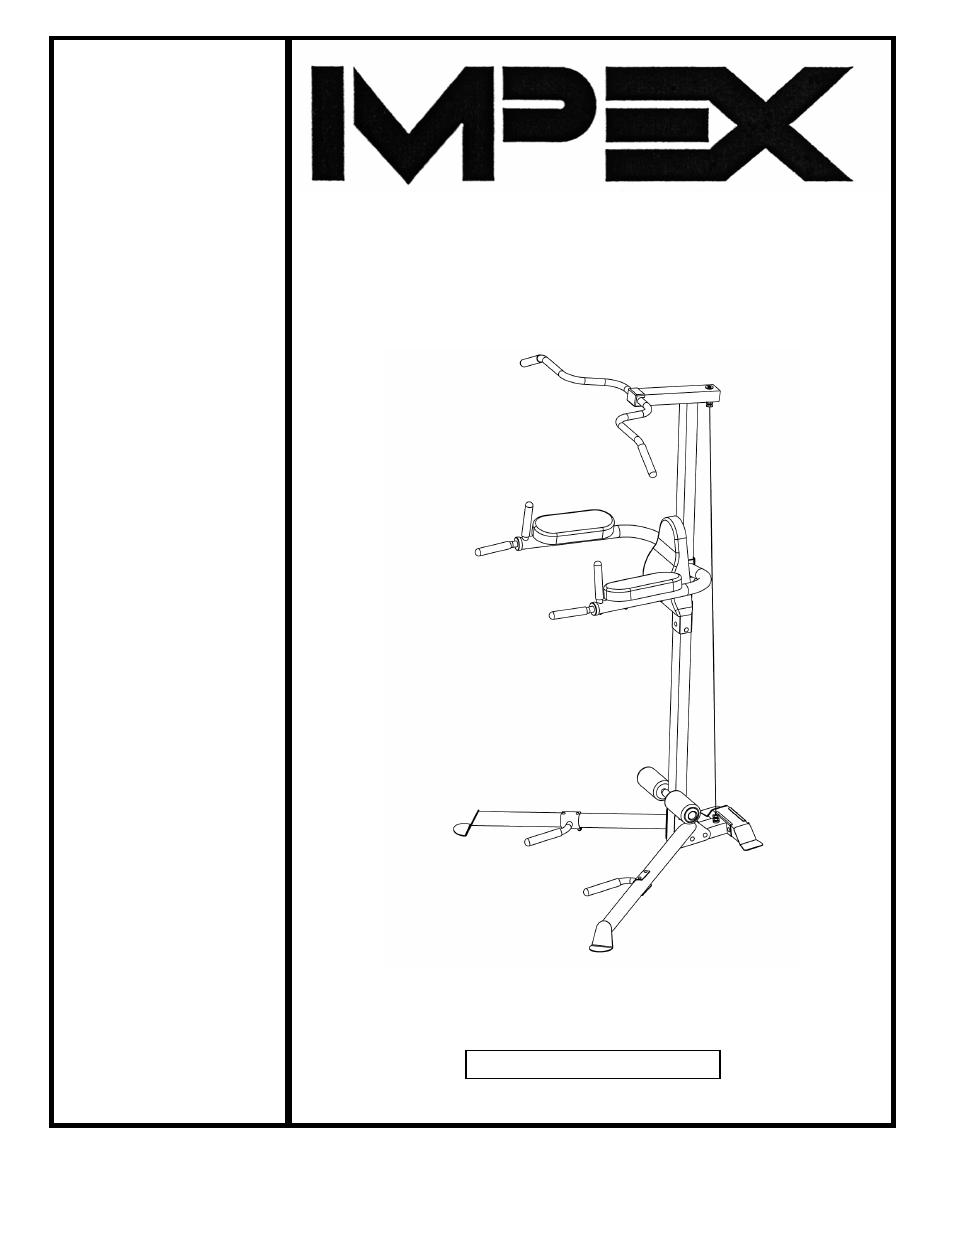
Impex TC-3502 User Manual
Apex power station, Tc-3502, Model tc-3502
NOTE:
Please read all instructions
carefully before using this
product
Table of Contents
Safety Notice
Hardware Identifier
Assembly Instruction
Parts List
Warranty
Ordering Parts
Model
TC-3502
Retain This
Manual for
Reference
06-23-08
OWNER'S
MANUAL
APEX
POWER STATION
TC-3502
IMPEX
®
INC.
14777 DON JULIAN RD., CITY OF INDUSTRY, CA 91746
Tel: (800) 999-8899 Fax: (626) 961-9966
Table of contents
Document Outline
- BEFORE YOU BEGIN...................................................................................... 1
- IMPORTANT SAFETY NOTICES..................................................................... 2
- HARDWARE IDENTIFIER.....…....................................................................... 4
- ASSEMBLY INSTRUCTIONS........................................................................... 5
- EXPLODED DIAGRAM……………………………………………………………… 9
- PARTS LIST...................................................................................................... 10
- WARRANTY.................................................................................................…. 11
- ORDERING PARTS.......................................................................................… 11
- WARNING LABEL REPLACEMENT
- HARDWARE PACK
- ASSEMBLY INSTRUCTION
- Attach the Upper Vertical Frame (#1) onto the Lower Vertical Frame (#2). Secure it with two L-shaped Brackets (#9), two M10 x 3” Carriage Bolts (#31) from the front, two M10 x 3 5/8” Carriage Bolts (#30) from the side, four ( ¾” Washers (#35), and four M
- Attach the Chin-up Bar (#3) to the front of Upper Vertical Frame. Secure it with two M10 x 2” Allen Bolts (#25) and ( ¾” Washers (#35). Cover the Bolts with a 2” x 2 ¾” Plastic Cover (#16).
- STEP 3 (See Diagram 3)
- Attach the Left & Right Dip Supports (#7 & #8) to the Upper Vertical Frame (#1). Secure them to the Upper Vertical Frame with one M12 x 3 ¾” Allan Bolt (#26), two ( ¾” Washers (#37), and one M10 Aircraft Nut (#34). Do NOT over tighten the nut and bolt.
- Insert a Vertical Handle (#13) into the hole on each Dip Support. Secure each Handle with one M10 x 1” Allen Bolt (#27) and Ø ¾” Curved Washer (#38).
- STEP 4 (See Diagram 4)
- Attach the Backrest Pad (#12) to the Upper Vertical Frame (#1). Secure it with two M8 x 2 ¾” Allen Bolts (#28) and ( 5/8” Washers (#36).
- Attach the Arm Pads (#11) to the Left & Right Dip Supports (#7 & #8). Secure each Arm Pad with two M8 x 2 ¾” Allen Bolts (#28) and Ø 5/8” Curved Washers (#39).
- EXPLODED DIAGRAM
- Parts list
- KEY NO. DESCRIPTION Q’ty