Dst auto adjustment, Time format, Ip8815 nortel ip phone user guide – Minolta IP8815 User Manual
Page 23
IP8815 Nortel IP Phone
User
Guide
18
Jan.
‘09
o
Press the Setting (
) button.
o
Dial 3, or move the cursor to
3.Phone Settings
using the
Previous-Next softkeys and press the
OK softkey.
o
Dial 6, or move the cursor to
6.Time Configuration
using the
Previous-Next softkeys and press
the
OK softkey.
o
Dial 2, or move the cursor to
2.Time Zone
using the
Previous-
Next softkeys and press the OK softkey. An asterisk, »,
displays in front of the current selection.
o
Select the nearest region from the display using the
Previous-
Next softkeys and press the OK softkey to save the entry.
o
Move to another parameter with the Return button,
, and
continue the session or press the Settings (
) button to exit the configuration session.
5.6.3. DST Auto Adjustment
The IP8815 Phone automatically adjusts for DST (Daylight Savings Time) when enabled.
To enable/disable automatic daylight savings time:
o
Press the Setting (
) button.
o
Dial 3, or move the cursor to
3.Phone Settings
using the
Previous-Next softkeys and press the
OK softkey.
o
Dial 6, or move the cursor to
6.Time Configuration
using the
Previous-Next softkeys and press
the
OK softkey.
o
Dial 3, or move the cursor to
3.DST Auto Adjustment
using the
Previous-Next softkeys and
press the
OK softkey.
o
Press
the
Yes softkey to enable DST Auto Adjustment, or press
the
No softkey to disable DST Auto Adjustment.
o
Move to another parameter with the Return button,
, and
continue the session or press the Settings (
) button to exit
the configuration session.
5.6.4. Time Format
The format of the LCD time display can be set for 12-hour format or 24-hour format. In addition, the LCD
time display can be disabled.
To set the display format for time:
o
Press the Setting (
) button.
o
Dial 3, or move the cursor to
3.Phone Settings
using the
Previous-Next softkeys and press the
OK softkey.
o
Dial 6, or move the cursor to
6.Time Configuration
using the
Previous-Next softkeys and press
the
OK softkey.
o
Dial 4, or move the cursor to
4.Time Format
using the
Previous-Next softkeys and press the OK
softkey.
o
An
asterisk,
», displays in front of the current setting. Press the
Previous-Next softkeys to select the Time Format and press
the
OK softkey to save your entry.
o
Move to another parameter with the Return button,
, and
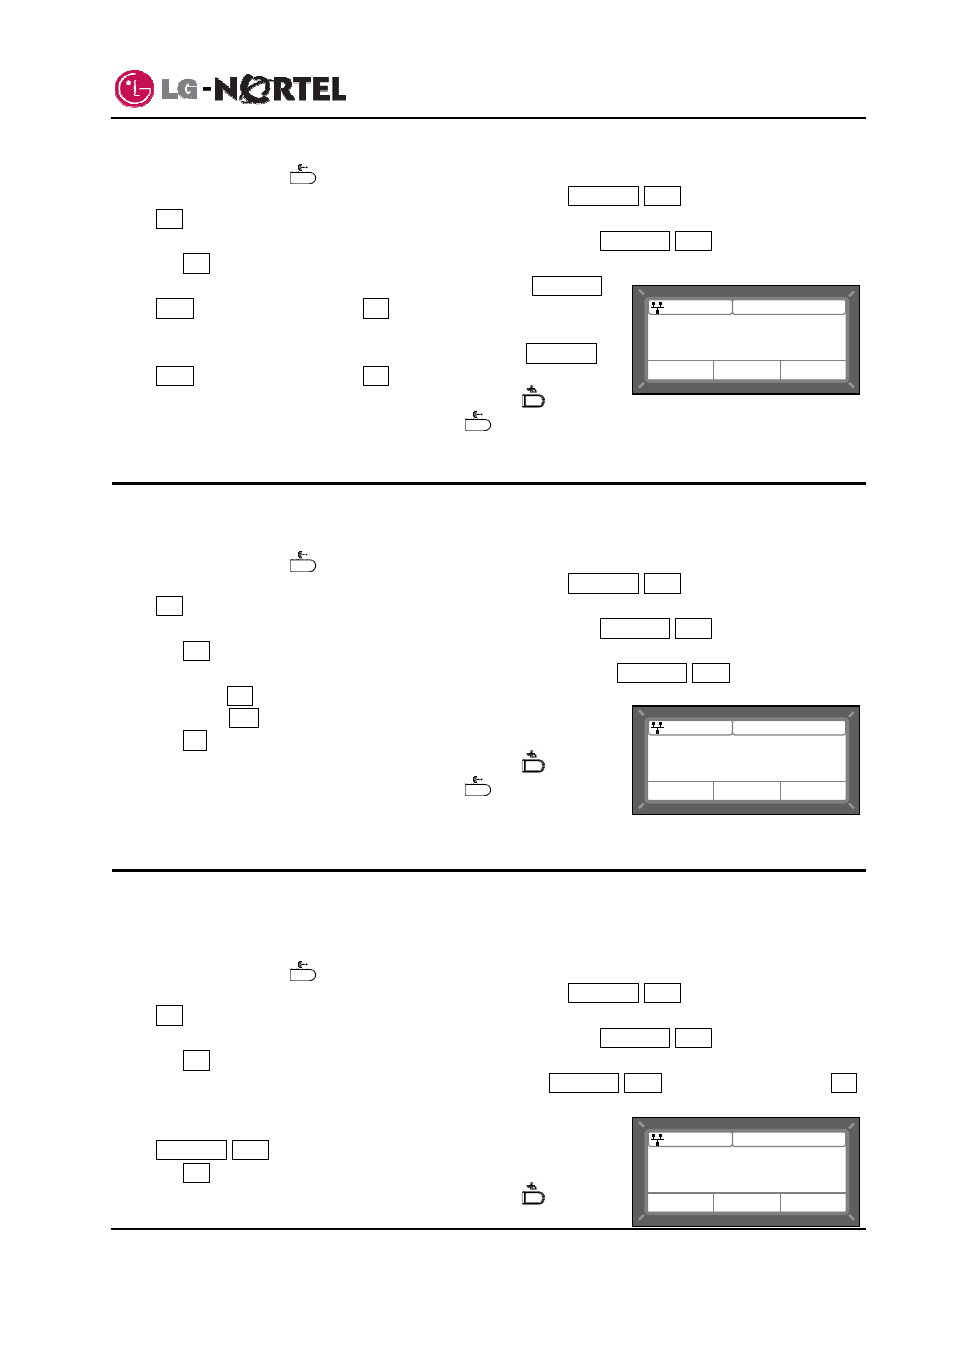
Time Format
*12 HR (08:30)
Jan 23
08:30
Previous
Next
OK
DST Auto Adjustment
Current value is ‘Yes’
Jan 23
08:30
Yes
No
Time Zone
*(GMT-08:00)PACIFIC STAN
(GMT-07:00)MOUNTAIN STA
Jan 23
08:30
Previous
Next
OK