Setting line ring type and delay, Ip8815 nortel ip phone user guide – Minolta IP8815 User Manual
Page 19
IP8815 Nortel IP Phone
User
Guide
14
Jan.
‘09
o
Press the Setting (
) button.
o
Dial 3, or move the cursor to
3.Phone Settings
using the
Previous-Next softkeys and press the
OK softkey.
o
Dial 2, or move the cursor to
2.Ring Setting
using the
Previous-Next softkeys and press the OK
softkey.
o
Dial 1, or move the cursor to
1.Default Ring Type
using the
Previous-Next softkeys and press the OK softkey. An asterisk,
», displays in front of the current setting.
o
Select the ring type using the
Next
softkey. Press the
Play
softkey to hear the selected tone.
o
Press
the
OK softkey to save the selected the ring type.
o
Move to another parameter with the Return button,
, and
continue the session or press the Settings (
) button to exit
the configuration session.
5.2.2. Setting Line Ring Type and Delay
You can assign each line with a different ring type (tone) to distinguish which line is ringing. Selections
for the type include one of up to fourteen tones, “Ringer Off” or “Set to Default”, see
section 5.2.1
. Of the
fourteen tones, nine are permanently stored in the memory of the phone and the remaining five must be
downloaded before use. In addition, for each line the ring signal can be immediate or delayed. The delay
is set in 1 second increments from 0 (no delay) to 10 seconds.
To set the ring type for a line:
o
Press the Setting (
) button.
o
Dial 3, or move the cursor to
3.Phone Settings
using the
Previous-Next softkeys and press the
OK softkey.
o
Dial 2, or move the cursor to
2.Ring Setting
using the
Previous-Next softkeys and press the OK
softkey.
o
Dial the Line number plus one (2 for Line 1, 3 for Line 2, etc.), or
move the cursor to
Line
n Configuration
using the
Previous-
Next softkeys and press the OK softkey. The value of
n
is the
Line button number.
o
Dial 1, or move the cursor to
1.Ring Type
using the
Previous-
Next softkeys and press the OK softkey. Note the line number
displays in parenthesis after “Ring Type”.
o
Select the ring type using the
Next softkey. Press the Play
softkey to hear the selected tone. An asterisk,
», displays in
front of the current setting.
o
Press
the
OK softkey to save your entry.
o
Move to another parameter with the Return button,
, and
continue the session or press the Settings (
) button to exit
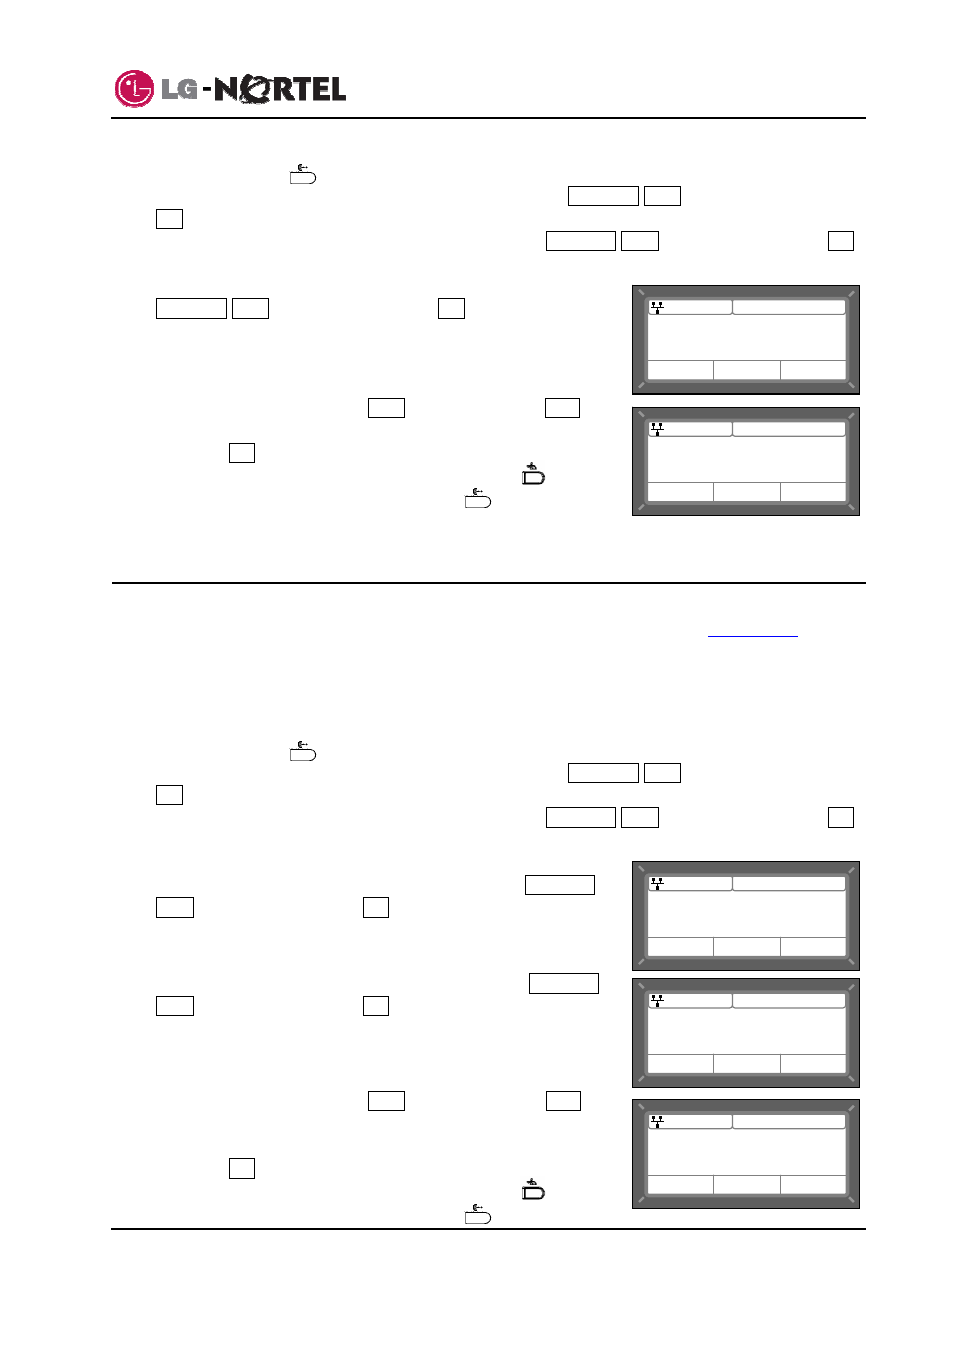
Default Ring Type
*Type 1
Jan 23
08:30
Play
Next
OK
Ring Setting
>1.Default Ring Type
2.Line 1 Configuration
Jan 23
08:30
Previous
Next
OK
Ring Type (2)
*Set to default
Jan 23
08:30
Play
Next
OK
Line 2 Configuration
>1. Ring Type
2. Delayed Ring Timer
Jan 23
08:30
Previous
Next
OK
Ring Setting
2.Line 1 Configuration
>3.Line 2 Configuration
Jan 23
08:30
Previous
Next
OK