Inspection – Millennium Enterprises GME-P100 User Manual
Page 21
INSPECTION
(Before and After Each Use)
• Inhalation valve discs
• Exhalation valve disc
• Harness straps
• Lens
• Cartridge/canister
• Facepiece blank
• Accessories
INSPECTION PROCEDURES
1. Look for breaks or tears in the facepiece
head-strap material.
2. Make sure all straps,
fasteners, and ad-
justers are in place
and not damaged.
3. Check the facepiece for dirt, cracks,
tears, or holes.
4. Check the lens for cuts, scratches, or
damage which would impair vision.
Squeeze the lens. It should collapse
easily between your fingers. Check that
the lens is secured in the facepiece.
5. Look at the shape of the facepiece for
distortion due to improper storage.
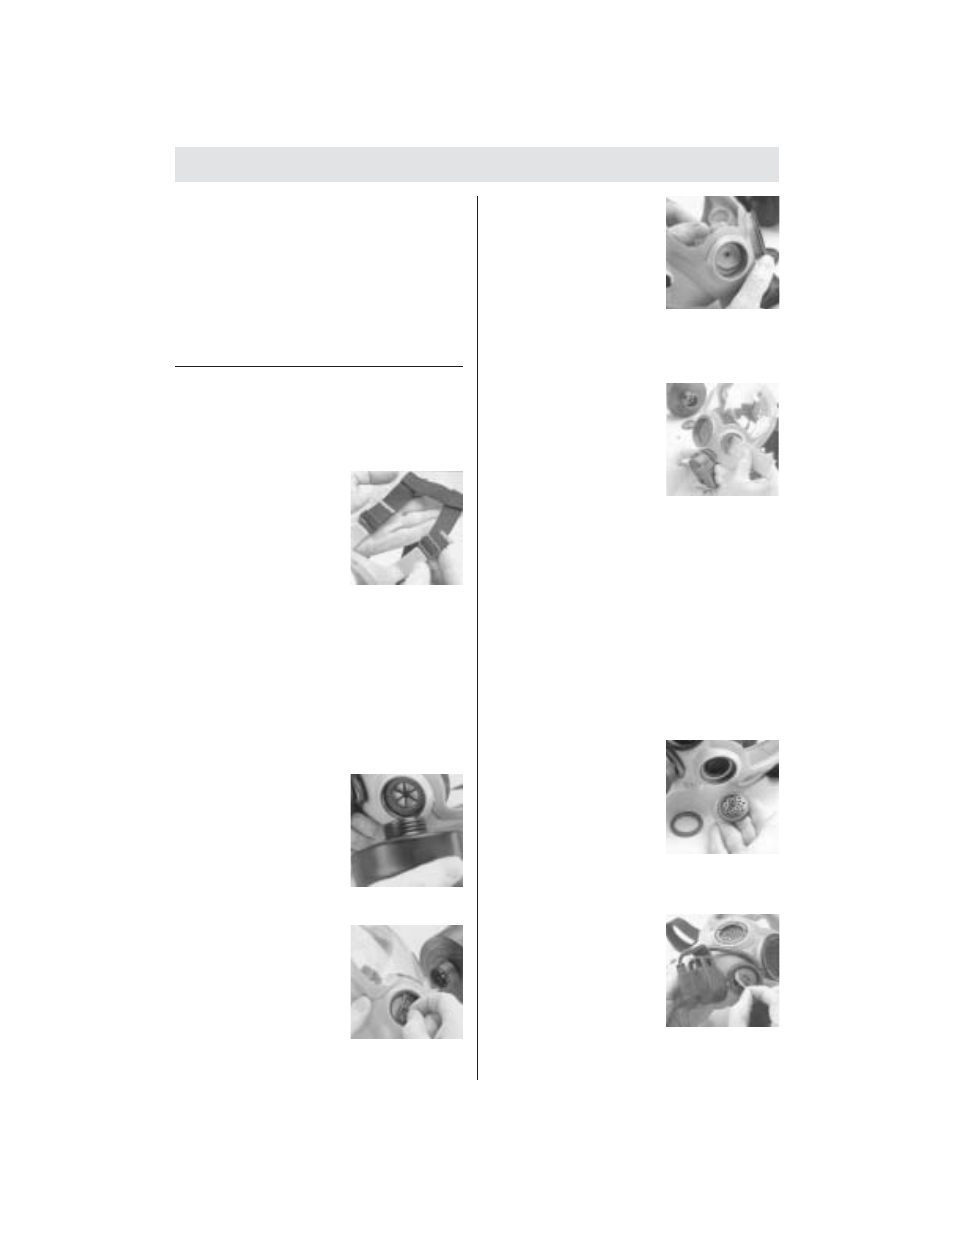
6. Unthread the car-
tridge/canister (if
installed), and check
that the spider gasket,
inhalation valve, and
deflector nose cup are
installed and undam-
aged.
7. Grasp the spider gas-
ket by the raised tabs
and pull it gently out
of the facepiece. The
gasket must be free of
cracks, tears, dirt, and
distortion. The gasket
must be soft and flexible.
8. Reach into the face-
piece and remove
deflector and inhala-
tion valve. The deflec-
tor and inhalation
valve must be free of
cracks, tears, dirt, and
distortion. The inhalation valve must be
soft and flexible.
9. Set these parts aside in a clean location.
10. Insert the P/N 461828
spanner wrench into
the side voice-mitter
retaining ring. Turn the
ring counter-clockwise
to unthread.
11. Remove the side voice-mitter (smaller
port on the side of the facepiece) from
the port. The voice-mitter may need
pushed from inside of facepiece to
remove.
12. Inspect the side voice-mitter for signs of
damage which would let contaminant
enter the facepiece.
13. Inspect the front voice-mitter (large port
in the center of the facepiece below the
lens) for signs of damage which would
let contaminant enter the facepiece.
14. Carefully remove the
voice-mitter gasket
from the port. Gasket
must be free of cracks,
tears, dirt, and distor-
tion. The gasket must
be soft and flexible.
15. Set the gasket aside in a clean location.
16. Remove the rubber
cover from the exhala-
tion valve. Lift the
valve and inspect the
seat and valve for
cracks, tears, dirt, and
distortion. The valve
must be soft and flexible.
21
TAL 403 (L) Rev. 4 - 430351
INSPECTION