Setting up your projector (continued), En-11, Wall screen – MITSUBISHI ELECTRIC WL639U User Manual
Page 11
EN-11
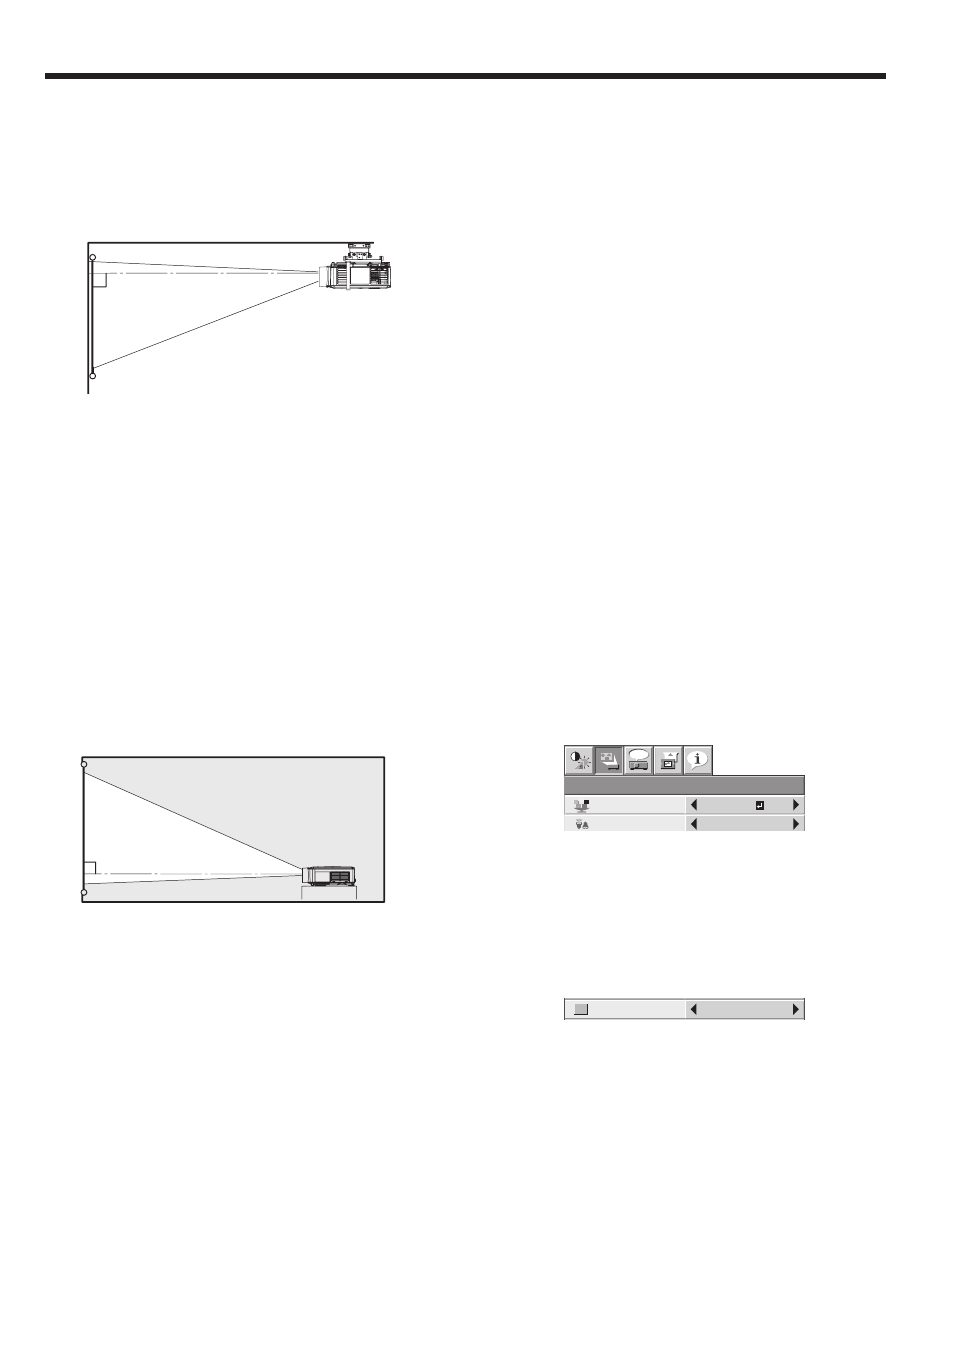
Front projection, ceiling mounting
For ceiling mounting, you need the ceiling mount kit
designed for this projector. Ask a specialist for installa-
tion. For details, consult your dealer.
• The warranty on this projector does not cover any
damage caused by use of any non-recommended
ceiling mount kit or installation of the ceiling mount
kit in an improper location.
• When using the projector mounted on the ceiling,
set IMAGE REVERSE in the INSTALLATION menu to
MIRROR INVERT. See page 4.
• When the projector is mounted on the ceiling, im-
ages may appear darker than those projected in
the case of tabletop mounting. This isn’t a product
malfunction.
• Ask your installation specialist to provide a breaker.
When you do not use the projector, be sure to shut
down the main power by the breaker.
• Do not install the projector where the exhaust vents
are exposed to air emitted by an air conditioning.
Such installation may cause a breakdown.
• Do not install the projector near a fire alarm because
it emits hot air from its exhaust vents.
Rear projection
Ask a specialist for installation. For details, consult
your dealer.
• For rear projection, set IMAGE REVERSE in the
INSTALLATION menu to MIRROR. See page 4.
Caution:
• Placing the projector directly on a carpet impairs
ventilation by the fans, causing damage or failure.
Put a hard board under the projector to facilitate
ventilation.
• Place the projector at least 50 cm (or 0 inches)
away from the wall to prevent the air inlet grille and
the air outlet grilles that emit hot air from being
blocked.
• Do not use the projector in the following locations
and manners, which may cause fire or electric
shock.
• In a dusty or humid place.
• In a sideways position, or with the lens facing
down.
• Near a heater.
• In an oily, smoky, or damp place such as a kitchen.
• In direct sunlight.
• Where the temperature rises high, such as in a
closed car.
• Where the temperature is lower than +41ºF (or
+5ºC) or higher than +95ºF (or +35ºC ).
Important:
• We don’t recommend using the projector at an alti-
tude of 1500 meters or higher. Use at an altitude of
1500 meters or higher may affect the projector’s life.
Wall screen
This function is to reproduce natural color tone when
images are projected directly onto a wall. You can se-
lect from BEIGE, LIGHT BLUE, LIGHT GREEN, PINK,
BLACK BOARD and OFF depending on the wall to be
used.
1. Display the INSTALLATION menu. (See page 3 for
menu setting.)
. Press the or button to select WALL SCREEN.
3. Press the or button to select the color closest
to that of the screen on which images are project-
ed.
• When projecting images on a screen or white
wall, select OFF.
• When OFF or BLACK BOARD is selected,
adjustment of the color density is unavailable.
4. Press the ENTER button.
5. Press the or button to adjust the color density.
• As an alternative method for selecting WALL
SCREEN, press the WALL SCREEN button on the
remote control.
INSTALLATION
opt.
ON
SPLASH
SCREEN
WALL SCREEN
AUTO POWER
OFF
BACK COLOR
LAMP MODE
OFF
OFF
BEIGE
ON
BLUE
AUTO POWER
ON
STANDARD
OFF
IMAGE
REVERSE
IMAGE
CAPTURE
SETUP
BLACK
MUTE MODE
LIGHT BLUE
1
BEIGE
1
LIGHT GREEN
1
PINK
1
Setting up your projector (continued)