Setting up your projector – MITSUBISHI ELECTRIC WL639U User Manual
Page 10
EN-10
Setting up your projector
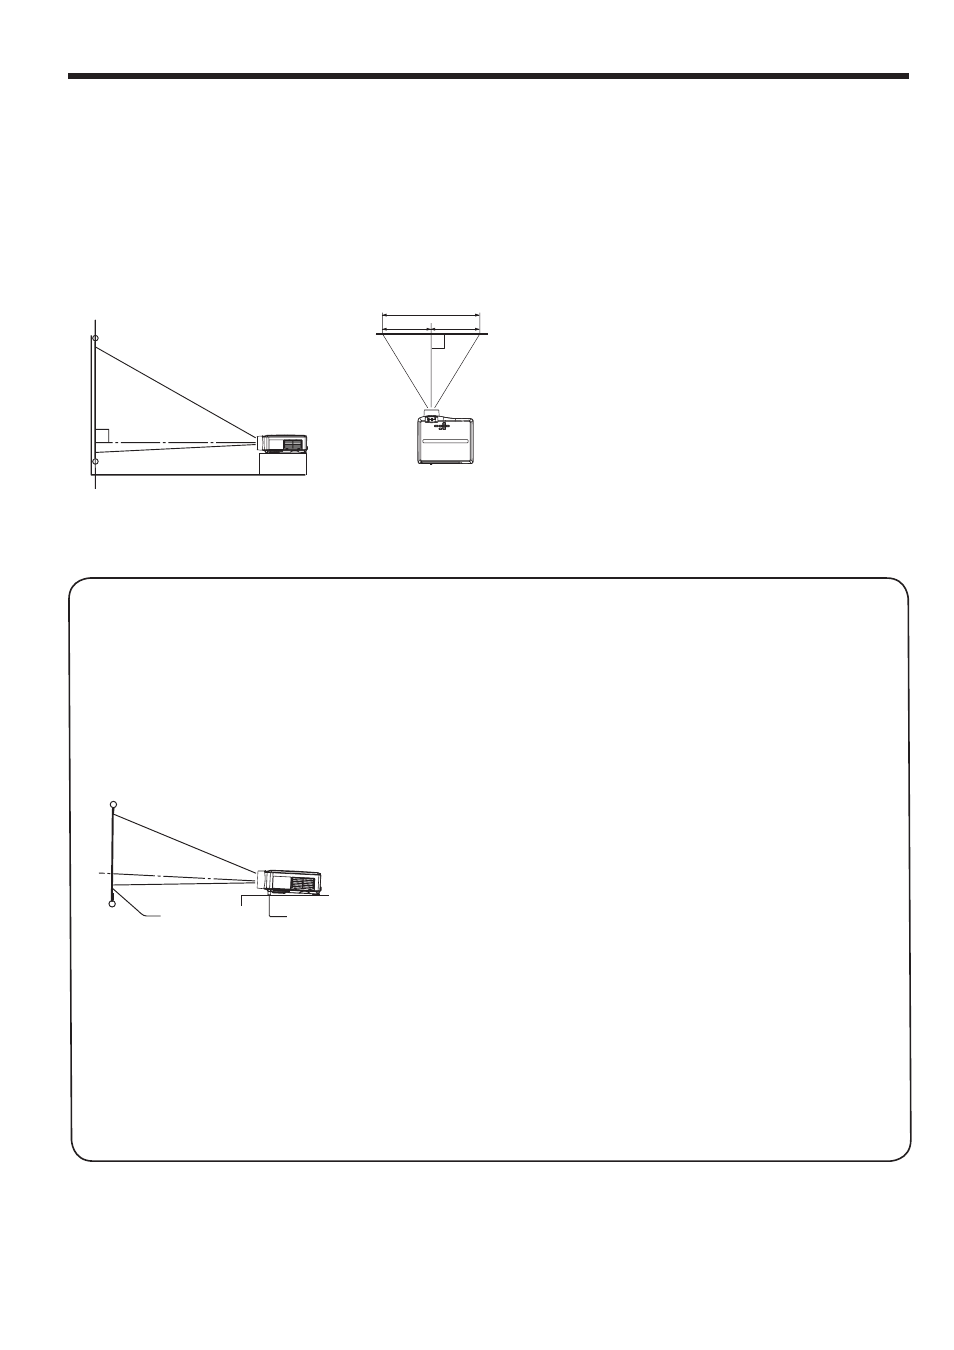
W
A
A=B
B
Setting up the screen
Install the screen perpendicularly to the projector. If the screen can not be installed in such a way, adjust the
projection angle of the projector. (See below.)
• Install the screen and projector so that the projector’s lens is placed at the same height and horizontal position of
the screen center.
• Do not install the screen where it is exposed to direct sunlight or lighting. Light directly reflecting on the screen
makes the projected images whitish and hard to view.
Basic setup
Determine the distance from the screen to the projector according to the size of the images to be projected. (See
page 1.)
• Depending on the installation conditions, warm air that is emitted from the exhaust vents may flow into the intake
vent, causing the projector to display “TEMPERATURE!!” and then stop projecting images.
Adjusting the projection angle
This projector is provided with feet for adjusting
the projection angle on the bottom surface. Adjust
the projection angle depending on the position of
the projector.
Adjustment of the vertical position of the
projector
For the best projection, project images on a flat
screen installed at 90 degrees to the floor. If
necessary, tilt the projector using the adjustment
foot (for the vertical position) on the bottom of the
projector.
1. Tilt up the projector to the appropriate angle.
. Rotate the adjustment foot (for the vertical
position) for fine adjustment.
After using the projector:
3. Put the adjustment foot (for the vertical position)
back into the projector.
Adjustment of the horizontal position of the
projector
Adjust the horizontal position of the projector with
the adjustment foot (for the horizontal position) on
the bottom.
Adjustment foot (for the
vertical position)
Screen
When projected images are distorted to a
trapezoid:
When the screen and the projector are not placed
perpendicularly to each other, projected images
become trapezoidal. If you cannot make the
projector and the screen perpendicular to each
other by mechanical adjustments, adjust keystone.
(See page 1.)
• When the keystone adjustment is applied, the
correct aspect ratio may not be obtained.
• When the keystone adjustment is applied, the
resolution lowers. In addition, vertical stripes ap-
pear and straight lines bend in images with com-
plicated patterns. To prevent such symptoms,
keep the screen and the projector perpendicular
to each other as much as possible.
• Though the projected image may be distorted
momentarily when you change the setting value
of the keystone adjustment, such symptom is not
a malfunction.
• Though the projected image may be distorted
depending on the setting value of the keystone
adjustment and the type of the input signal, such
symptom is not a malfunction. In such a case,
adjust the setting value within the range where
the projected image is not distorted.